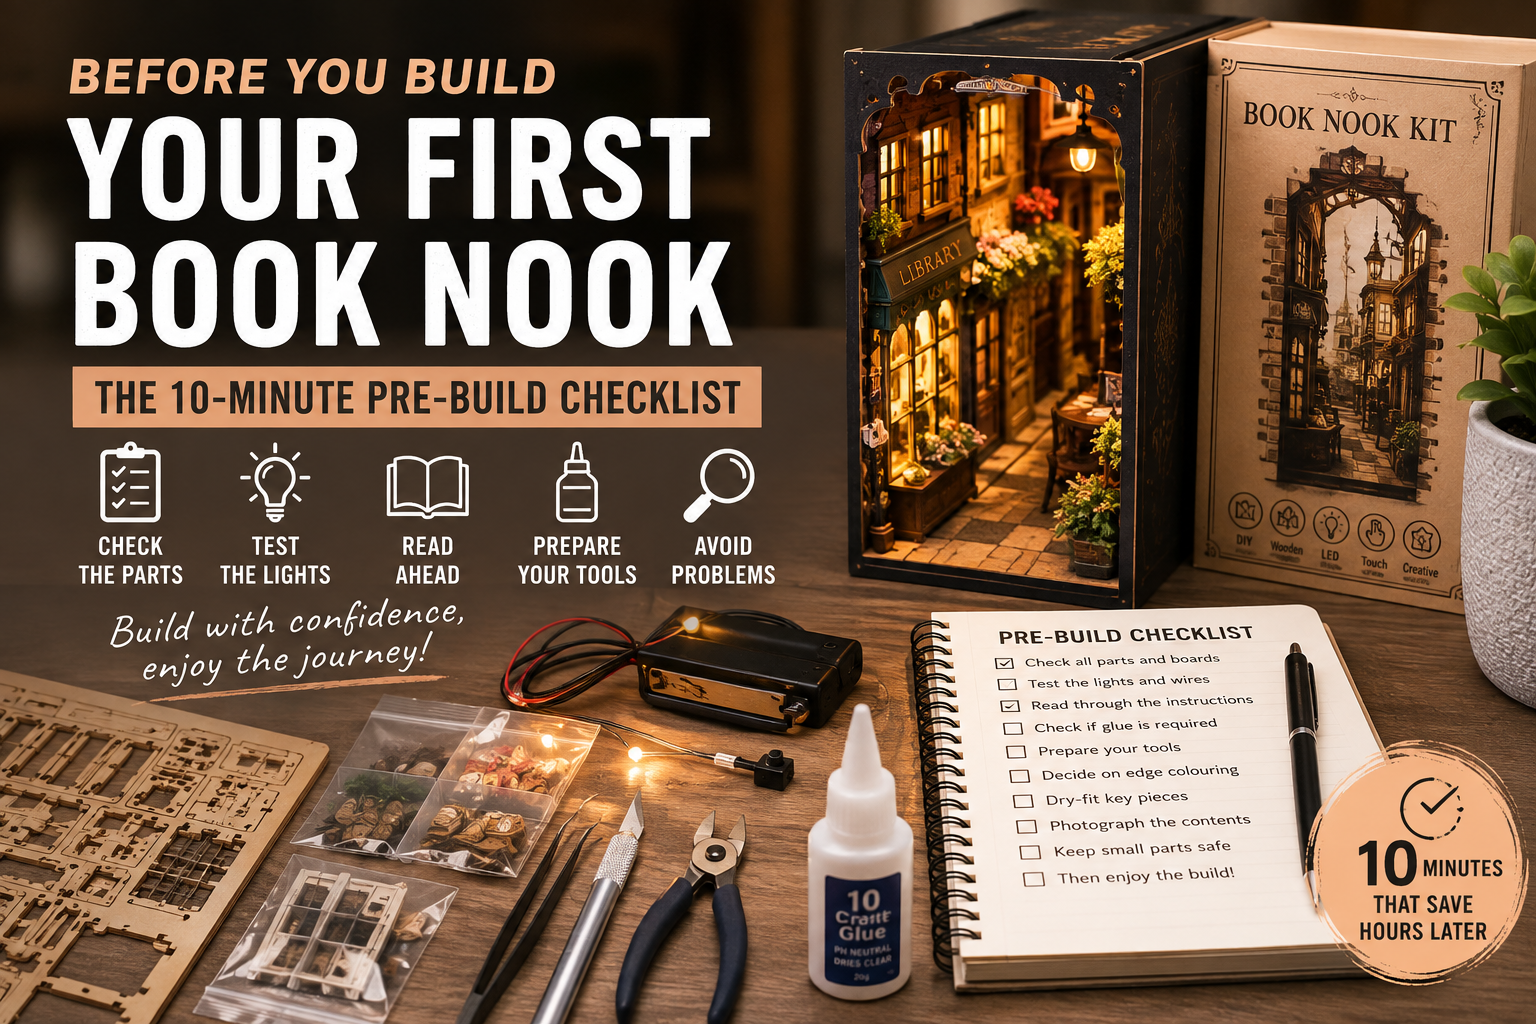
These ten book nook tips form the pre-build routine I use before opening the first packet or removing a single piece from its board.
The box arrives. You remove the lid. Inside are sheets of beautifully printed wooden pieces, bags of tiny accessories, wires, lights and an instruction manual.
The temptation is obvious: find Step 1 and start building.
Don’t. Not quite yet.
Ten minutes spent checking your kit before you begin can prevent hours of frustration later. A missing component discovered before construction is inconvenient. A missing component discovered after you have glued three walls together can be a considerably bigger problem.
If this is your first kit, start with the complete Book Nook for Beginners guide.
1. Don’t Remove Anything From the Boards Yet

Your first job is simply to look.
Lay out the wooden sheets and compare them with the parts list in the instruction manual. Most manufacturers label each board with a letter or number, and the individual pieces will normally have their own references.
Check that all the boards shown in the instructions are present.
Don’t start pushing pieces out simply because they look as though they will release easily. Keeping everything on its original board makes pieces much easier to identify when you need them.
A tiny wooden component sitting loose on a workbench can become surprisingly difficult to identify three hours later.
2. Check the Bags of Accessories

Book nook kits increasingly contain far more than laser-cut wooden sheets.
Depending on the kit, you may find:
- LEDs and wiring
- switches or touch sensors
- battery boxes or USB cables
- acrylic panels and mirrors
- paper or fabric pieces
- plants and scenic materials
- beads, wire and miniature accessories
- screws, magnets or metal components
Compare these with the contents list where one is provided.
You don’t necessarily need to count every flower petal, but make sure the important components are there.
Pay particular attention to unusual pieces that would be difficult to replace yourself.
3. Test the Lights
Before
You Build Them In
If you remember only one thing from this article, make it this.
Test the lighting system before installation.
Connect the battery box or USB supply according to the instructions and make sure every LED illuminates.
If the kit uses a touch sensor, test that too.
A faulty LED is relatively simple to investigate while it is sitting on your desk. It becomes considerably less entertaining when it has been threaded through a wall, glued behind a ceiling and covered by another three layers of scenery.
Also inspect the wires for obvious damage and make sure connections haven’t been pulled loose during shipping.
Never assume that because a lighting system is new, it must work.
4. Read Further Ahead Than Step 1
You don’t need to memorise the manual, but spend a few minutes flicking through the entire build.
You’re looking for surprises.
Does a wire need to pass through a hole before two panels are joined?
Is a sticker easier to apply while a piece is still flat?
Does something need to be painted or coloured before installation?
Will an inaccessible component need glue later?
Does a section need to remain loose until another assembly has been fitted?
Understanding the general sequence makes the individual steps much easier to interpret.
This is particularly useful with instructions translated from another language, where the pictures sometimes explain considerably more than the text.
5. Identify the Parts That Might Need Glue
One of the biggest changes in modern book nook kits is the growth of snap-fit and tab-and-slot construction.
Some excellent kits require very little glue. Others require a lot.
And confusingly, some kits tell you to use glue but don’t actually supply any.
Look through the instructions for glue symbols before starting.
If adhesive is required, make sure you have something suitable available.
Don’t automatically glue every joint. A good tab-and-slot connection may be designed to hold mechanically, and adding glue where it isn’t required can make later corrections much harder.
6. Decide Whether You’re Going to Colour the Edges
Laser-cut MDF and plywood often have dark or exposed edges.
Sometimes these disappear completely when the model is assembled. Sometimes they remain very visible.
If you prefer a more finished appearance, colouring exposed edges with suitable acrylic markers or paint can make a remarkable difference.
The important word is before.
It is much easier to colour the edge of a flat wooden piece in your hand than to reach it with a pen after it has become the back wall of a miniature three-storey shop.
Look ahead at the finished photographs and decide which visible edges, if any, you want to treat.
7. Check the Fit — But Don’t Force It
When you reach an important structural joint, try a dry fit before reaching for the glue.
Tabs should normally fit firmly without requiring unreasonable force.
If something clearly doesn’t want to fit, stop.
Check that:
- you have the correct piece;
- it is facing the correct direction;
- the tab is entering the correct slot;
- there isn’t a small piece of material remaining from the laser cut;
- the tab or slot doesn’t need very light sanding.
Forcing a wooden tab is one of the easiest ways to turn a minor fitting issue into a broken component.
A useful rule throughout any book nook build is:
If it requires brute force, check it again.
8. Prepare Your Workspace
You don’t need a professional modelling bench.
You do need somewhere reasonably flat, well lit and large enough to work without constantly moving pieces around.
A few basics make life considerably easier:
a craft knife, small scissors, tweezers, sanding sticks or fine sandpaper, suitable glue, a ruler and something to protect the surface underneath.
A small container is also invaluable for loose pieces.
And if your dining table doubles as your modelling workshop, remember that some miniature components have an extraordinary ability to disappear permanently into carpets.
9. Take a Photograph Before You Start

This takes five seconds and can be surprisingly useful.
Photograph the open kit with the boards and accessories laid out.
If you later find something and have absolutely no idea which bag or board it came from, your original photograph may provide the answer.
For more complicated builds, taking occasional photographs during construction is equally useful — particularly before wiring or other components become hidden.
There is another benefit.
When you’ve finished, comparing that intimidating collection of flat wooden sheets with the miniature world you’ve created from them is rather satisfying.
10. Only Then Start Step 1
That’s it.
You haven’t spent an hour preparing. You haven’t catalogued every wooden component into a spreadsheet.
You’ve simply spent about ten minutes making sure that:
the important pieces are present, the electronics work, you understand the basic construction sequence and you have the tools and materials you need.
Now start building.
The Book Nook Workshop Pre-Build Checklist
Before starting any new kit:
☐ Check all wooden boards are present
☐ Check the main accessories and acrylic pieces
☐ Test every light and the switch/touch sensor
☐ Read through the instructions once
☐ Check whether glue is required
☐ Decide whether visible edges need colouring
☐ Have your basic tools ready
☐ Dry-fit important structural joints
☐ Photograph the kit contents
☐ Keep loose components somewhere safe
If a build still goes wrong, use the Book Nook Problems & Fixes troubleshooting guide.
Copyright Book Nook Workshop 2026 – All rights reserved. (David Richards)
Leave a Reply