Written by Martin Seidler
Martin has over 50 years of model-building experience and has completed 30+ Book Nook kits in just a few months. He specialises in adding lighting, custom details, and storytelling elements to bring each build to life.
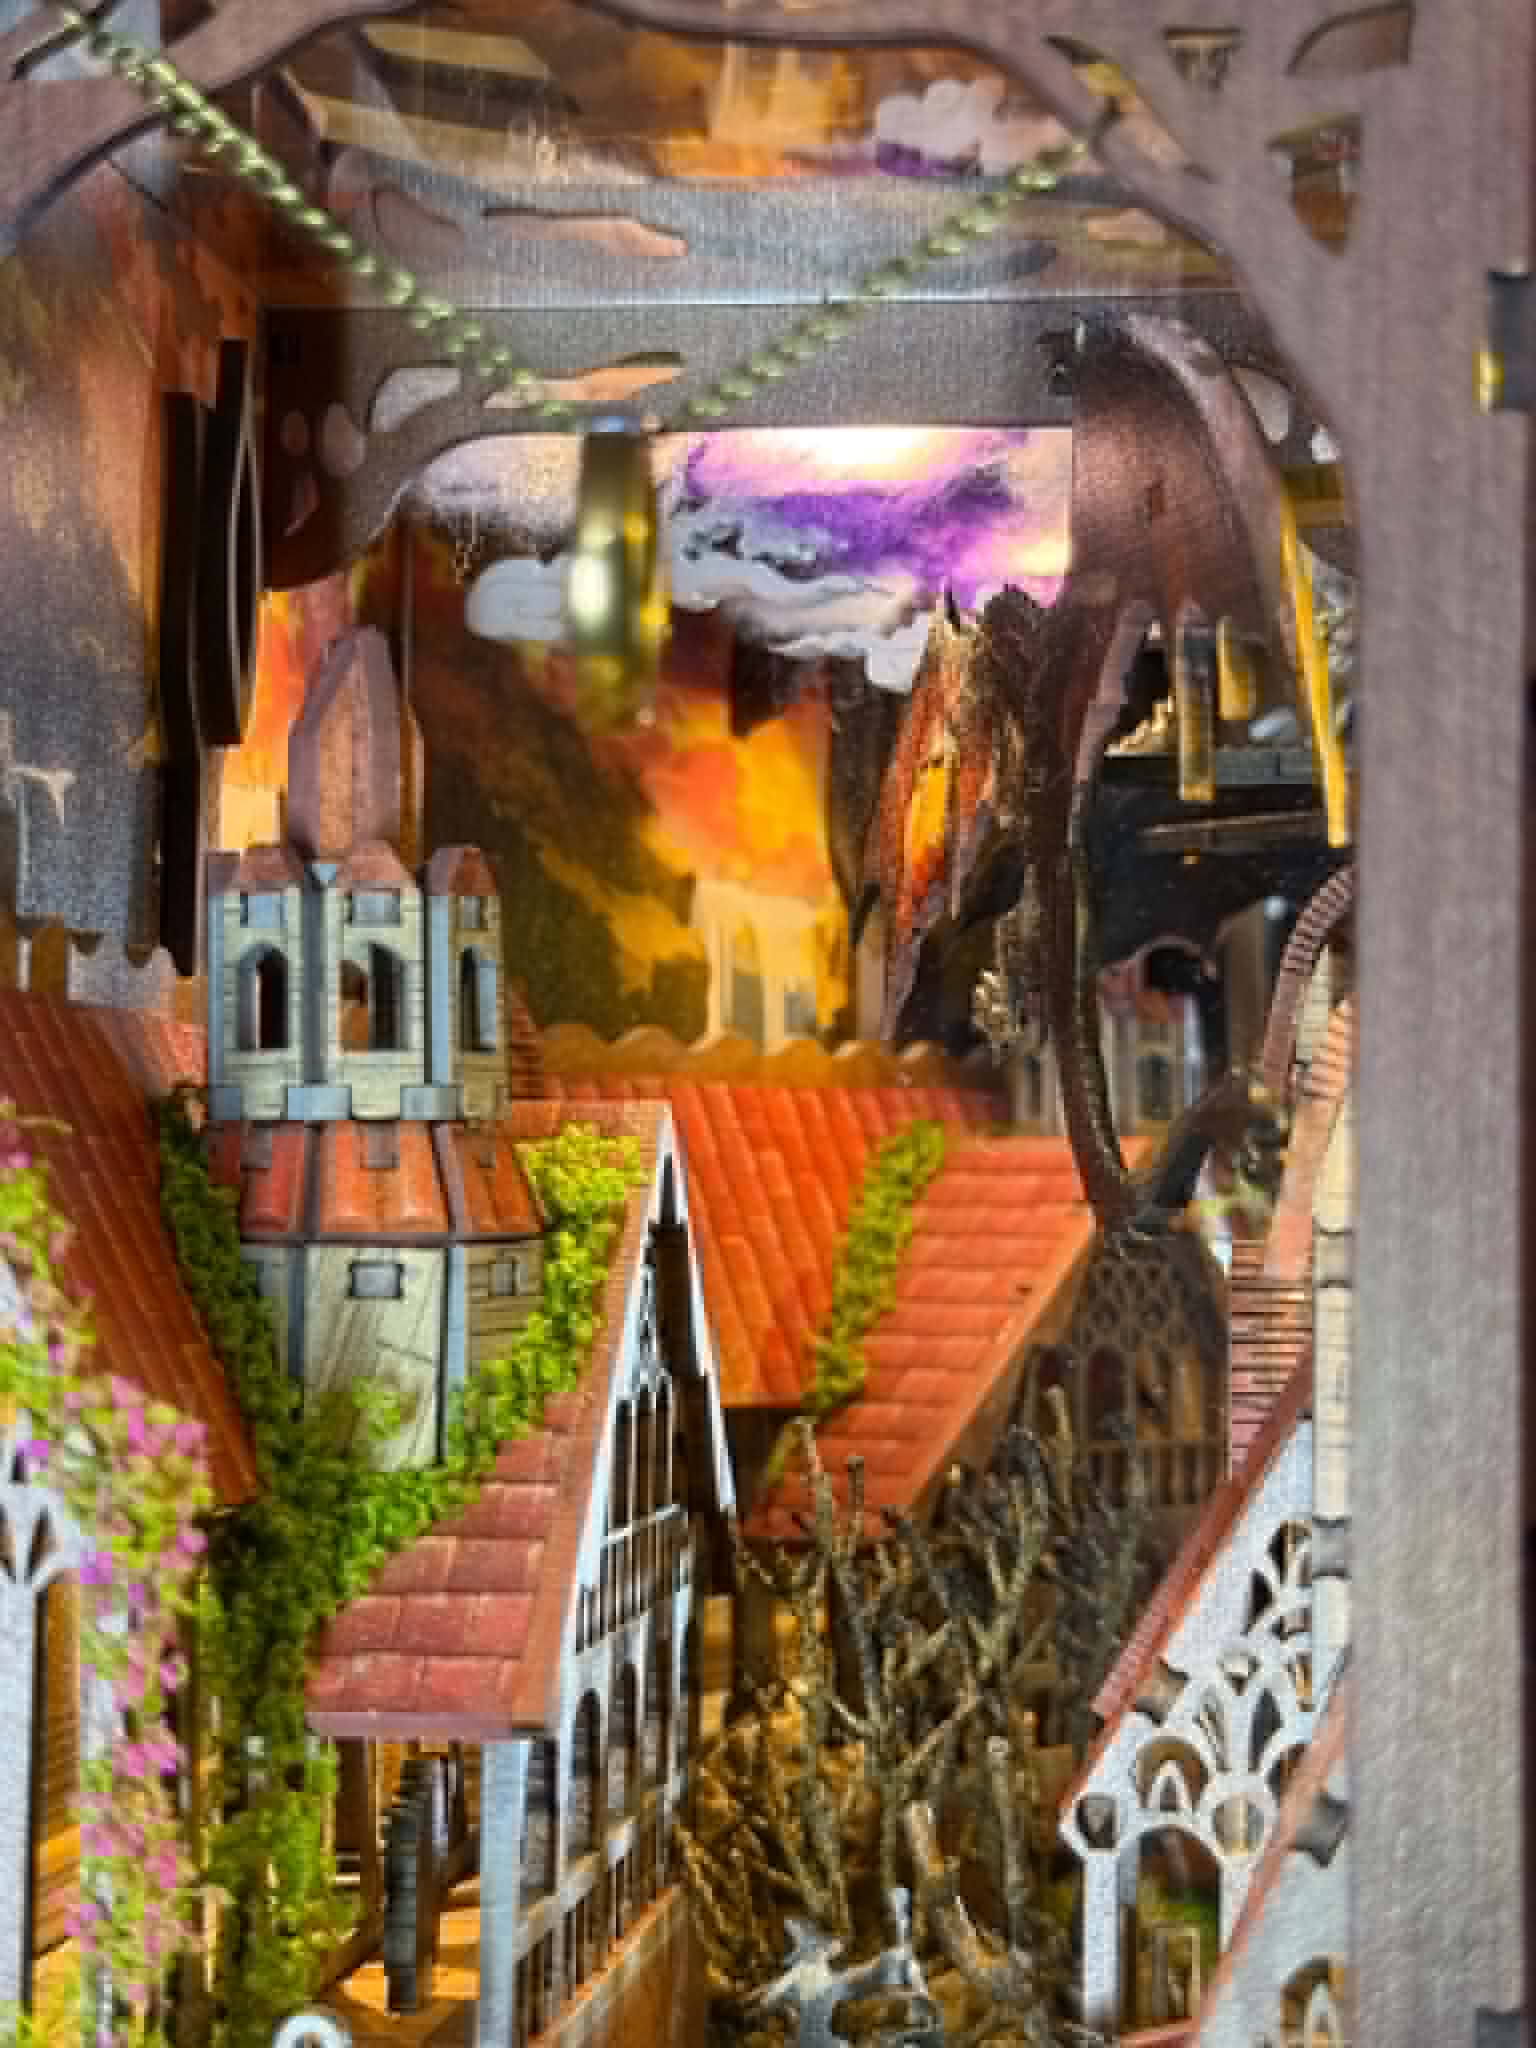
Clouds, Smoke, and Weather Effects

Atmospheric effects can add tremendous depth to fantasy and adventure scenes.
Using fluffy materials together with hidden colored lighting allows builders to create:
- storm clouds,
- smoke,
- magical fog,
- mist,
- explosions,
- glowing skies.
Combined with flickering LEDs or lightning circuits, these effects can become surprisingly cinematic.
Motors and Moving Parts
Movement instantly attracts attention.
One very effective modification I copied from another builder was adding a small geared motor to drive a windmill in Voyage Through the Storm. The motor itself cost less than two dollars, but the effect brought the entire scene to life.
Today miniature motors are inexpensive and widely available, making moving customizations much more accessible than many people expect.
3D Printed Additions

3D printing opened enormous possibilities for book nook customization.
You can add:
- cats,
- dogs,
- birds,
- ducks,
- swans,
- chickens,
- pumpkins,
- barrels,
- fruit,
- furniture,
- statues,
- lanterns,
- fantasy creatures,
- architectural details.
Free and paid 3D printable files are now widely available online. The key is simply finding the right object, scaling it appropriately, printing it, and painting it to match your scene.
Acrylic paints are usually more than sufficient for painting miniature additions, although advanced builders may use weathering powders, airbrushing, or model painting techniques.
The ability to replace flat printed objects with true 3D elements can significantly improve realism.
Edge Finishing — The Most Universal Customization

If there is one customization that works on absolutely every single book nook, it is edge finishing.
Laser-cut MDF pieces naturally leave visible edges and tiny notch marks. Cleaning these edges with files or sandpaper and then recoloring them with furniture repair markers or acrylic paint markers dramatically improves the final appearance.
This is standard practice among experienced builders.
However, it can go much further.
I often use rotary tools or small grinders to:
- round edges,
- thin edges,
- sharpen profiles,
- create knife-edge appearances.

This is the tool that David uses, check it on Amazon here
This technique helps eliminate the flat 2D feeling that some parts naturally have.
For example:
- animals,
- characters,
- plants,
- decorative cutouts
can appear far more realistic if their edges are carefully thinned from behind until the edge becomes nearly invisible.
Even though the object technically remains flat, visually it starts appearing much more three-dimensional.
This process is time-consuming. Fully sanding, shaping, and recoloring edges can easily triple or quadruple the build time of a kit. But in many cases, the improvement in realism is absolutely worth it.
The same technique can also help soften the artificial look of some flat surfaces. By carefully rounding front-facing edges and reshaping profiles, builders can create a more natural appearance on faces, arms, tree branches, rocks, and other details. It requires patience and careful painting afterward, but the visual effect can be dramatic.
Rebuilding the Entire Layout — The Gateway to Scratch Building
At some point, many builders move beyond adding details and begin modifying the actual structure of the kit itself.
This is where customization becomes significantly more advanced.
Instead of simply adding lights, plants, water, or small details, builders start:
- replacing buildings,
- redesigning streets,
- changing perspective,
- modifying the scene layout,
- combining parts from multiple kits,
- removing sections completely,
- adding entirely new structures.
A standard kit can gradually transform into something completely different from the original design.
This level of customization requires much more planning and creativity, but it also offers the greatest artistic freedom. The original kit becomes more of a foundation or inspiration rather than a fixed instruction manual.
Many experienced builders eventually discover that this naturally leads toward scratch building.
Scratch building means creating your own book nook almost entirely from the beginning:
- designing the layout yourself,
- selecting your own materials,
- creating original structures,
- planning lighting,
- building scenery,
- inventing the atmosphere and story from zero.
Some builders may still use an existing kit as inspiration or reference, while others create completely original worlds.
At that point, book nooks stop being simply “assembled kits” and become a genuine form of miniature art and personal expression.
Customization Is About Creativity, Not Perfection
One of the most important things to remember is that customization is not about competing with others. It is about making the scene feel alive to you personally.
Some builders prefer subtle realism.
Others love dramatic fantasy effects.
Some add sound and animation.
Others focus on tiny details and weathering.
There is no single correct approach.
The beauty of book nooks is that they combine:
- model building,
- storytelling,
- interior decoration,
- electronics,
- painting,
- miniature art,
- imagination.
And once you start customizing your first kit, it becomes very difficult to stop.
Because ultimately, the possibilities for customization are essentially unlimited.
A simple box of laser-cut parts can become:
- a realistic historical street,
- a fantasy world,
- a cinematic scene,
- a living landscape,
- or an entirely original universe that exists nowhere else except in the imagination of its creator.
Leave a Reply