Reviewed by Robert I. Richards
If you’re thinking about building your first book nook, you’re probably wondering:
👉 Is it actually doable?
👉 How fiddly is it really?
👉 And what do the instructions not tell you?
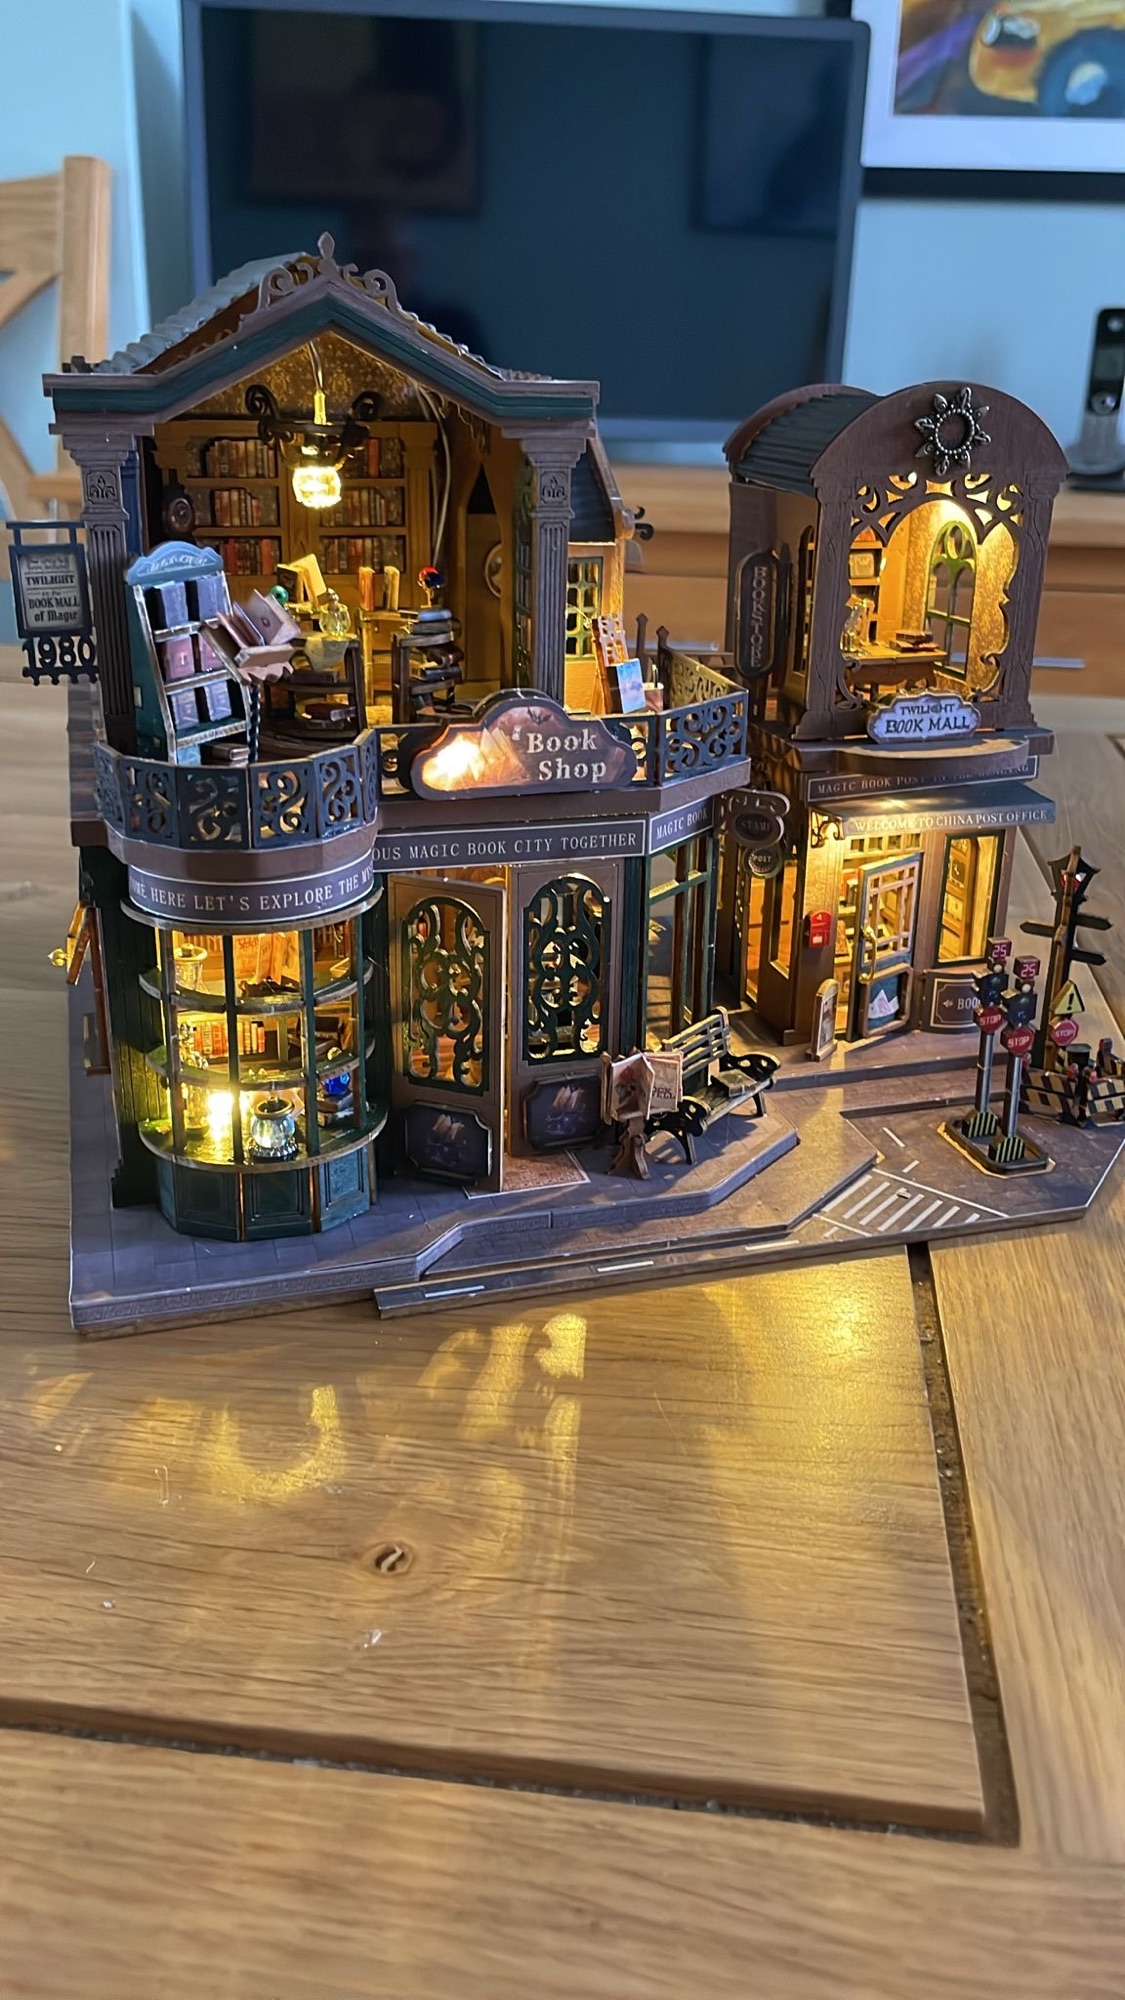
This review comes from a first-time builder (my brother) tackling the Twilight Book Mall (ES017-A)—a detailed kit that looks intimidating at first glance but turns out to be a very rewarding build.
🧰 Tools Used (and What Actually Matters)
Like most beginners, I started with a full toolkit—but in reality, I kept coming back to just a few essentials:
- Craft knife
- Tweezers
- Small files
- Ruler
👉 One thing I wish I had from the start:
A glue stick (Pritt Stick)
There’s quite a bit of paper-to-wood gluing, and a glue stick would have made that much easier and cleaner.
👉 Essential tools for making a book nooks
🏗️ First Impressions of the Build

One thing that surprised me early on:
👉 You don’t build the “scene” straight away
Instead, you spend a lot of time:
- Building individual furniture pieces
- Assembling tiny details
- Creating what feels like a pile of random parts
Then suddenly…
👉 It all comes together in the final stages
And that part is incredibly satisfying.
⚠️ Challenges & Issues (What to Expect)

🪟 1. Missing or Limited Glazing
There’s a small clear acetate piece (F6) used for a window—but:
- It’s the only glazed window
- Other windows could easily have included the same feature
👉 Feels like a missed opportunity in the design
🌀 2. Spiral Staircase (Very Fiddly)

This is probably the trickiest part of the build.
- The staircase itself is manageable
- The handrail is extremely difficult to attach
In my case:
👉 I ended up leaving the handrail off entirely
Possible workaround:
- Use very fine pins to hold it in place
- Glue sections gradually
- Remove pins once set
👉 This is definitely a patience test
💡 3. Wiring Issue (Bay Window Light)

The first light goes into the bay window—but:
👉 There’s no obvious route for the wire
What I had to do:
- Use a round file
- Manually “drill” a hole through the back of the bookcase
This worked—but:
👉 It would have been much cleaner if:
- A channel had been pre-cut (like other parts of the kit)
Better approach (in hindsight):
- Plan your wire route early
- Run it down the back of the bookcase (page 6 area would be ideal)
🔌 4. Wiring Tip (That Made Life Easier)
Instead of struggling with joins:
👉 I used a small electrical connector block
This made connecting wires:
- Much easier
- More secure
- Less frustrating
🏠 5. Roof Alignment Issue (Stage 45 / Page 19)
I placed part C8 slightly too high, which caused:
👉 The roof not to sit properly
The correct positioning is clearer later (Stage 47), but:
- By then, the glue had already set
👉 Lesson learned:
Dry fit before committing glue
💡 6. Wire Length (Stage 25)
The 19cm wire is slightly longer than needed—but:
👉 It actually works well visually
- The light hangs nicely
- No real issue
🧠 What This Kit Gets Right
Despite the challenges, there’s a lot to like:
- 👍 Very satisfying final assembly
- 👍 Great level of detail
- 👍 Feels like a “proper project”
- 👍 Relaxing once you get into the rhythm
⏱️ Build Time
This wasn’t a quick build.
- Completed over several weeks
- Worked on in the evenings around a busy schedule
👉 Which actually made it better:
👉 That’s what makes book nooks addictive.
- A great way to unwind
- Proper “switch off and focus” hobby
👍 Final Verdict
For a first-ever book nook:
👉 This was a really enjoyable build
Yes, there were:
- A few instruction gaps
- Some fiddly sections
- A bit of trial and error
But overall:
👉 Absolutely worth it
🧩 Would I Recommend It for Beginners?
Yes—with a small caveat:
👉 You need:
- A bit of patience
- Willingness to improvise slightly
This isn’t a “plug and play” kit—but that’s part of the appeal.
💡 Beginner Tips (Based on This Build)
If you’re starting out:
- Get a glue stick (for paper parts)
- Plan wire routes early
- Dry fit everything before gluing
- Don’t rush fiddly sections (especially stairs!)
- Accept that not everything will be perfect
🧘 Final Thought
What surprised me most wasn’t the difficulty…
👉 It was how relaxing it became
Even with the odd frustrating moment, it turned into a really enjoyable way to unwind in the evenings.
And seeing it all come together at the end?
Leave a Reply