1. Hook
After building a lot of book nooks, I realised something…some of the cheapest kits on Temu are a goldmine for custom projects. As I am not a hoarder of completed kits then I do something very unusual…after taking a few photos, I take them apart!
2. What do I mean by “Harvesting”?
- Not keeping the kit as a display model after completing
- Using it as a parts donor
- Comprarable to:
- Model-kit bashing
- Upcycling
👉This is a new concept for many readers – worth explaining
3. What You Can Extract from a Cheap Kit
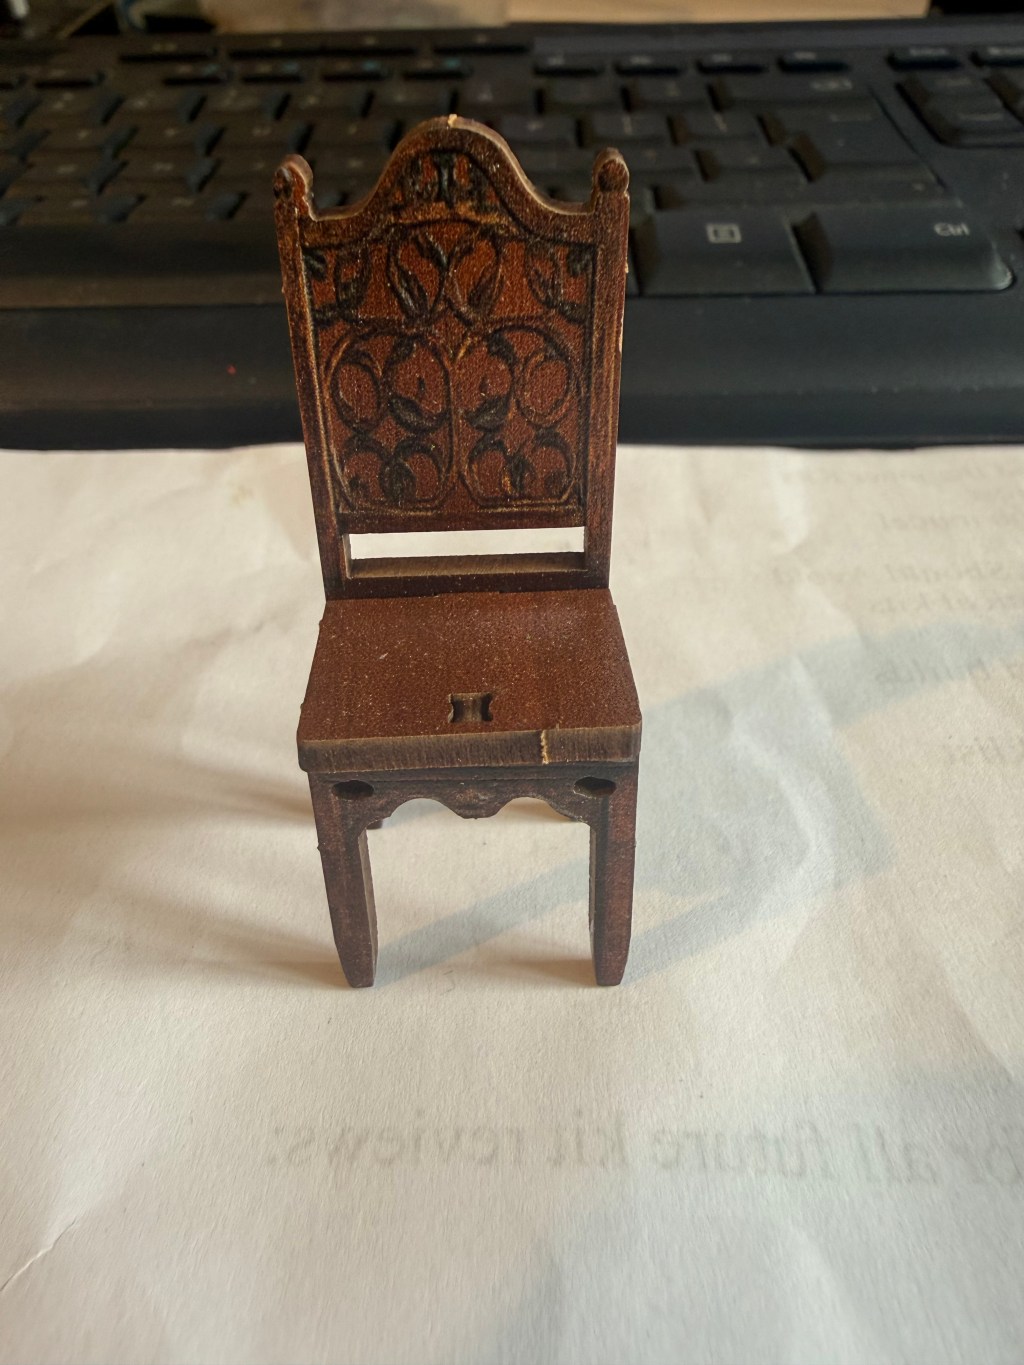
Furniture
- Tables
- Cabinets
- Shelves
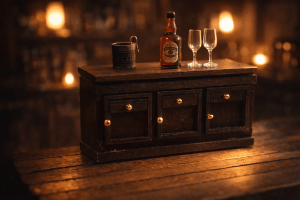
I took one cabinet, disassembled it, dyed it to the correct colour, varnished it and added a glass top. Very happy with the end result
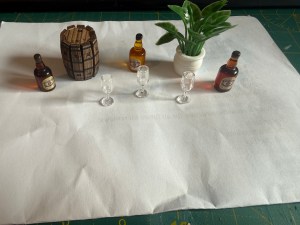
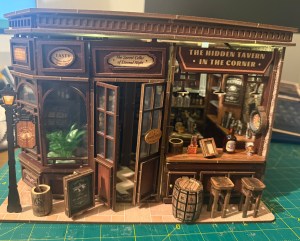
3D Objects
In some of the better quality kits there are some nice 3D objects which I am reusing in the bar area of my custom cricket pavilion build. Check out the progress here
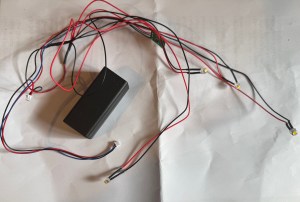
Lighting
This one is a real God send. The kit I harvested this from had 4 warm LED lights with a touch sensor; definitely using this
Cost vs Value
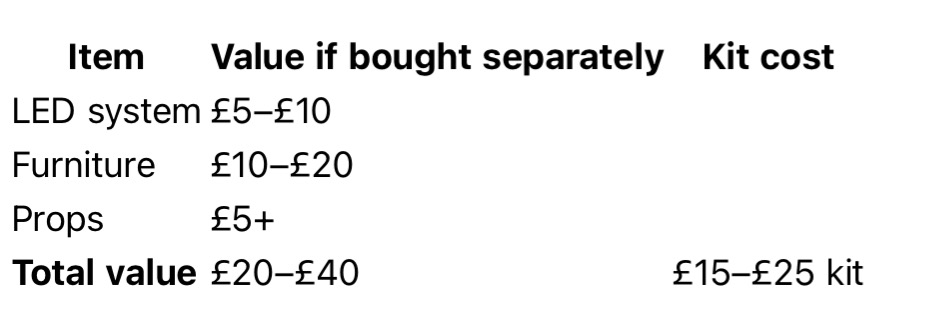
👉 Conclusion:
“In many cases, the parts are worth more than the kit itself.”
What NOT to Use
- Poor MDF structures
- Printed paper walls
- Low-quality stickers
Pro Tips
- Buy kits with:
- lots of accessories
- lighting included
- Ignore theme — focus on parts
- Always check scale consistency
Final Thought
“The best custom builds don’t always start with premium materials…
sometimes they start with a £20 kit and a bit of imagination.”
My Harvesting Kit
Check out the price on Temu here

Leave a comment