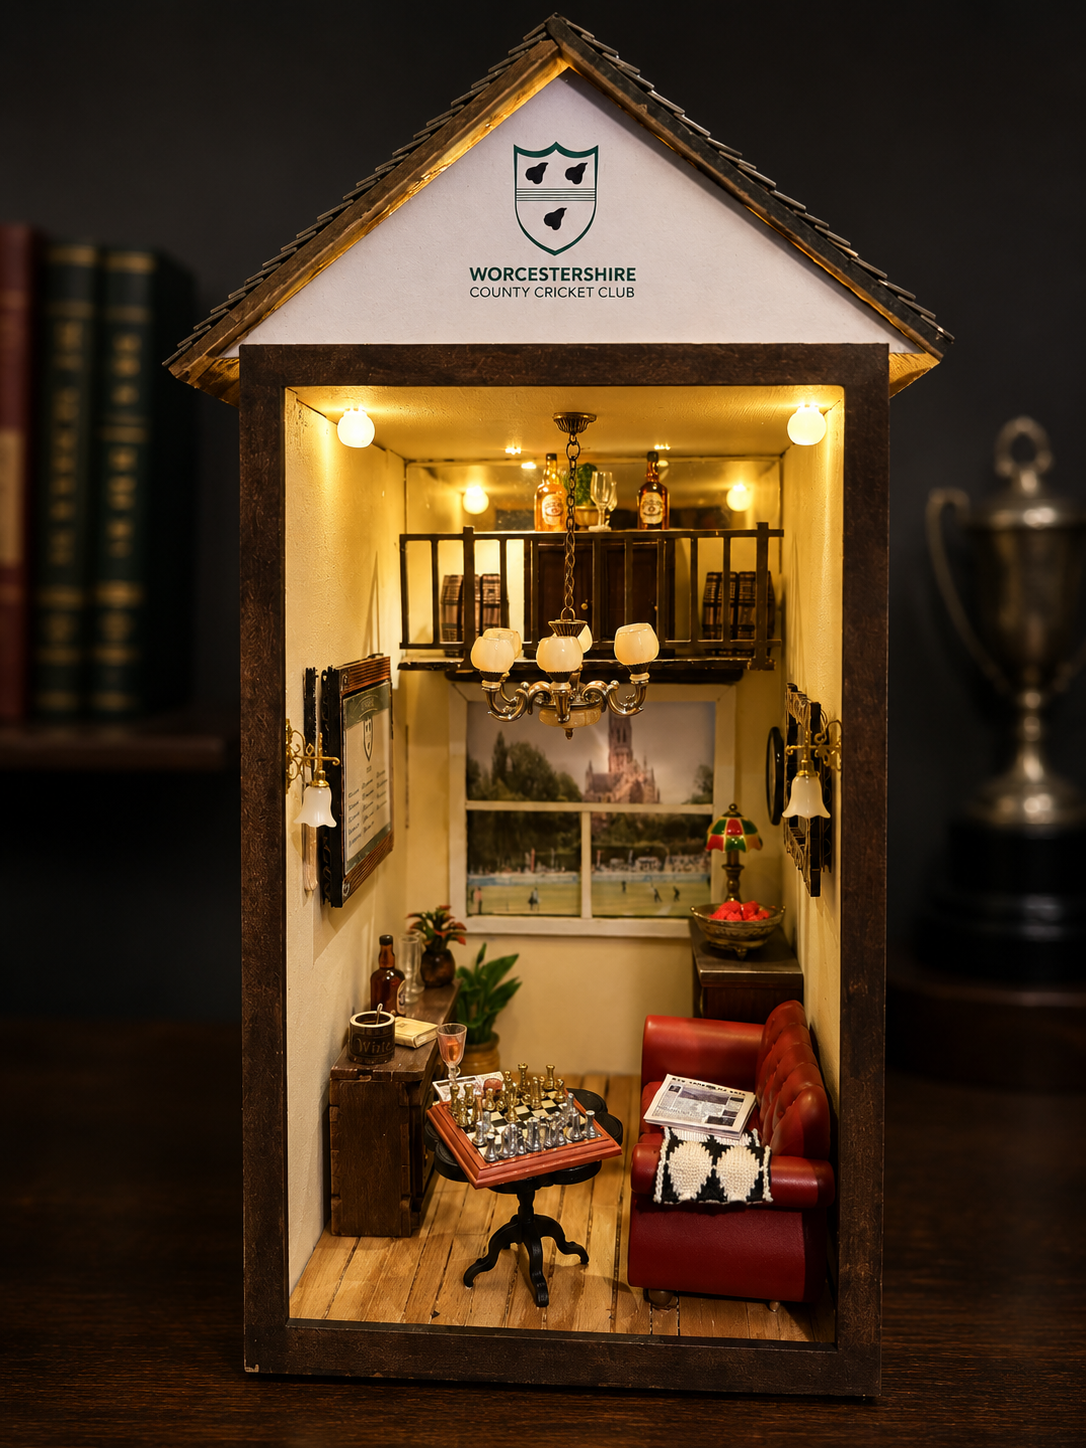
After doing a plethora of purchased kits, which are still great fun, I wanted to try and do something more challenging. Unfortunately I thought I had no artistic talent but I have done a lot of research, with lots of help from ChatGPT I feel confident now. My wife is hyper talented artistically and does wood carving, oil painting and elaborate birthday cakes and there is no way I would ever compete with her so I thought I would try these models.
This will be an ongoing project where individuals steps and phases will be included as I reach that stage, so look back every week
The first question is what should I build and who should I do it for? My Father-in-law is 93 and he and his wife, now sadly departed, are passionate cricket fans. They went every week to New Road in Worcester and became life members. They also spent 6 weeks in Australia visiting every test ground!
I therefore thought that I would base my build around W.C.C.C. I spent around 2 weeks discussing with ChatGPT and visualising different concepts until I arrived at my final design.
This was the A.I. image. A very different outcome from my final build

At this first custom build model I still decided to use a book nook shell that I got from Calico Craft for the XL kit the dimensions are 140mm wide x 180mm tall x 230mm deep. This comes flat packed but is high quality MDF with all the edges primed; this is generally a weak point.

The first step is to prime the MDF. Be careful, if you are using wood stain on the exterior walls then this should be on the untreated MDF. After first coat has dried, lightly sand and do a second coat. I was also having a window in the rear wall so I cut this out and stained the floor in black so no light colour shows through after I attach the floorboards


Interior painting and floor boards
I have selected a cream interior wall colour which I used 20 parts of acrylic white paint with 1 part of ochre, gives an off white effect. Light sanding before the second coat.
I cut out approximately 5mm strips of basswood for the floorboards; it was not necessary to create identical size boards as this is created around an old fashioned pavilion where there would have been gaps. I used a teak stain for the colour. Apply with a cloth, wait 40 seconds, then wipe with a dry cloth. After 2 hours apply the second layer

The back window
One of the most crucial parts of the interior was to create a rear window looking at the cricket with Worcester Cathedral in the background. I used acrylic black pen on inside of window pane, attached Perspex behind the frame, added a 3mm frame to add the picture, which creates depth and then attached the picture. I use matte photo paper so there is not much of a reflection

The initial steps have been completed so I checked out where sanding on the floorboards was required so the joints were clean and then I dry fitted the shell

The next steps will be to add an oak beam over the window, build a small bar shelf above that and cover the exterior walls.
Roof Lighting
I have decided to have 5 LED spotlights in the ceiling and one hidden one behind the chandelier

These LEDs were harvested from a purchased book nook hit from TEMU and come with a touch sensor. Read more about kit harvesting here. The chandelier is a dolls house miniature purchase but did not include lights so I have got a single LED behind it to light it up.
Main shell nearing completion

The only thing that I am waiting for is balcony railings to go around the upper bar and then I can glue it all together
The Roof

I decided to have 2 facades with the front one showing the club logo. I printed this out on gloss photo paper. Behind the logo I drilled a small hole to allow light from the LED to brighten it.
I wanted to have a tiled roof so I purchased 500 MINACO MINIATURE (1/24th G Scale ) SLATE GREY ROOF TILES from eBay. These were beautiful. I used Aleene’s original tacky glue on the basswood that I had cut to size. This took a very long time and was not perfect but many lessons learnt. I used brick style Dolls House wallpaper for the external walls.
Joining the roof pieces to the wall was my biggest challenge. The surface area of the facades was not large enough to strongly bind the roof so I needed to rethink. In the end I got some L shape plastic brackets which using Gorilla glue to each of the roof pieces. (Unfortunately I had not made the tip of the facade an exact 90 degree angle so there was a lot of gently easing the roof plates so they could sit as flush as possible – not perfect)
The Back
This is the biggest issue on the kit as I did not have enough experience for my first custom build to conceal the battery compartments so I glued them to the back. This doesn’t really detract from the model as it will be located in one place.
Furniture & Fittings

1:24 scale furniture and fittings are not readily available to buy (things will change in this area). In the event I got some pieces from Temu and used furniture from some of my own book nook kits – luckily I am not a great collector.
- Sofa, table & Chess board from Rolife’s Catherine’s lounge
- Drinks cabinet, barrels & bottles from Corner Tavern
- Chandelier & other accessories from Temu
The Final outcome

It is obviously very different from the original A.I. vision but I am very satisfied. There is a lot that I learnt which I will use on my next build.


Copyright Book Nook Workshop 2026 – All rights reserved. (David Richards)
Leave a Reply