Build & reviewed by W Brent Sawyer
A handsome design and fulfilling build experience.

Summary Table

OVERVIEW AND DESIGN INSPIRATION
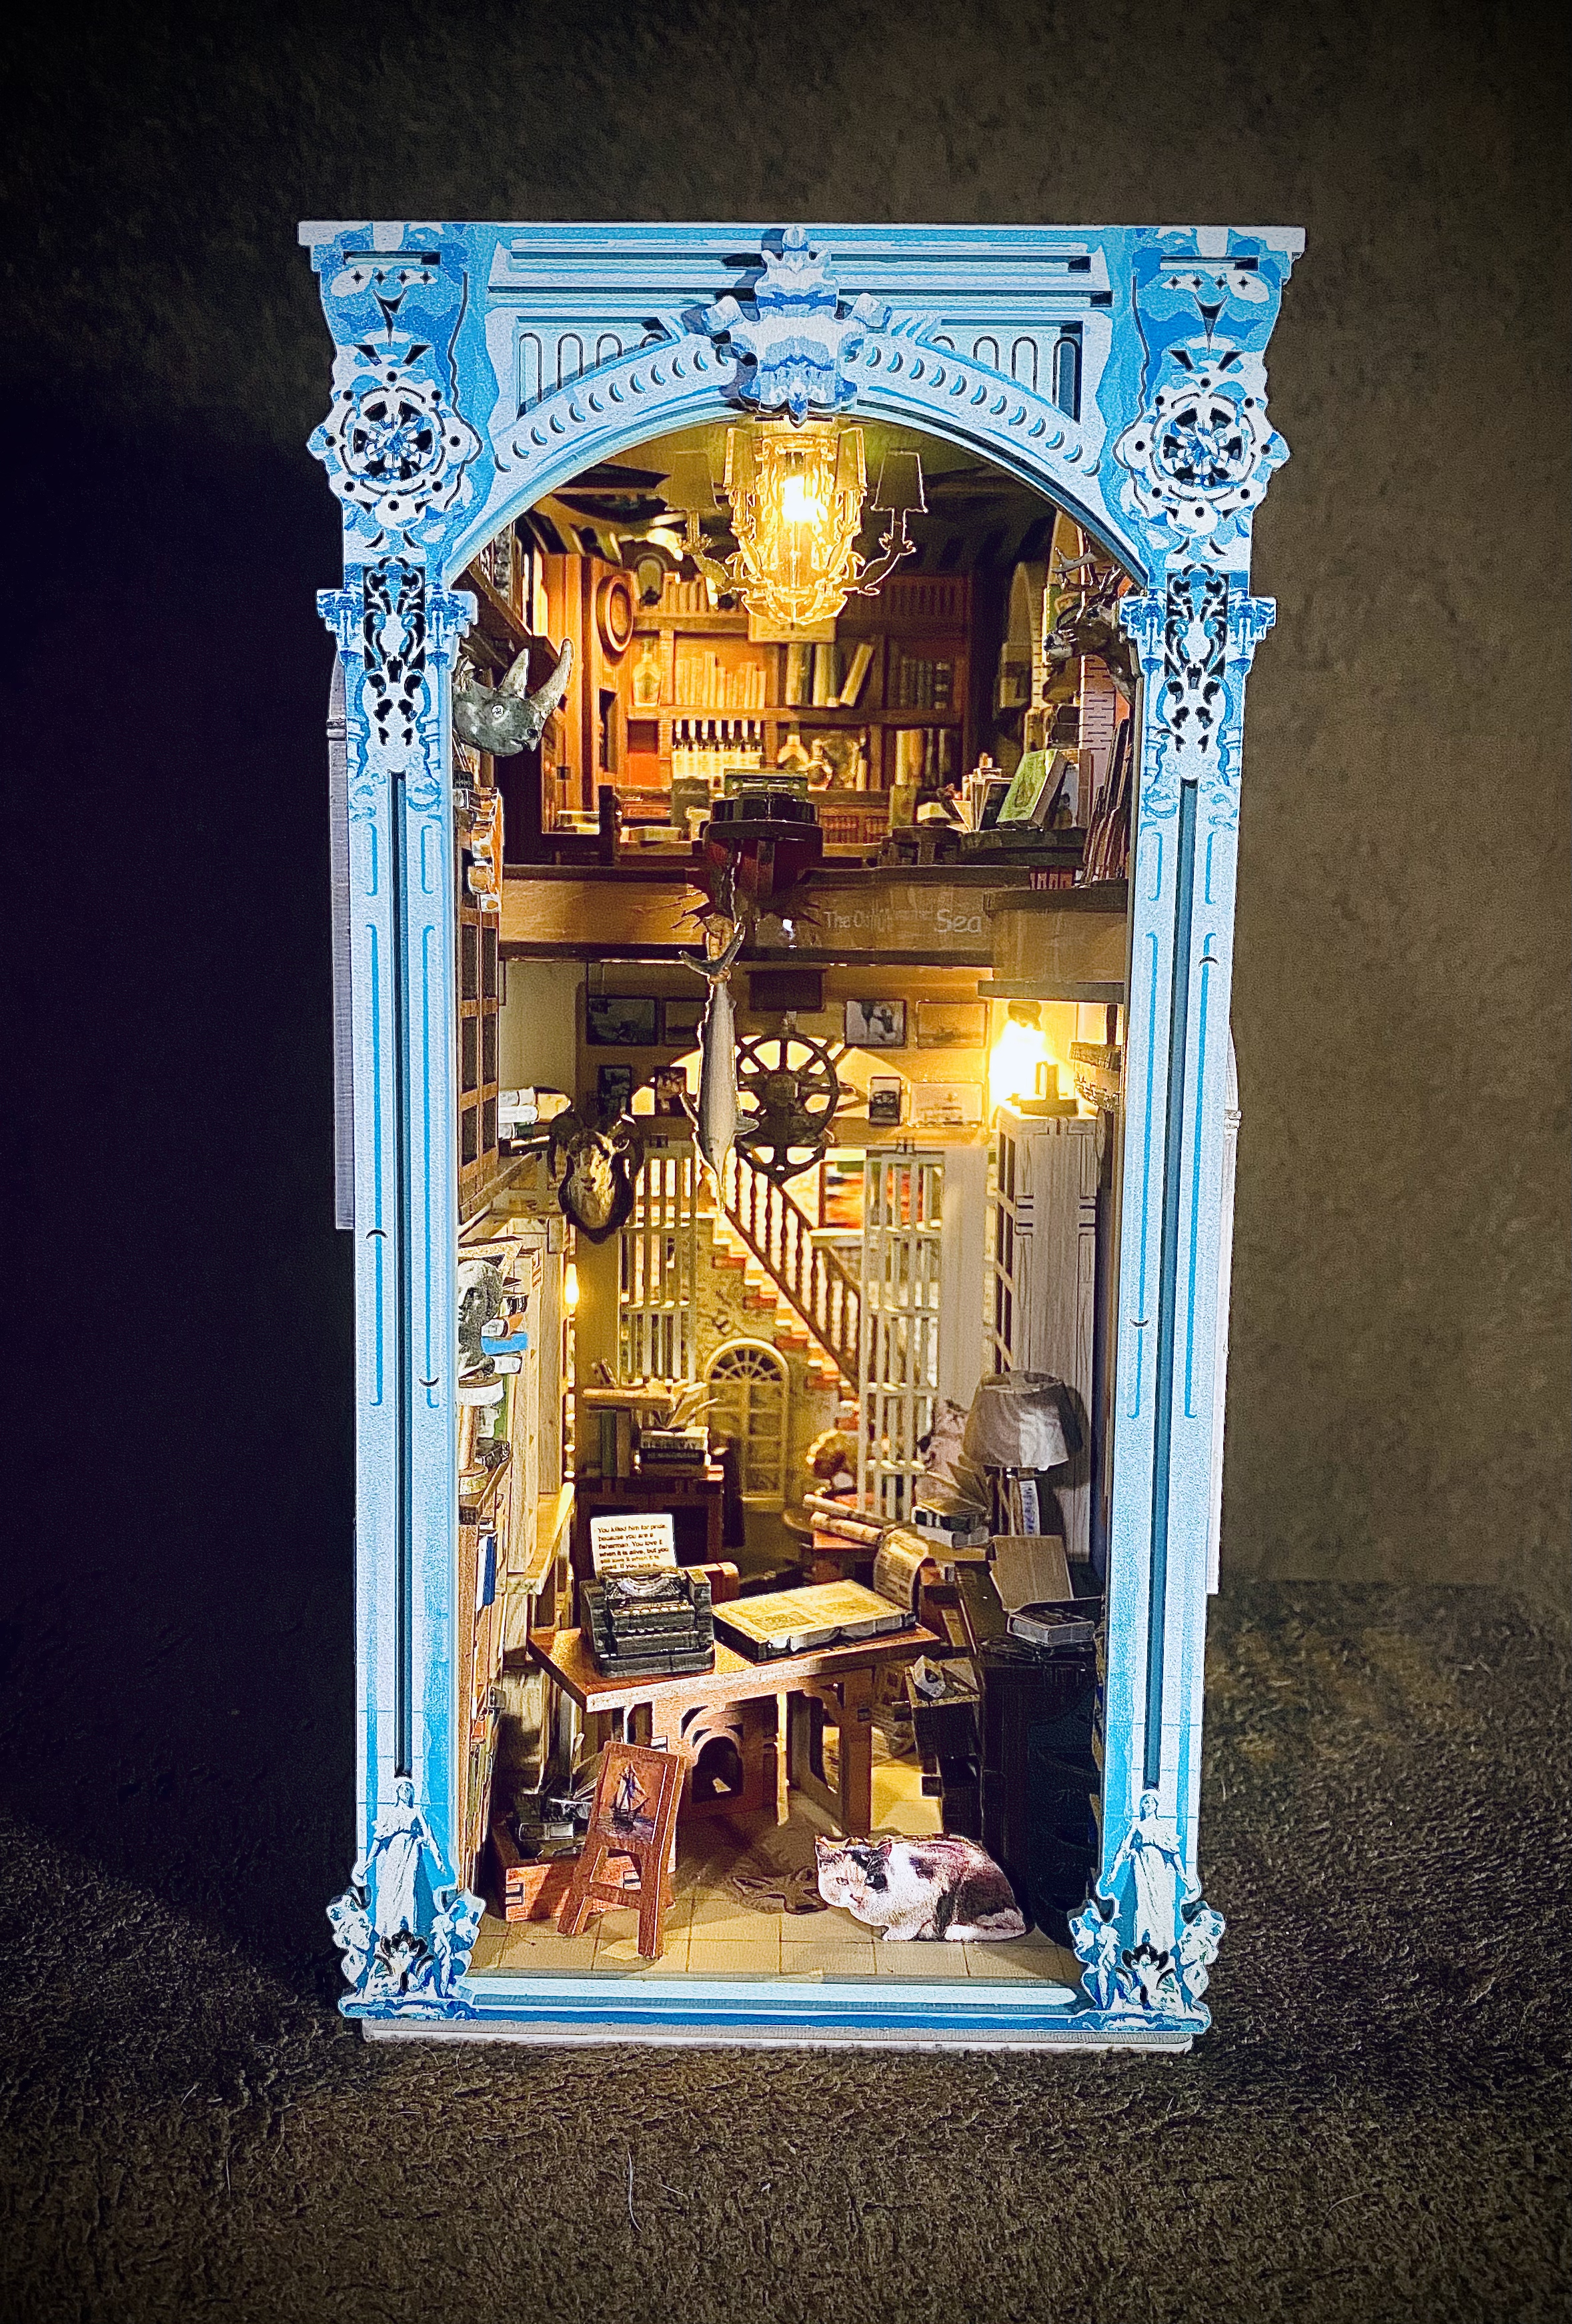
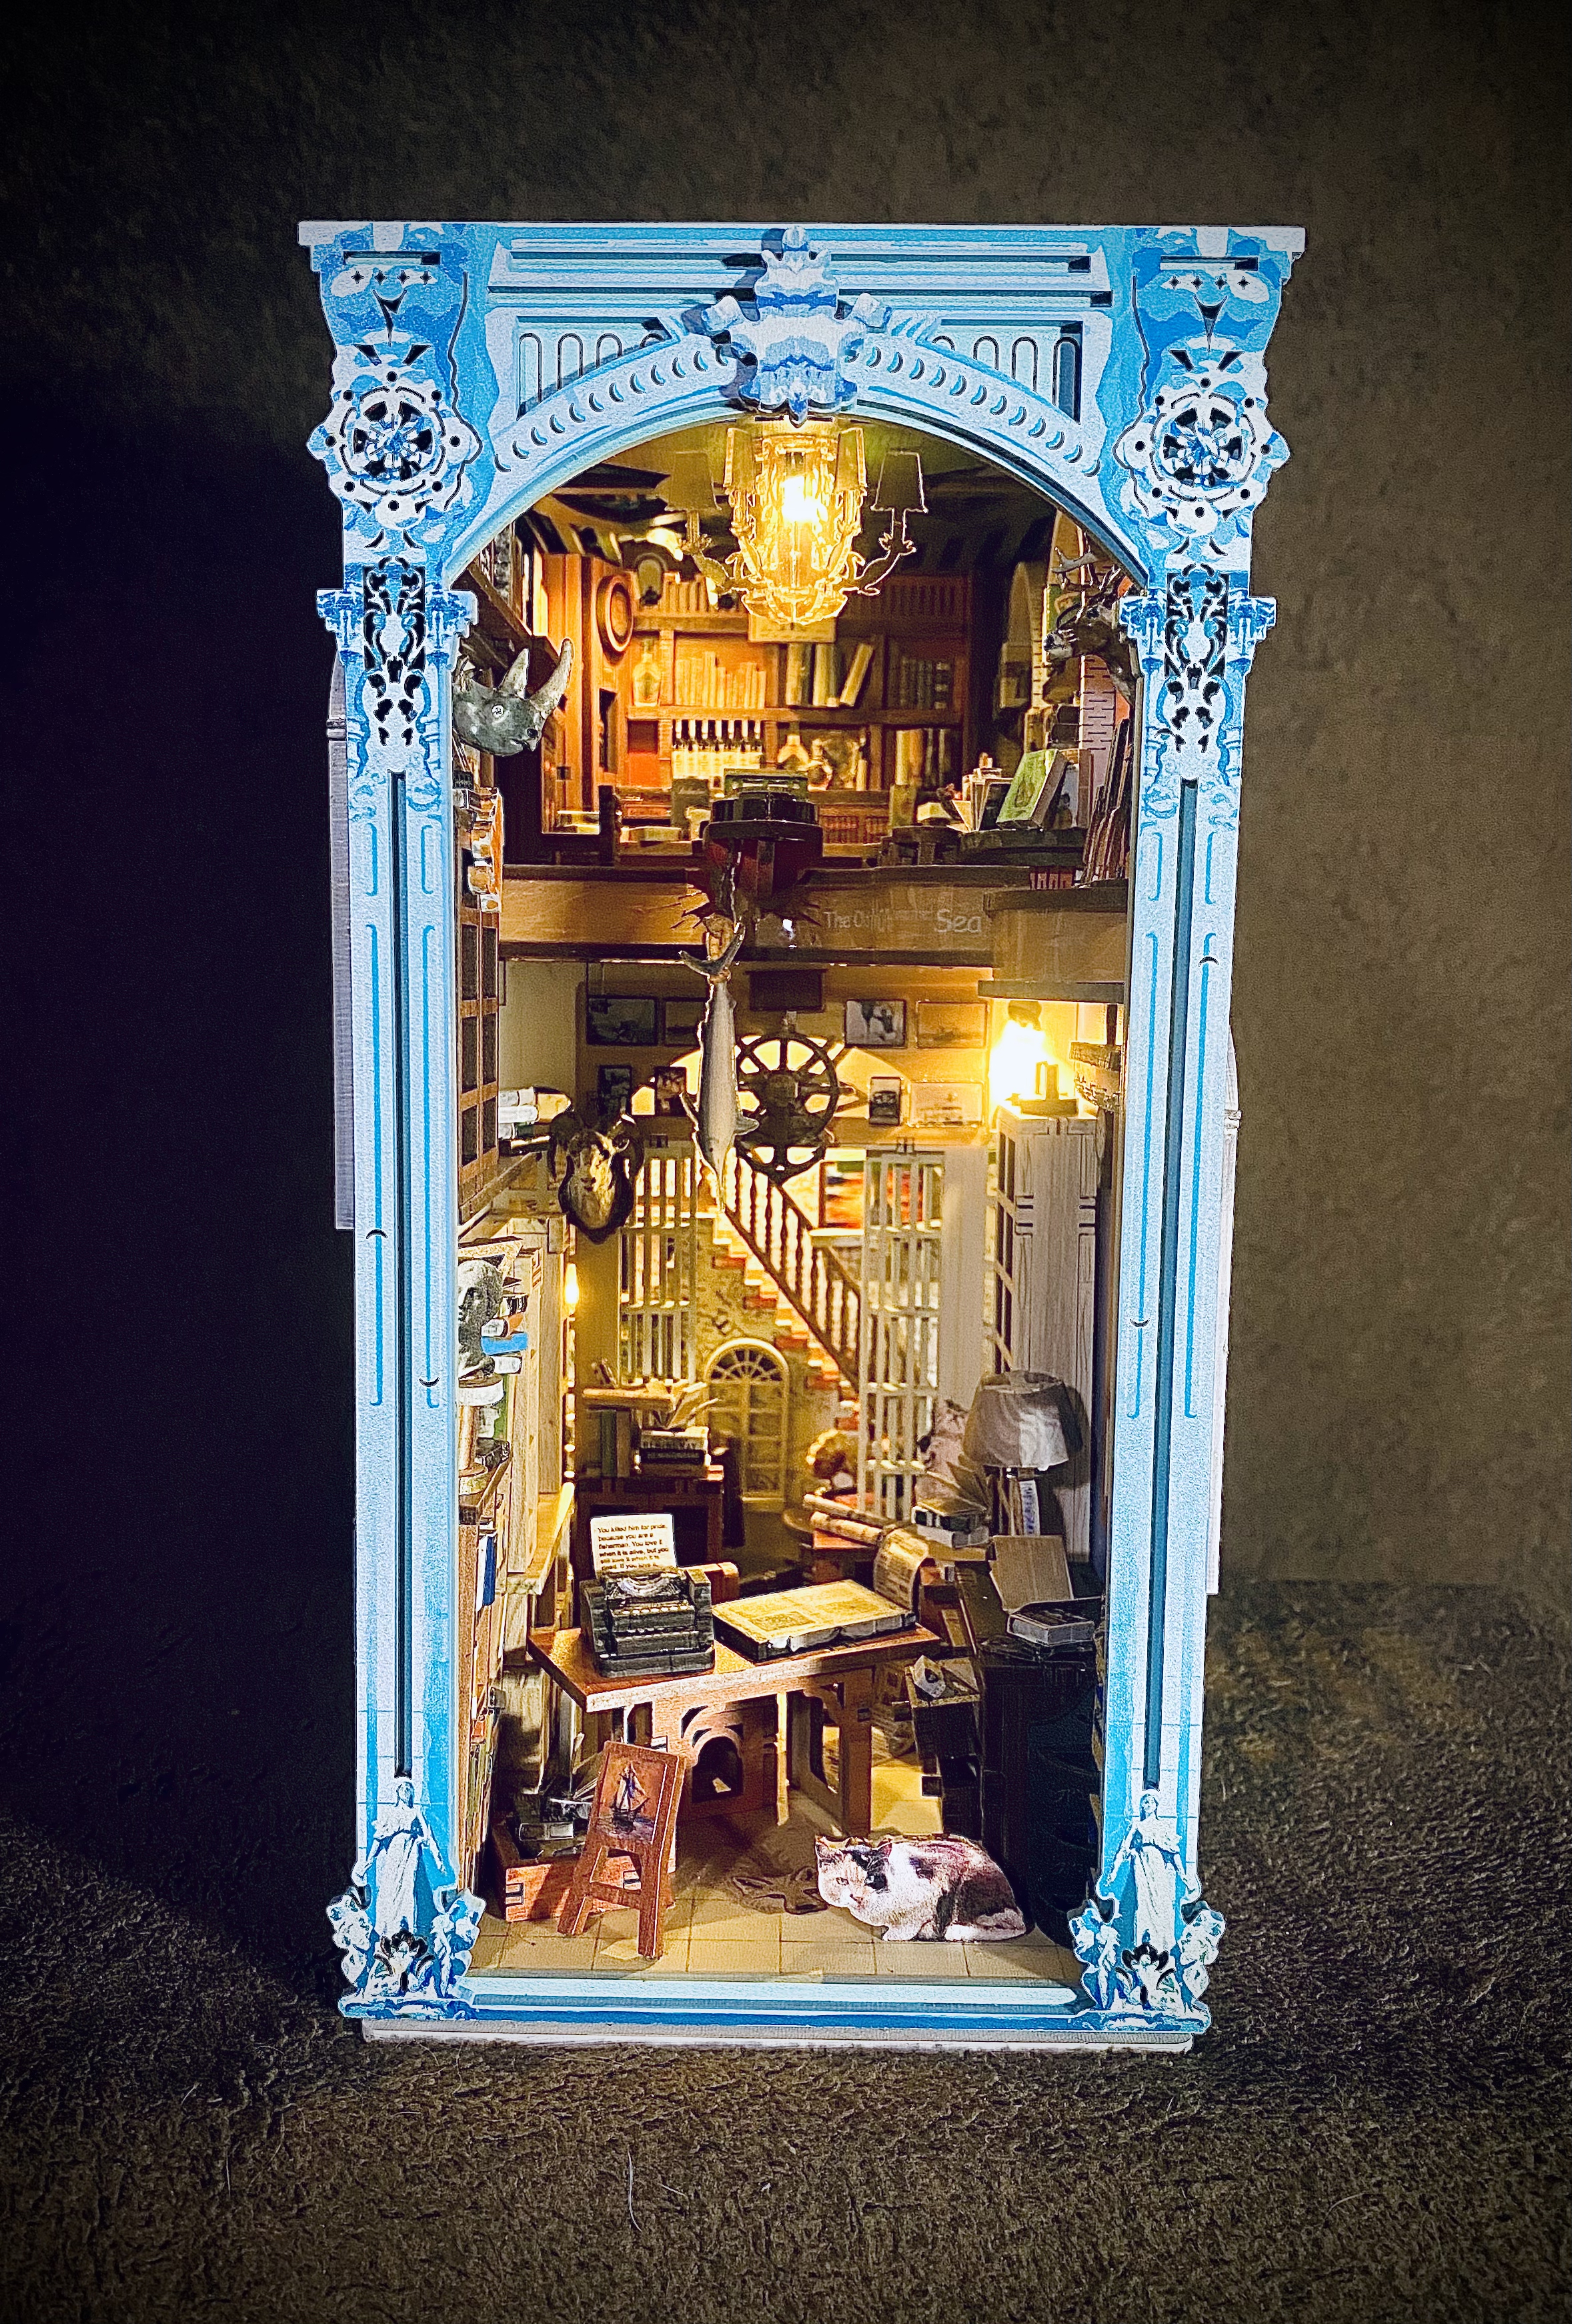
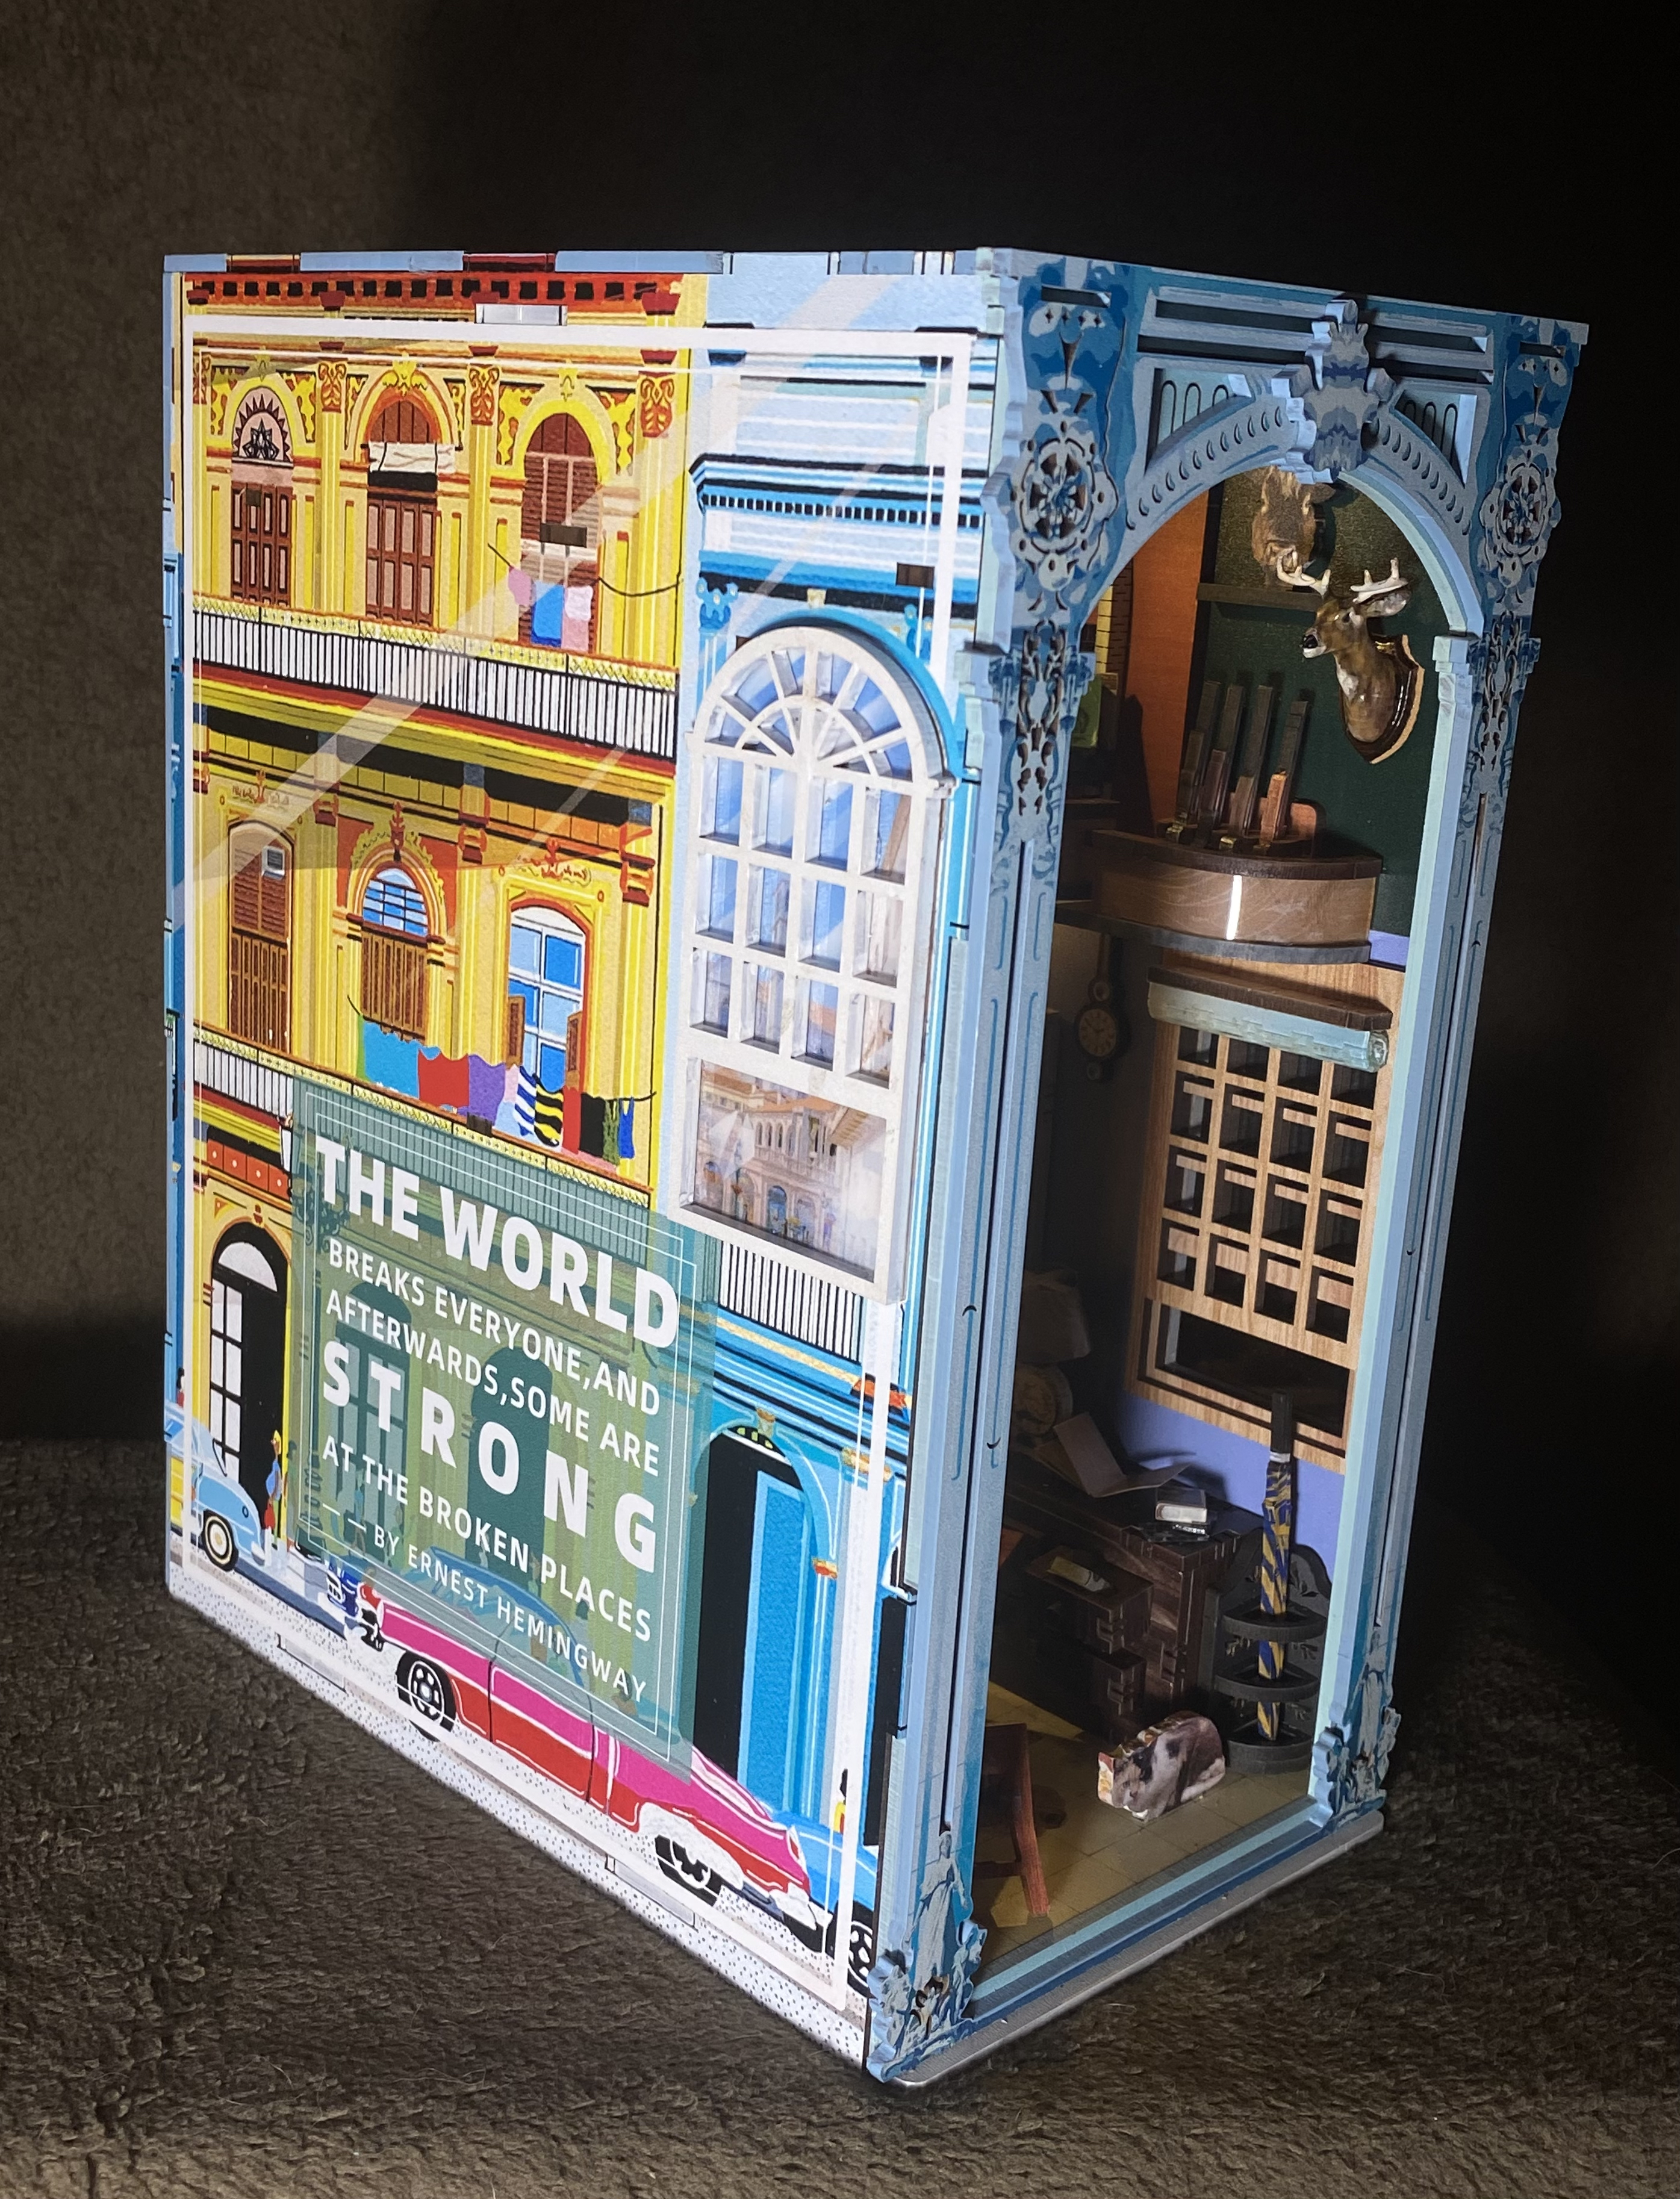
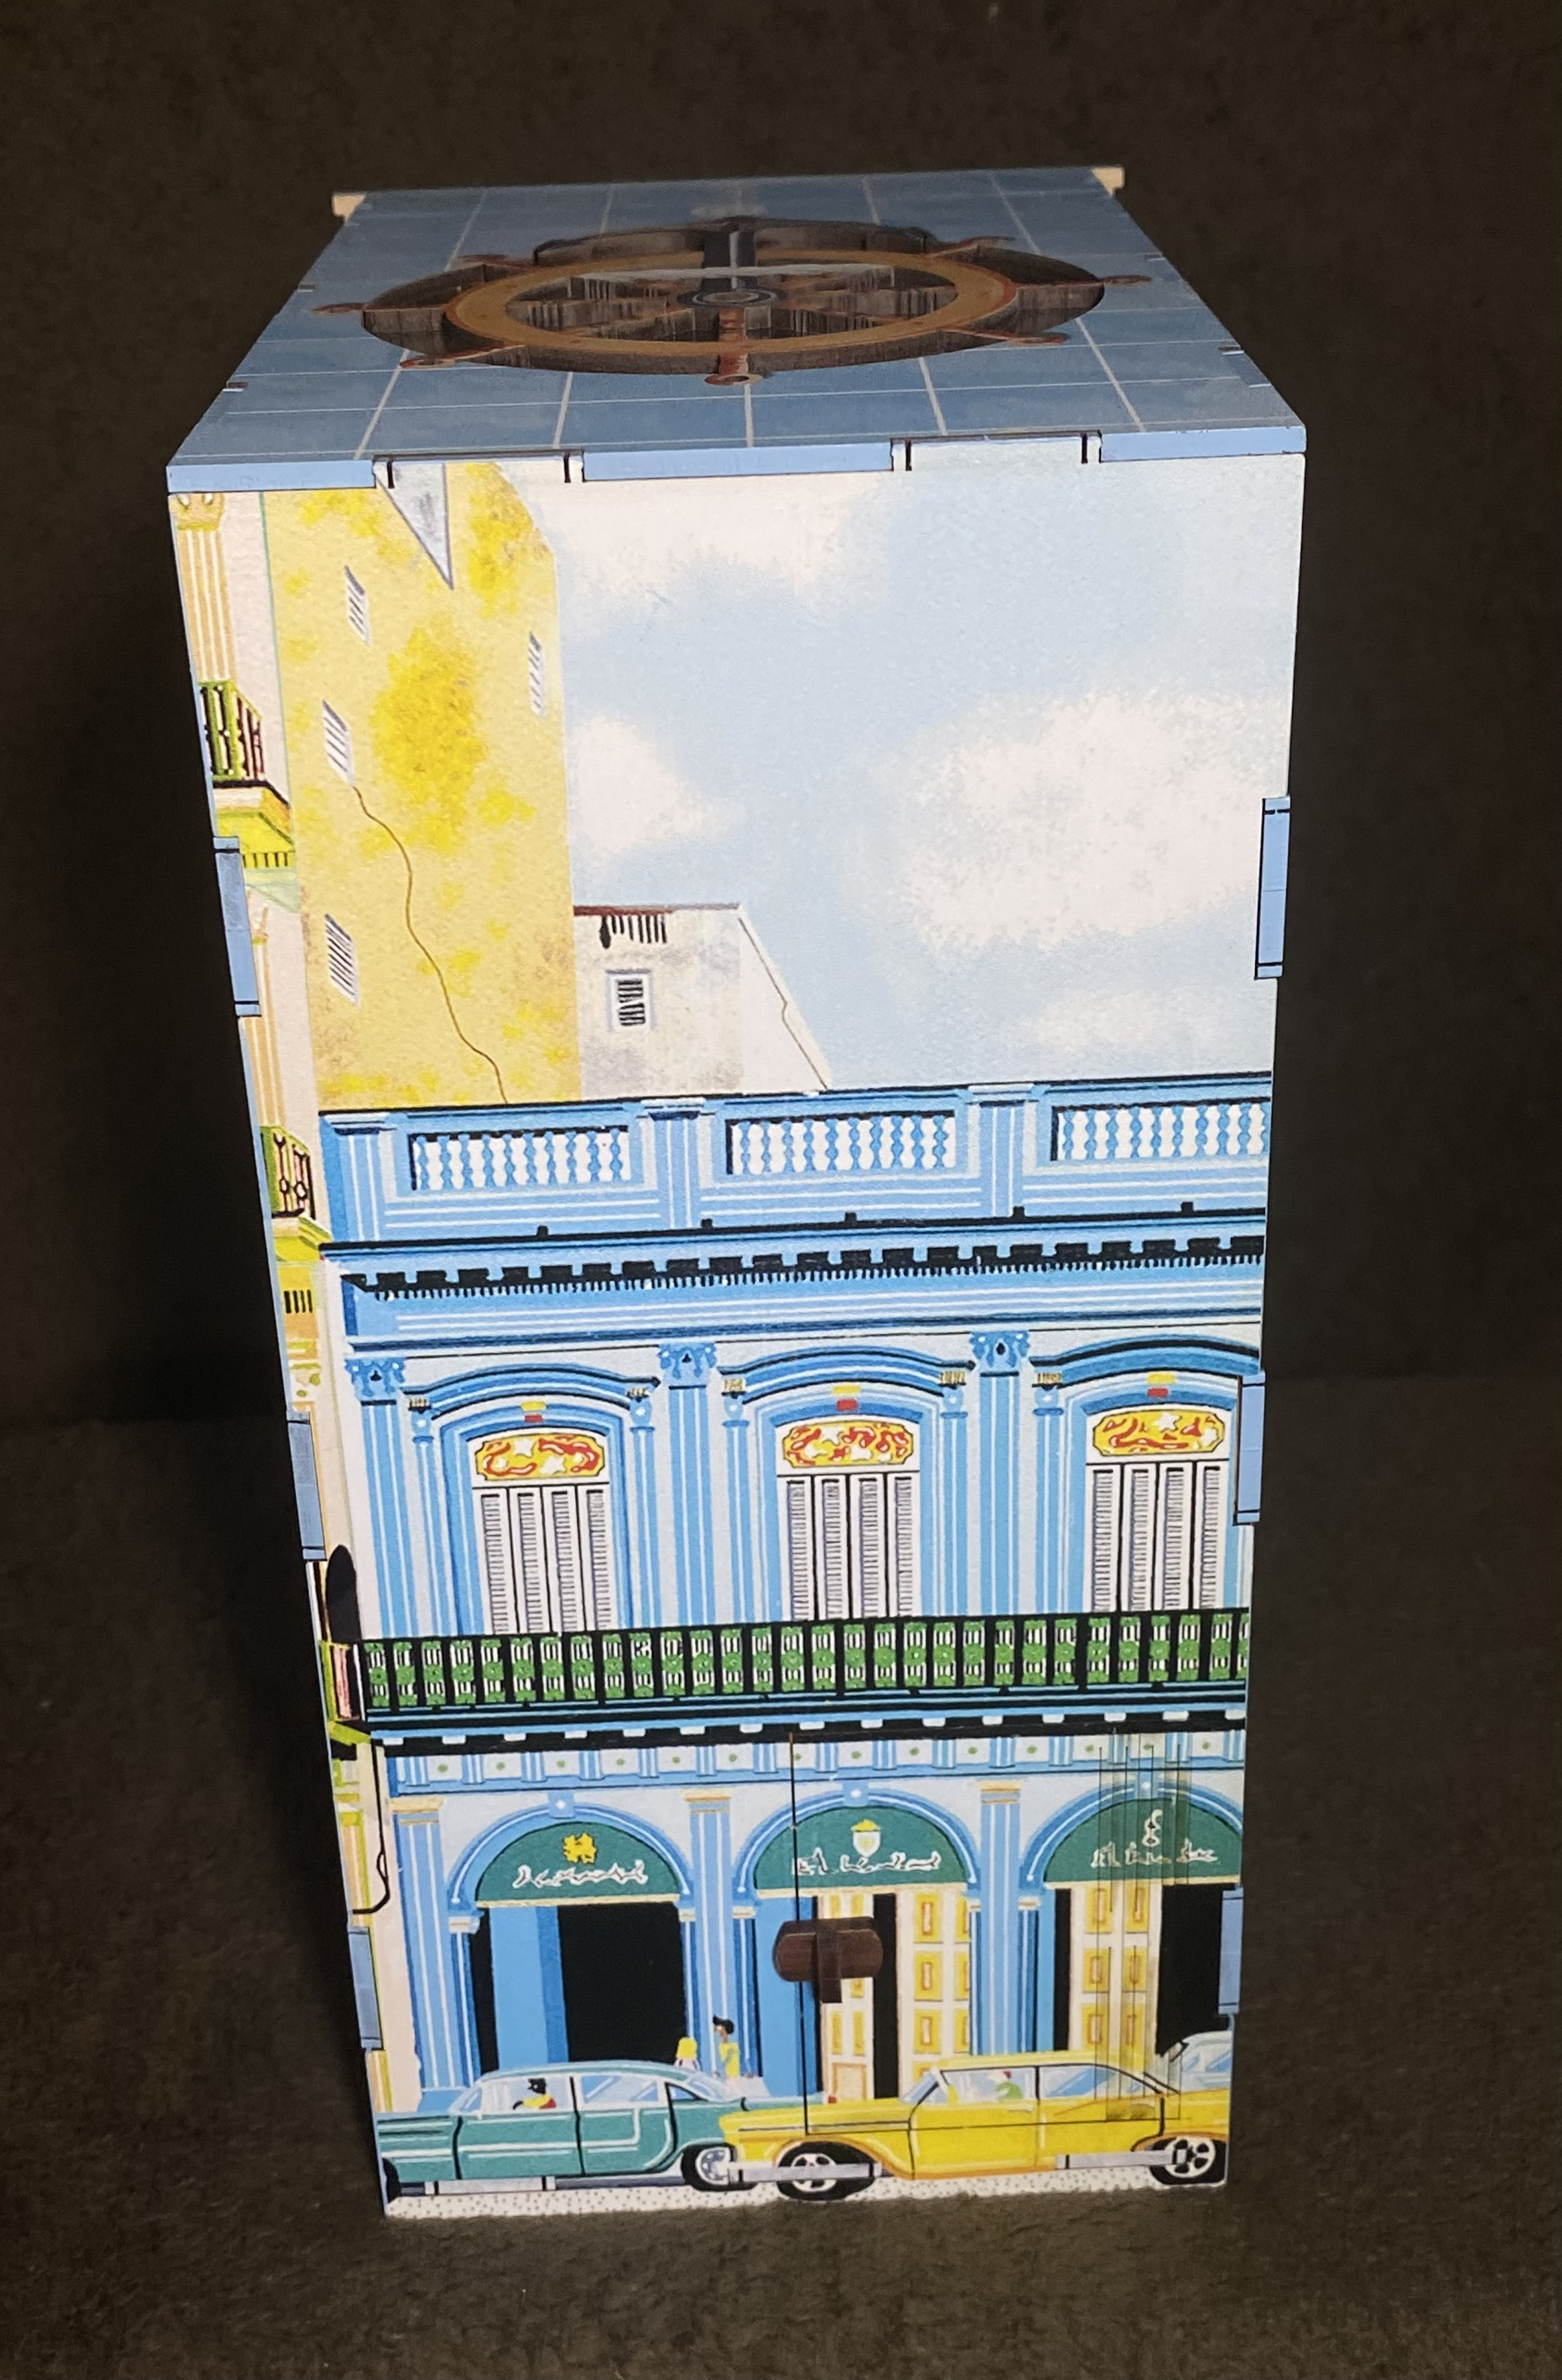
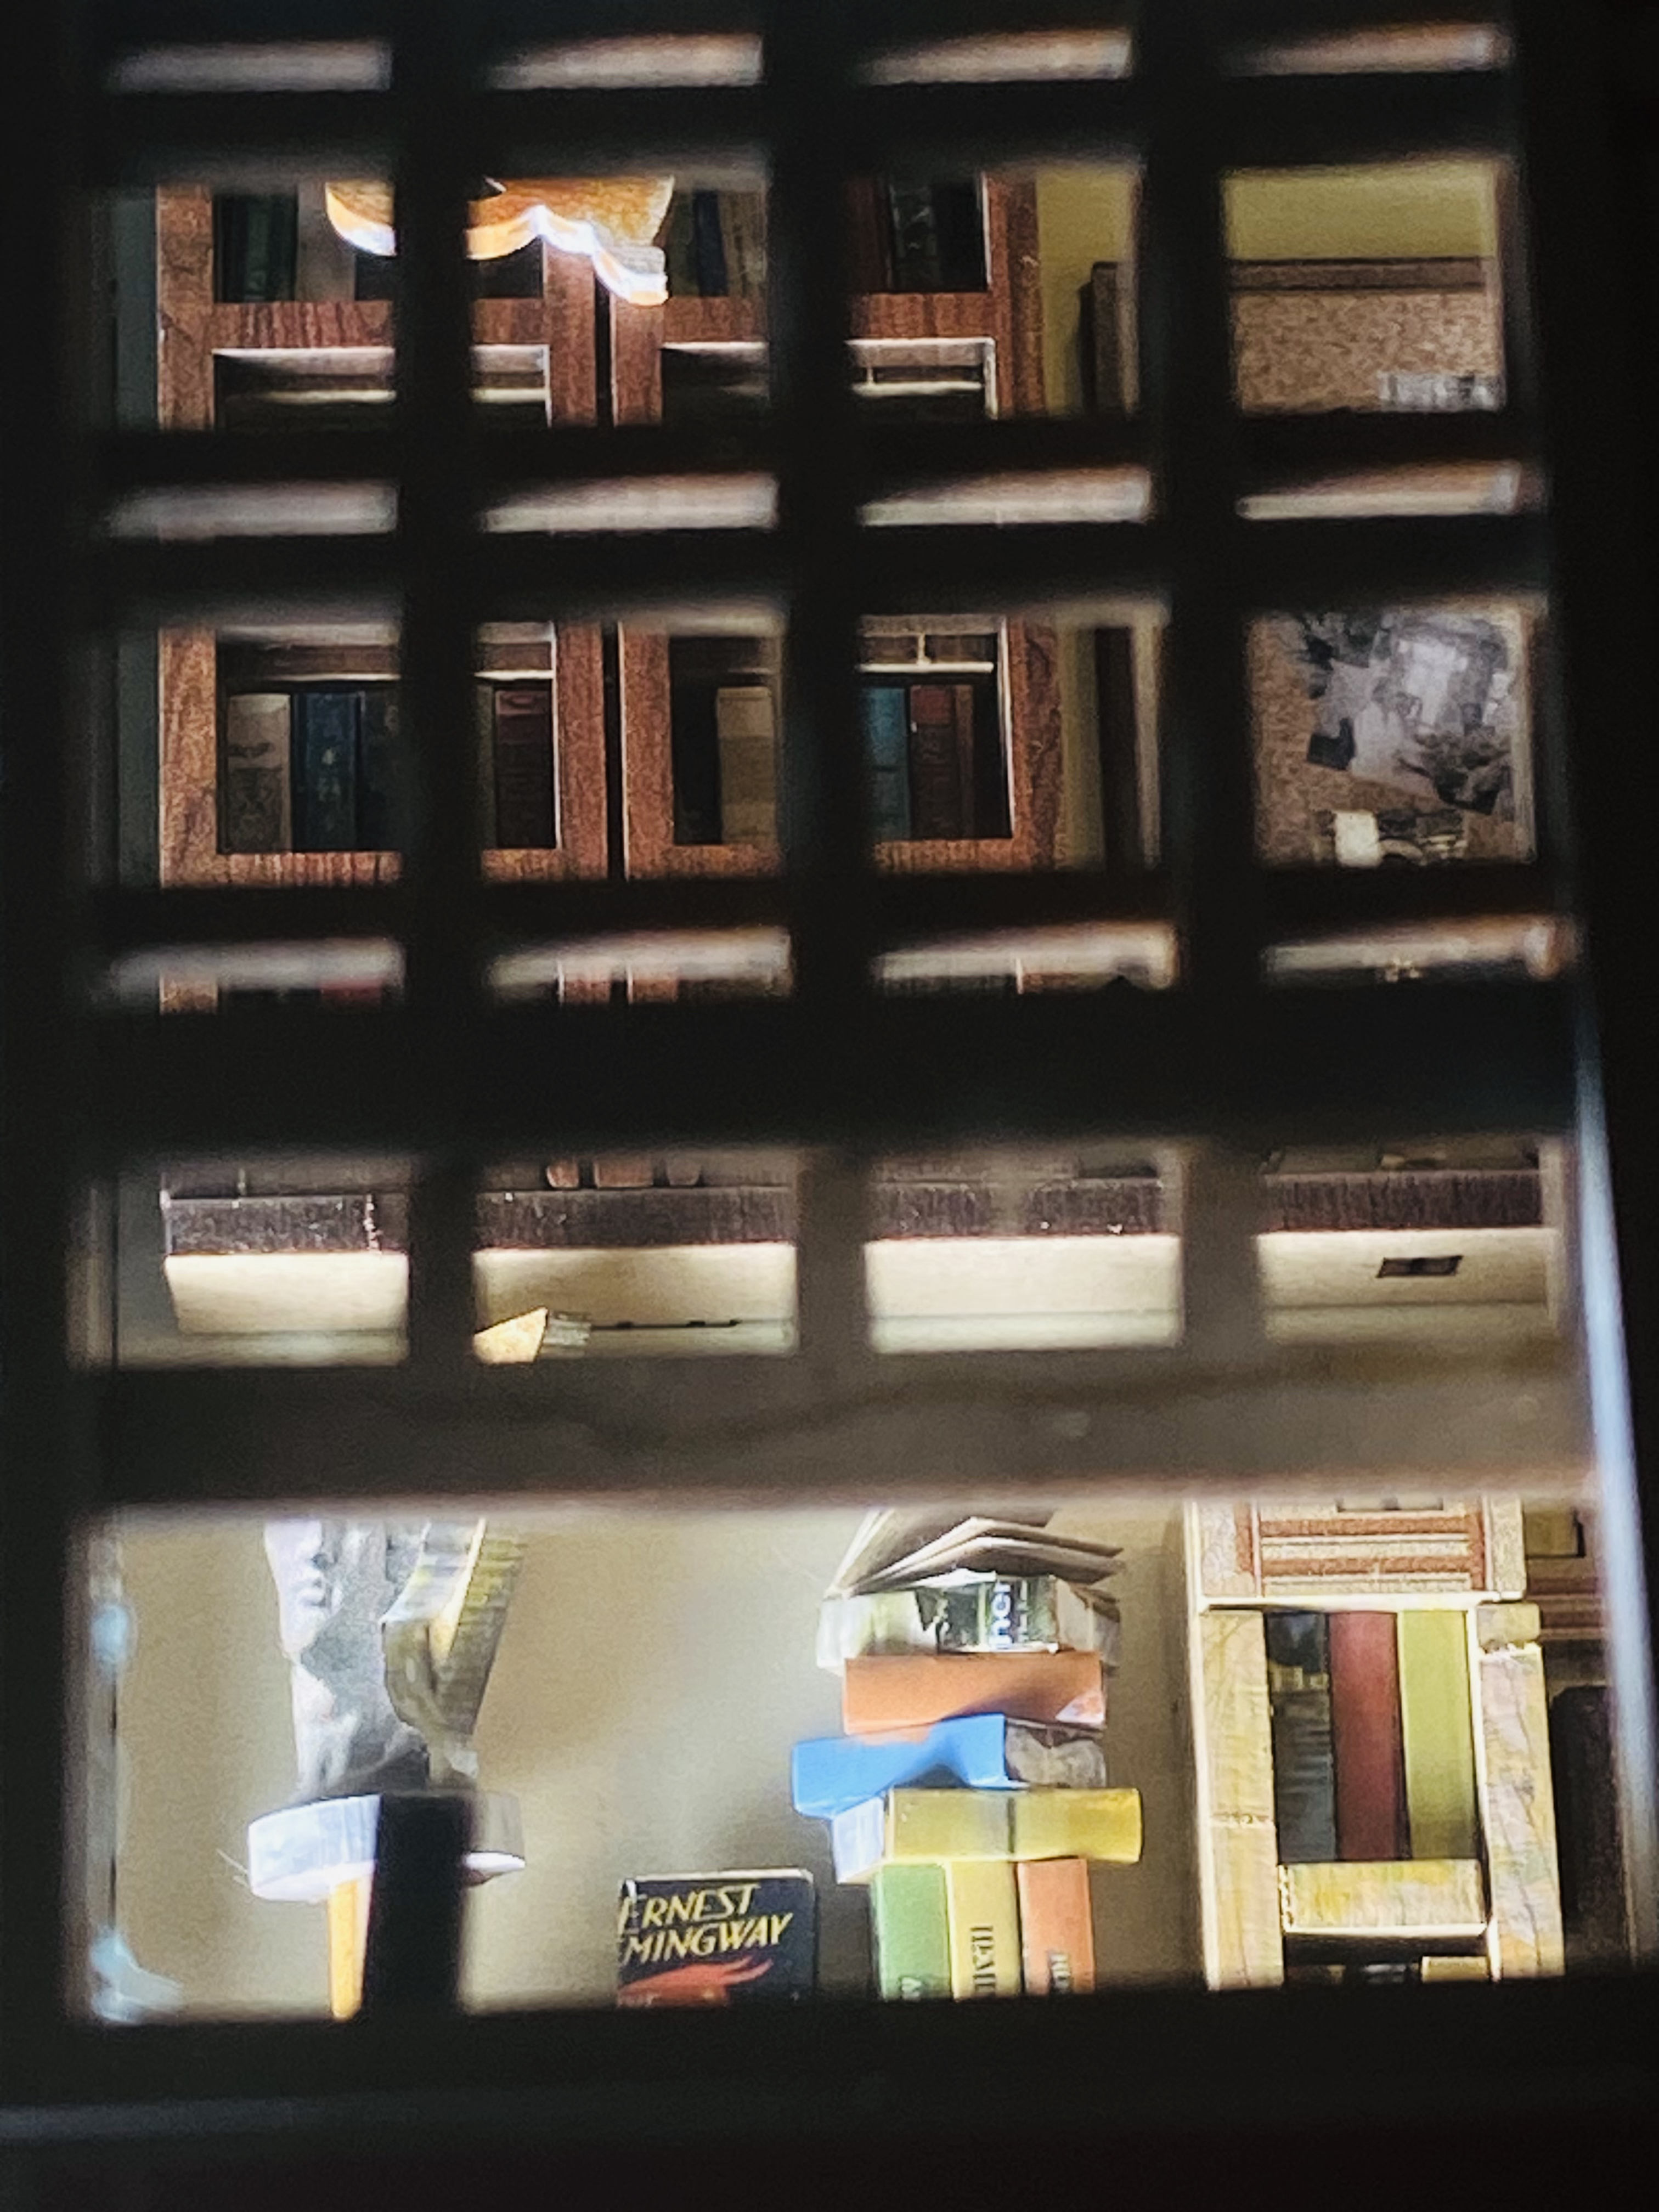
After 3 building sessions over 3 days I completed Hemingway House. Based on the real Key West Florida home and museum of its one time resident, the ultra macho Ernest Hemingway, MiniCity’s design is ultra detailed oriented…even if some details are not even visible in the final look. There is some whimsy thrown in against the serious manly accoutrements like a very cool motor boat crashing through the balcony railing hooked with a marlin and many cats posing about including one crawling up the bookcase. The real life Hemingway museum does have dozens of cats (and famously 6-toed ones) throughout its grounds. There is a beautiful acrylic plastic chandelier you assemble and even an extra set of all its parts if you accidentally break any of the fragile pieces or to build a 2nd chandelier you can use for another kit. Be warned there’s A LOT of books to assemble for those that hate bookmaking- not as many as Dreamy Book Hall – but very close to it. Also, there’s a very interesting typewriter to assemble out of many pieces, the aforementioned motor boat, and 3 animal trophy heads (ram, deer, rhino) to mount on the walls. The animal heads come all dark brown and look much like the milk chocolate Easter bunnies. I took a lot of time to paint them with acrylic markers so they resemble their real life counterpoints instead of a delectable candy. The right side panel has 2 see through windows you can look through to get a different perspective of the final build including a few things you can not see from the front view.


The real Hemingway House and Museum.
LIGHTING AND MANUAL ISSUES
As I was building I was thinking to myself how nicely written the Assembly Manual was and how helpful it was and then I got to the first lighting step in the build. Then I had to rethink that thought. There are 5 bead lights that do a very nice job lighting the entire build. Unfortunately, the directions for the exact placement of all 5 are incredibly ambiguous at best. For instance, the 2nd light you place (L3) is misnumbered as L2 in the directions and it appears a person has tried to add by hand a hook on the bottom of the “2” to turn it into a “3” but it looks nothing like a “3” and more like a smudge on the page. Luckily the Chinese directions have it labeled as L2 so I realized their mistake.

Also concerning the same light, the manual does NOT show you a photo of the light placement there. What you see is the back side of the wall with the wire going through the hole… for crying out loud – show the light!!!! Six pages later you can finally see the light in the background of another drawing. You never get to see the exact placement of lights 4 and 5 at all, one of which is the light for the chandelier. Once again you only get to see the back side of the ceiling with the wire going through the hole—- where exactly does the light bead go? Take your best guess, folks!
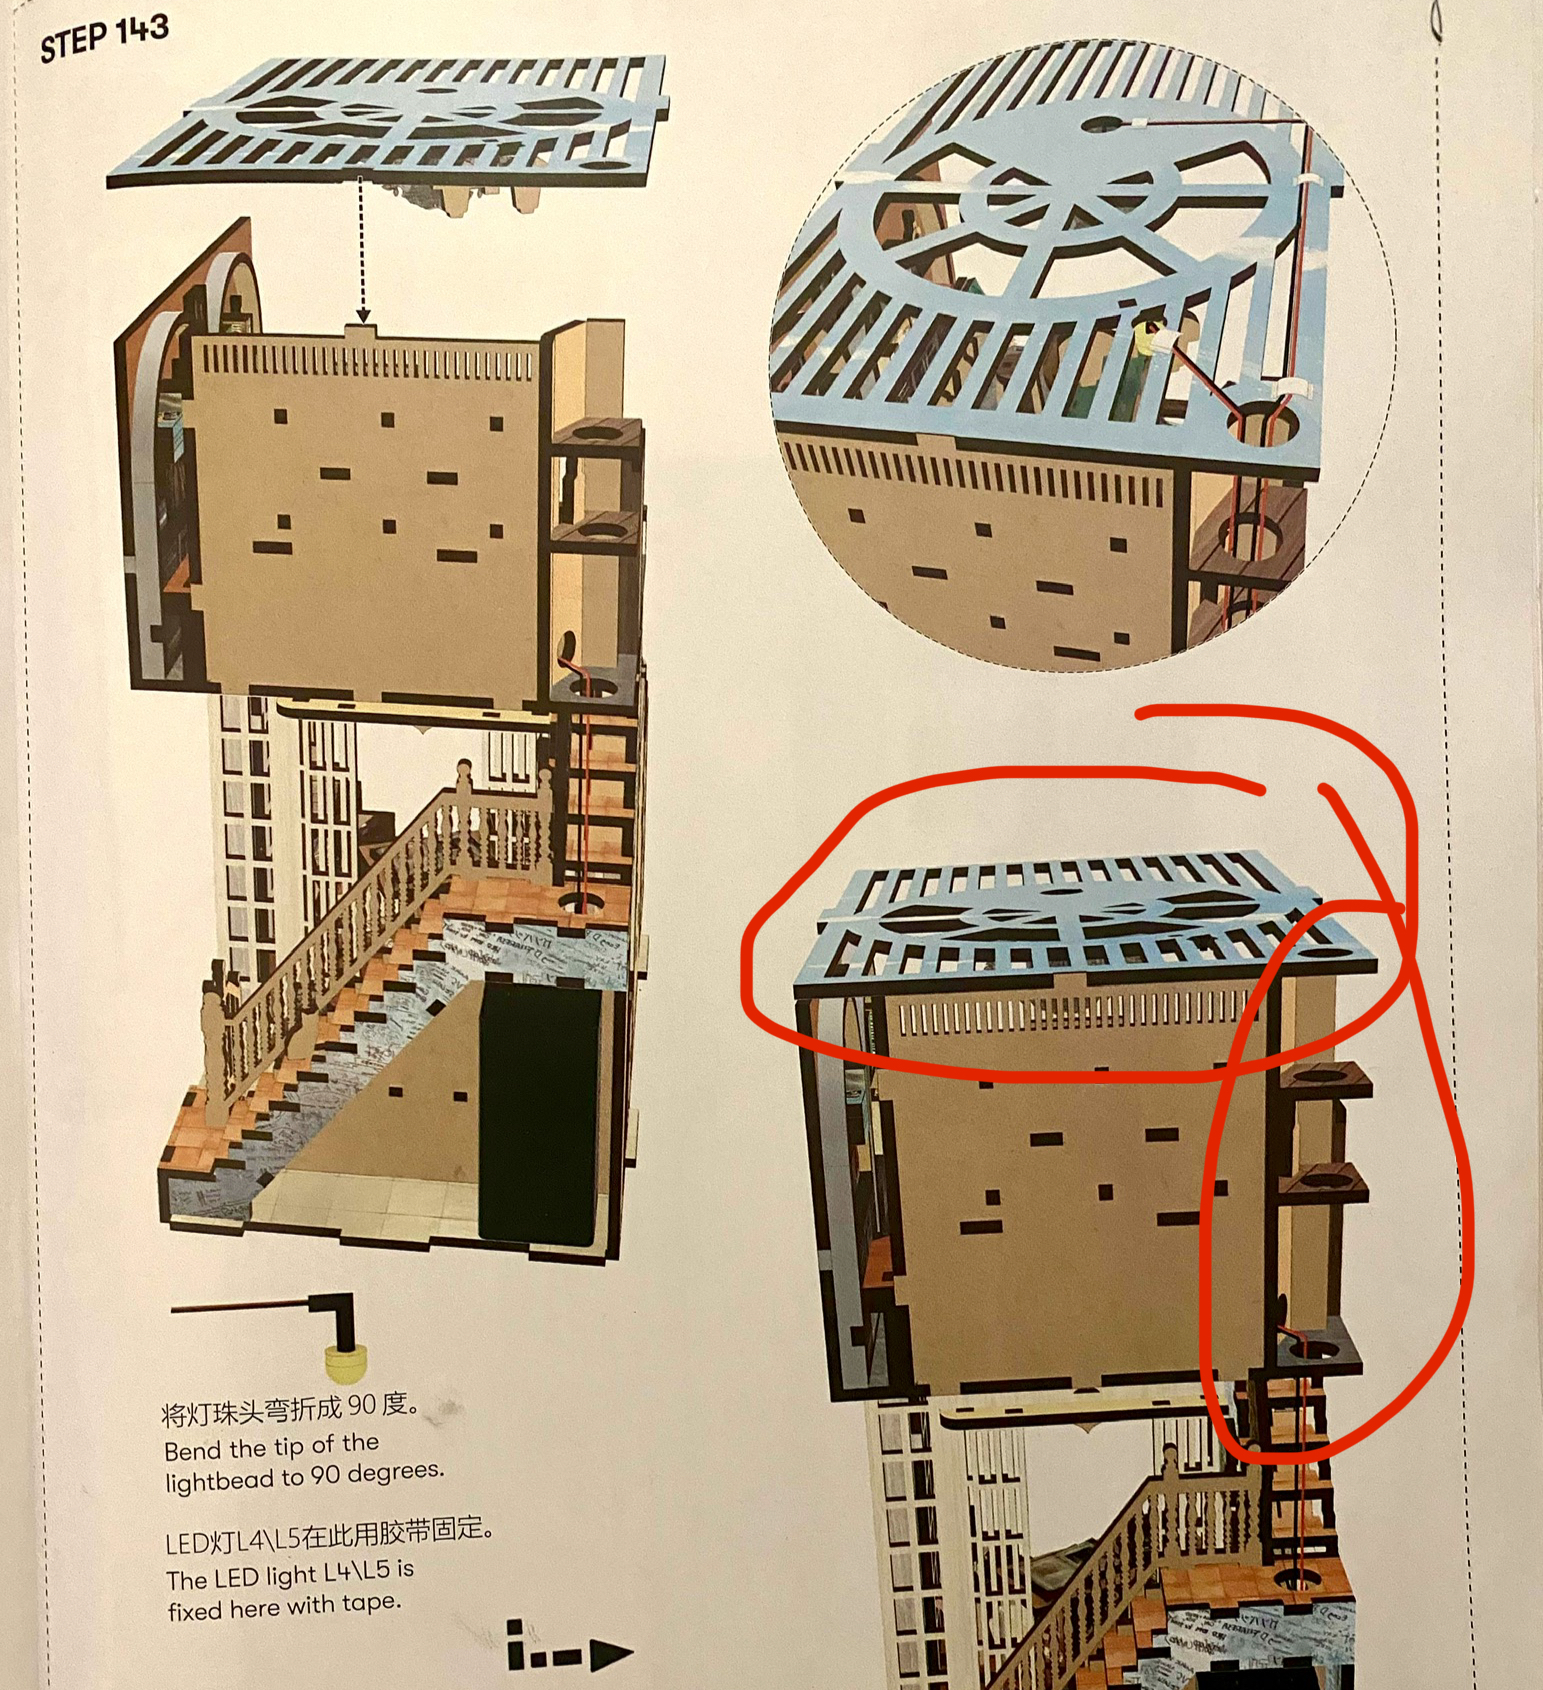

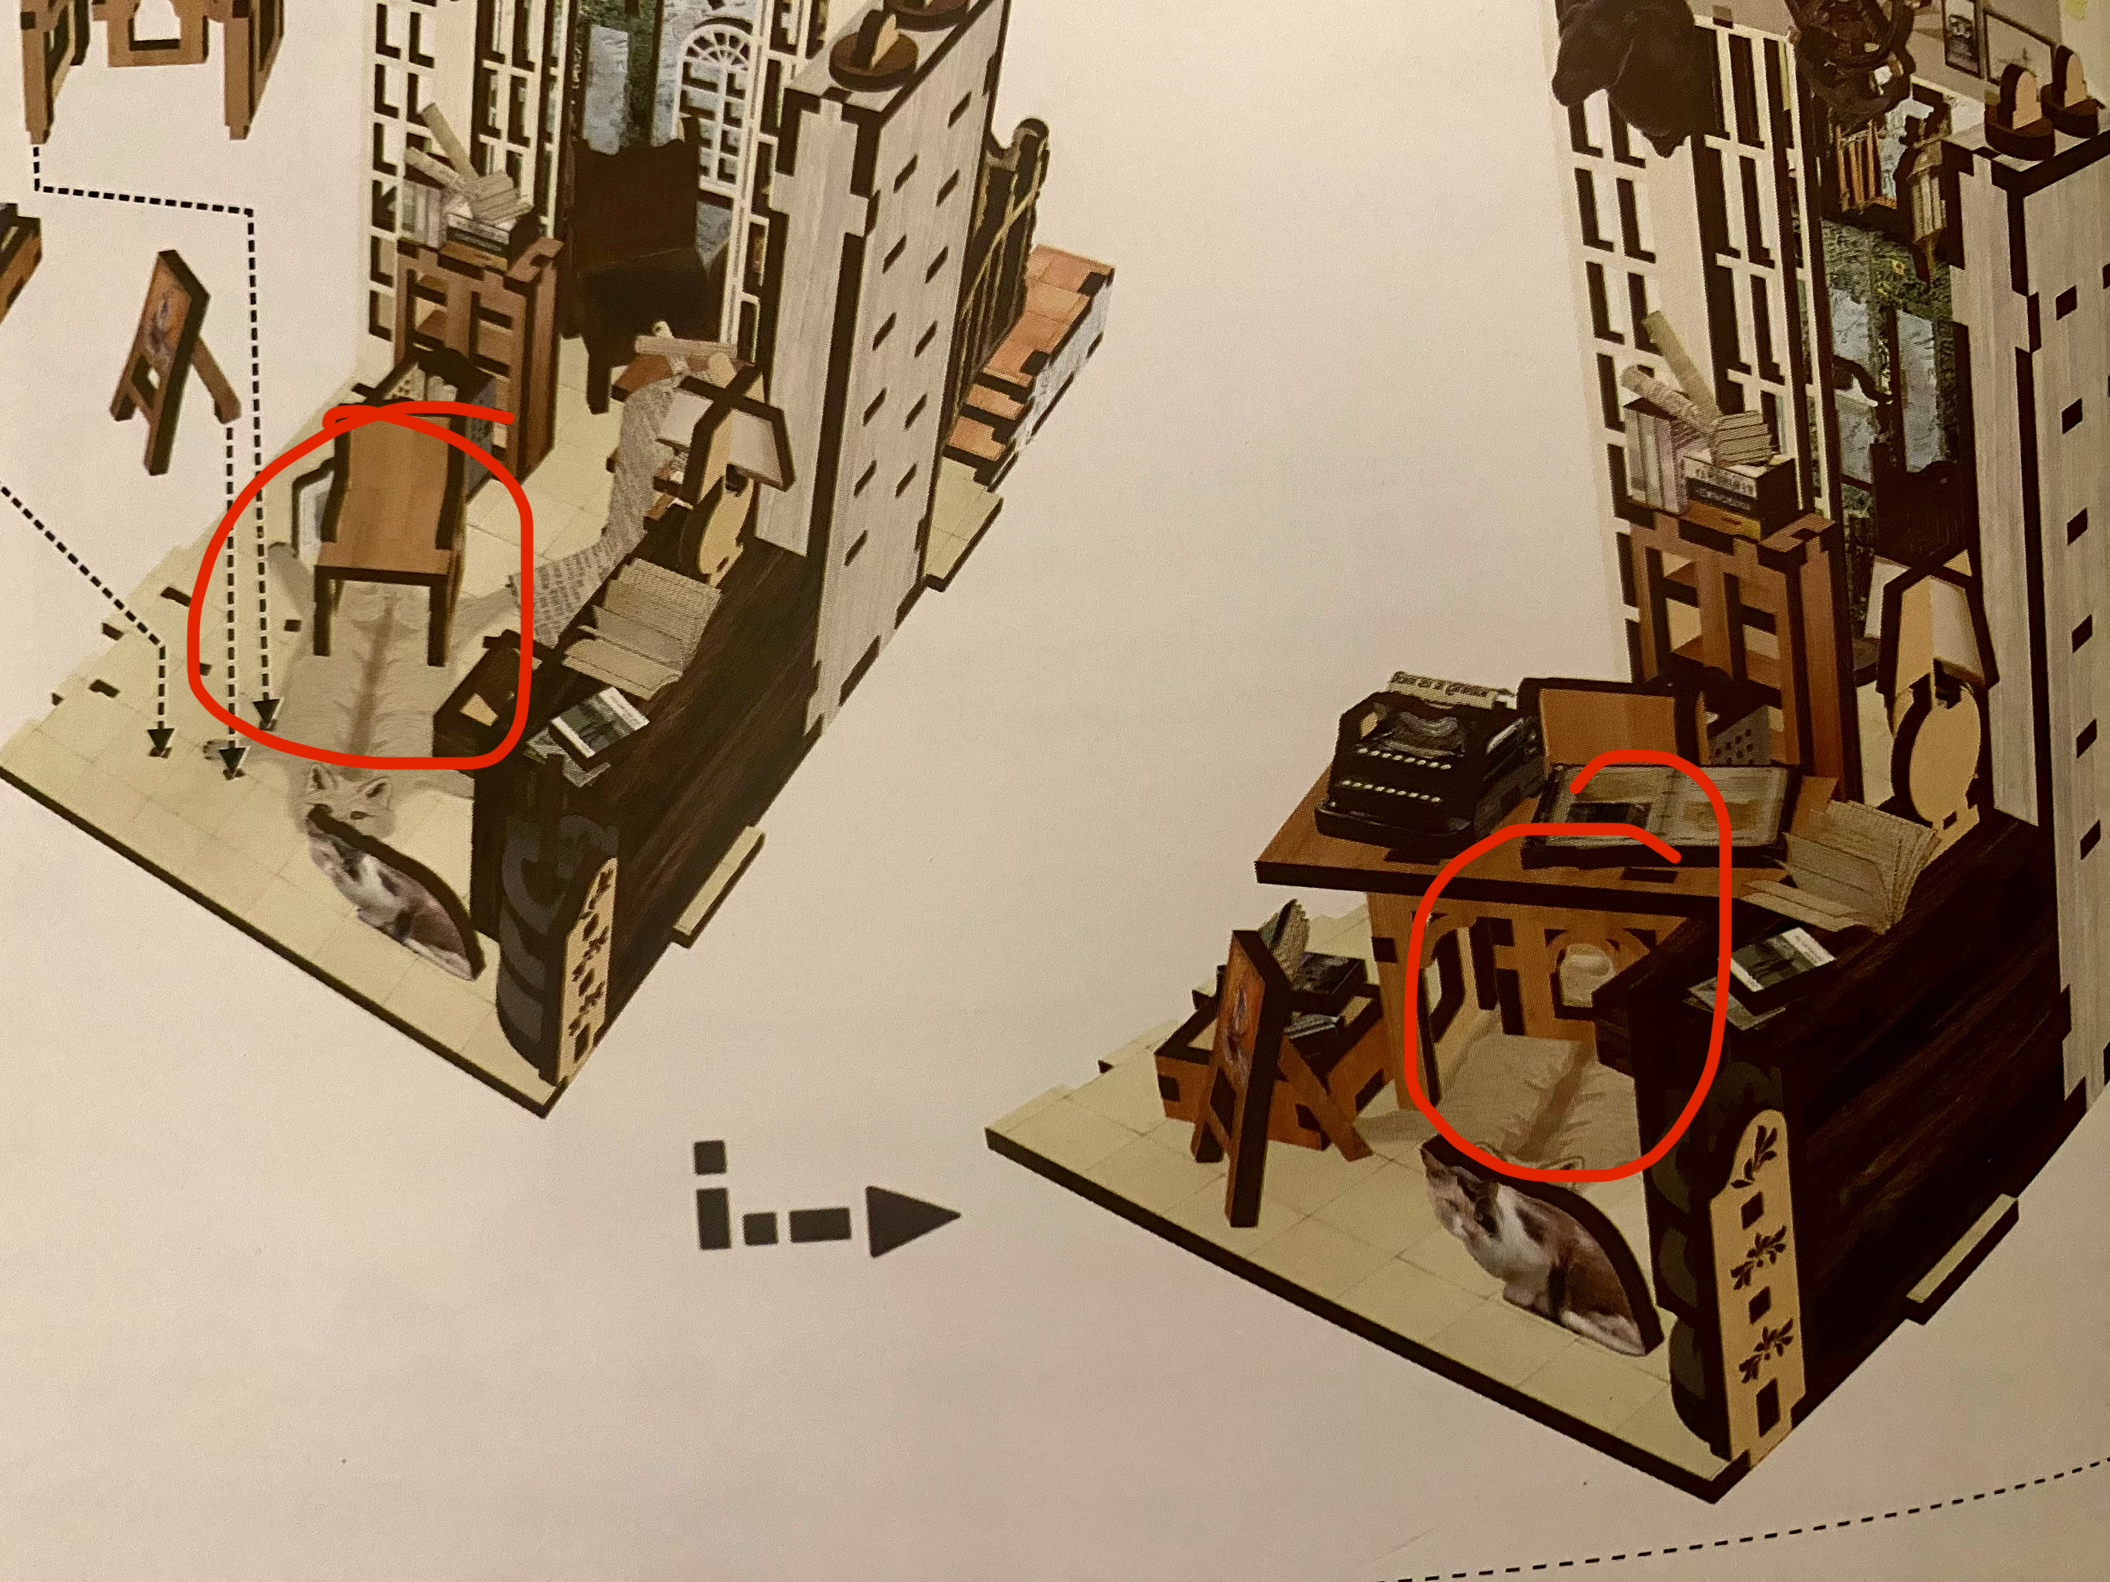
In the final drawing of this lighting step they actually forgot to add the lighting wires – whoopsie!! And the manual doesn’t tell or show you that ALL the lighting wires and the touch switch need to go through several of the first light passage holes- you have to figure it out by Osmosis apparently. Come on, MiniCity, give us a fighting chance on the lights!! What is also crazy about the lighting directions is that the lights all have different colored wires but the manual makes NO attempt to tell you which colored wires are what- it would have been so much easier to identify them by color. In fact, the manual shows all lights as having red and black wires when they do not. Whoops again! And on steps 95 & 96 a piece, the chair bottom lower front piece, is left out of the picture completely but mysteriously appears hiding under the table after putting it in place.
However, what I really do especially like about the manual is that it breaks up the build into 4 build sections and shows you what those sections will look like at the beginning of each section. That is so very helpful!


AFTERVIEW
Even though the design of this kit – much like its titular namesake – may seem very masculine, no doubt this kit can be just as attractive to women builders as well. The build is not fraught with any complications and the build flow is very well thought out and is very intuitive in its approach. The wood pieces are very strong and I did not break any pieces however I did break one of the fragile chandelier plastic arms – good thing there were extras included.
Although the design is very nice and crowded with details, at the end of the build I had a feeling that something was missing. Some visible greenery would definitely help and I may go back later and add some. Our very own master builder, Martin Seidler, designed and made 3D printed figurines of Hemingway and his wife and they certainly make his final look much more satisfying in my opinion. It adds life and humanity to the final look. I did not make any significant customizations beside painting all piece edges and weathering some bookcase edges by sanding. Although, I did change the orientation of the 2D bust statue by cutting off it’s bottom tab so it could be rotated more towards the front so it’s pretty printed face is more visible rather than the side edge.
The Hemingway House is a very handsome design and I had a wonderful time building it.
GALLERY


Leave a Reply