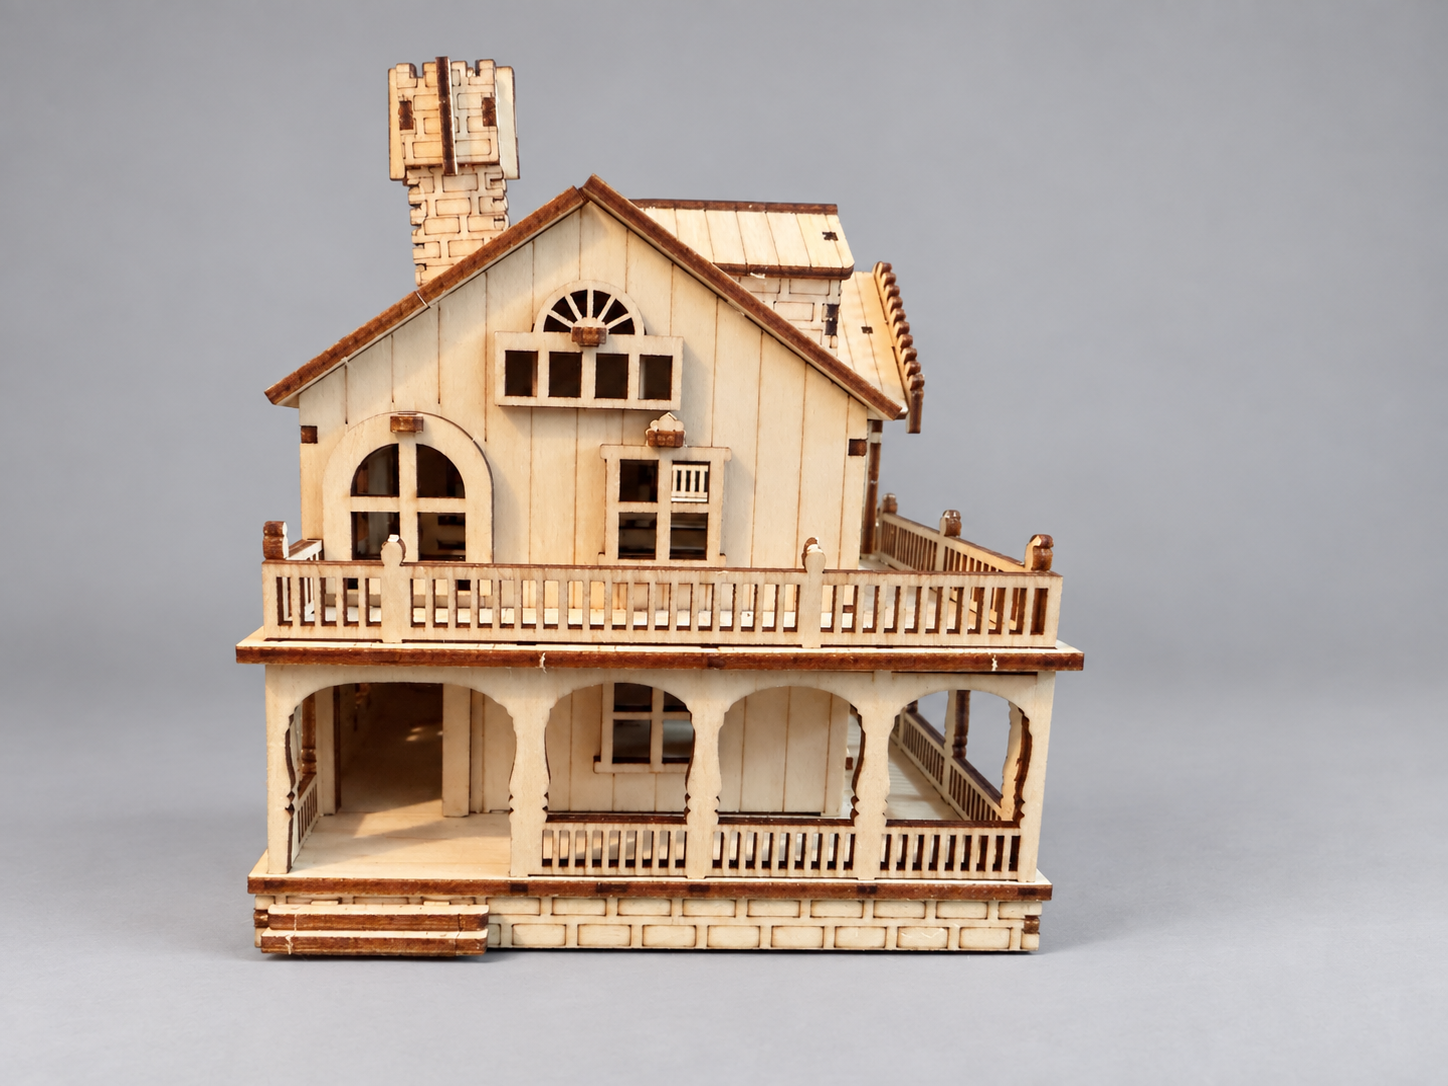
A very small parcel arrived for me from Temu. Inside was a box with a picture of a rather impressive château on the front. The only problem? The box measured just 15cm × 10cm × 5cm.
That is the danger of drinking a few glasses of Malbec and then venturing onto the Temu website. Expectations and parcel sizes do not always match.
My unbranded Oakridge Chateau 3D Wooden Puzzle went into the growing stash for a rainy day. Today, that day arrived. I am working on a very intricate diorama for someone and needed a little respite. With several larger kits already on the go, this £12 wooden model looked like the perfect change of pace.
The other thing of note is that Oakridge is the name of the primary School that my Grandchildren attend which was a nice twist.
Summary Table

What is inside the Oakridge Chateau kit?
Opening the box revealed eight small MDF sheets and a sanding stick. No stickers, no books, no lights, no decorative extras. Zilch else.
The instructions consisted of two A4 sheets printed in black and white. It was a very simple package, but that suited the job perfectly: a short build without another collection of tiny accessories to make or wires to hide.
The box dimensions are worth mentioning because they caught me out, but those are the packaging measurements, not the dimensions of the finished château.
Clear instructions and excellent laser cutting

Three things immediately stood out. First, the instructions were extremely clear and exact. The black and white diagrams showed where everything belonged without the dark photographs that can make some manuals difficult to interpret.
Second, the laser cutting was excellent. The pieces popped out cleanly, and I had very little need for the supplied sanding stick.
Third, I did not use a single drop of glue throughout the entire build. That is a first for me. The fit was remarkably good, although some connections required a little pressure. My small modelling hammer made an occasional appearance, with Maxwell’s silver hammer inevitably providing the soundtrack in my head.
It is worth approaching those tight joints carefully. The fit is reassuringly snug, but aligning the pieces before applying pressure makes life easier.
Building the base, walls and terraces

The build begins with an undercarriage that fits beneath the base. Once that was assembled and attached, I moved on to adding windows and frames to the various wall sections.
At this point, I started wondering whether I should paint it, add electrics and customise the whole thing. Then I remembered that I had chosen a £12 kit specifically to give myself a break. For once, I decided to keep things simple.
The sides and terrace roof fitted extremely well. Some stages do need careful alignment because several tabs must slot into place at the same time. That was a matter of taking my time and checking the position of each piece, rather than battling poor engineering.
A staircase that deserves a mention

The staircase was probably the best and easiest one I have ever built. Take note, Dreamy Manor Hall.
It was also one of the few pieces I coloured before deciding that painting could wait for another day. I was enjoying the straightforward assembly too much to turn this little interlude into another major project.
The chimney: my only real hiccup
The rest of the build continued in much the same way: clear instructions, cleanly cut pieces and an excellent fit.
Naturally, my only real hiccup came at the very final step, the chimney. I failed to spot that one of two similar-looking pieces was longer than its partner and put them the wrong way round.
Pay close attention to the instructions, David. Particularly when you think you are nearly finished.
That was my mistake rather than a problem with the kit. It is simply worth checking those chimney pieces carefully before fitting them.
Is Oakridge Chateau suitable for beginners?
My build took about three hours, making this a manageable introduction for someone who wants to try wooden models without the extra worry of electronics.
There are still a few snug joints and stages where multiple tabs need aligning, so patience matters. However, the clear diagrams and accurate cutting made it a very approachable build in my experience.
For an experienced builder, it also works wonderfully as a short break between more demanding projects. I had expected a modest little diversion and ended up thoroughly enjoying it.
My verdict: a surprisingly satisfying £12 build
I adored building this little château. It gave me exactly the light relief I needed from more intricate book nooks and dioramas, with excellent engineering and no lighting installation to interrupt the flow.
The unbranded Oakridge Chateau 3D Wooden Puzzle is a simple architectural model, and its appeal is in the assembly itself. At the £12 I paid, that was more than enough.
I will keep it for another rainy day, when I may return to the idea of painting it and adding some lighting. For now, it is back to my diorama.


Leave a Reply