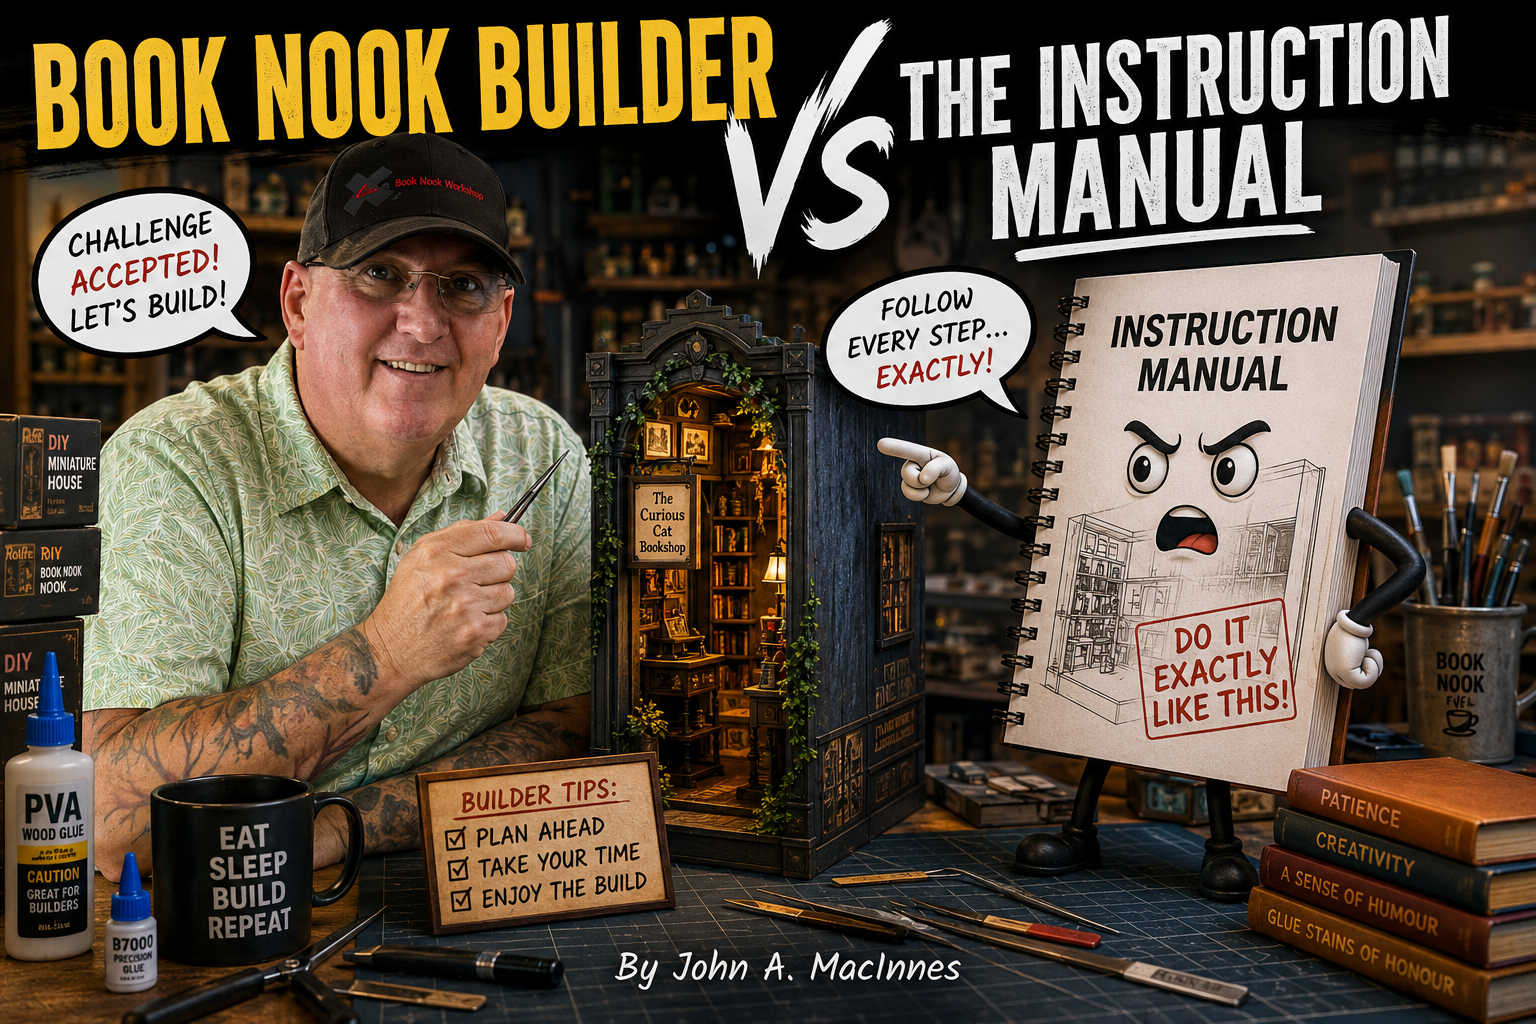
Written by: John A. MacInnes
When following the instructions becomes the hardest part of the build
There comes a moment in almost every book nook build when you realise something rather disturbing.
You are no longer building the kit.
You are fighting the instruction manual.
It usually starts innocently enough.
You open the box, admire the beautifully illustrated booklet and think:
“Right. This looks straightforward.”
Five minutes later, you’re holding three pieces of MDF, a tiny bag of unidentified wooden objects and an LED cable that appears to have absolutely nowhere to go.
Welcome to book nook building.
Step 1: Find the part

The instructions confidently announce:
“Take part A17.” Simple enough.
You look through the parts. A1. A2. A3. A4. A5. A6…
You eventually reach A16. Then A18.
A17 has apparently decided it doesn’t want to participate.
You check the bag. Nothing.
You check the floor. Nothing.
You check inside the box. Nothing.
You begin to wonder whether A17 is actually required at all.
Then, 20 minutes later, you discover it.
It is approximately 4mm long, stuck to the back of the sheet you have already thrown into the recycling.
Of course it is.
The illustrations

Most instruction manuals contain pictures.
This is generally considered helpful.
Unfortunately, some manuals appear to have been designed on the assumption that every builder possesses the eyesight of an eagle and the ability to interpret ancient hieroglyphics.
You are presented with a beautiful illustration showing two pieces being joined together.
Unfortunately, the actual piece in your hand is about the size of a postage stamp.
The picture shows a clearly defined hole.
Your piece does not appear to have a hole.
You rotate it. Still no hole.
You turn it over. Still no hole.
You hold it under a magnifying glass. Ah. There it is. A tiny hole about the size of a human hair.
“Excellent,” you say.
Then you realise you’ve been looking at the wrong piece!
The mysterious arrow

Every instruction manual has arrows.
Arrows are supposed to tell us what goes where.
But occasionally you encounter an arrow that seems to have been drawn by someone who has never actually seen the finished model.
The arrow points vaguely towards a general area of the build.
You stare at it. You stare at the piece. You stare at the picture.
Then back at the piece. Eventually you decide: “I’m sure that’s what they mean.”
This is the first major turning point in any build. From this moment onwards, you are no longer following the instructions. You are interpreting them.
There is a difference.
“Repeat the previous step”

This sentence should be banned.
Particularly when the previous step involved six different pieces, three different orientations and a tiny component that you weren’t entirely sure you’d fitted correctly in the first place.
“Repeat the previous step.”
Which part of it? All of it? Some of it?
Do I need another six pieces?
Is this supposed to look like that?
Why are there only five pieces left?
And, most importantly:
Did I actually do the previous step correctly?
At this point, you start turning the manual pages backwards.
This is never a good sign.
The upside-down moment

Eventually, you reach the point where something doesn’t fit.
You push gently. Nothing.
You try again. Still nothing.
You check the manual. Everything appears correct.
You rotate the piece. No.
Rotate it back. No.
Try another piece. No.
Eventually you turn the entire assembly upside down. It fits perfectly.
You experience a brief moment of triumph.
Then you realise the whole thing is now upside down.
This is usually followed by a period of silence.
And possibly another dram (Google it).
The instruction that doesn’t exist

One of the most exciting discoveries in book nook building is reaching an instruction that assumes you’ve already done something which the manual has never actually told you to do.
“Attach the completed assembly to the rear wall.”
Completed assembly? What completed assembly?
You turn back through the instructions. Nothing.
You check the previous page. Nothing.
Two pages earlier. Nothing.
Eventually you find a tiny picture in Step 8 which apparently showed you doing it.
You are currently on Step 23. You look at the model. You look at the manual. You look at the glue bottle.
You consider moving to another hobby.
Glue makes everything permanent

There is another important rule when dealing with instruction manuals:
Never glue anything until you are absolutely certain it is correct.
This is excellent advice.
Unfortunately, the human brain has a strange reaction to this advice.
You spend ten minutes carefully checking the orientation. You dry-fit everything. You check the picture. You check it again. You convince yourself it is correct.
You apply the glue. You press the pieces together. And immediately notice that you’ve put it on backwards.
The glue, meanwhile, has apparently achieved industrial strength.
Five seconds earlier it was liquid.
Now it could probably hold a bridge together.
You try to separate the pieces. Nothing.
You pull harder. Still nothing.
You contemplate whether the manufacturer will send you a replacement part if you tell them you accidentally destroyed it while following their instructions.
You decide not to ask.
The wiring chapter

Then comes the electrical section.
This is where many builders discover that they were actually quite happy with the wooden bits.
The manual suddenly introduces:
- red wires
- black wires
- white wires
- connectors
- switches
- touch sensors
- PIR sensors
- circuit boards
- LEDs
- and something that appears to have three wires when you’re fairly sure it should only have two.
The instructions say:
“Connect cable as shown.” The cable is shown in a tiny black-and-white illustration.
You stare at it. You turn your actual cable over. You turn the manual around. You stare again.
Eventually you decide to connect it and hope for the best.
You switch it on. Nothing happens. You switch it off. You move the cable. You switch it on again. Still nothing.
You begin questioning every decision you’ve made since opening the box.
Then you realise the battery box isn’t switched on.
Welcome back to civilisation.
The spare parts conspiracy

Most kits contain spare pieces, and for most of us this is very reassuring, if not verging on cavalier!
Until you finish the build and discover you have three pieces left over.
You immediately assume you’ve done something wrong.
You check the manual. Guess what, yeah nothing.
You go through every step. Nothing again.
You inspect the finished model. It looks fine.
You count the spare pieces again. Three.
This creates an uncomfortable situation.
Because now you don’t know whether they are:
A. Genuine spares.
B. Parts you forgot to install.
C. Parts intended for another version of the kit.
D. Evidence that your build is fundamentally wrong.
Most experienced builders eventually adopt a simple policy:
If the model looks right and the spare parts aren’t obviously required, don’t touch anything.
Put them in the little bag marked “spares”.
You will almost certainly need one of them three years from now.
You just won’t remember what it was for.
When you stop reading the manual

Eventually, something wonderful happens. You stop trusting the instructions, albeit not completely.
You still consult them.
But now you have developed something far more powerful. Builders instinct.
You look at the picture and think: “That can’t possibly be right.”
And you’re correct.
You look at the parts and think: “Surely that piece goes here.”
It does.
You look at the next instruction and think: “They’ve missed something.”
They have.
This is the point at which you realise you’ve graduated from beginner to experienced builder.
You no longer blindly follow the manual.
You negotiate with it.
The final boss

Eventually you reach the final few steps.
The model is looking fantastic. The lights work. The pieces are glued. The tiny furniture is in place.
You’ve survived the manual. Then you turn the page.
“Finally, attach the completed scene to the outer case.”
You look at the case. You look at the scene. You look at the manual.
There are approximately 400 things that could go wrong.
This is the final leg. You take a deep breath. You dry-fit everything. You check it again. You check it from the front. You check it from the back. You check the wiring. You check the lighting. You check the orientation. You check it one more time. Then you glue it.
And it fits perfectly.
You sit back. You admire your work. You have defeated the instruction manual.
The builder’s golden rules

After enough book nook builds, you eventually develop your own set of rules.
Rule 1: Read the instructions before reaching for the glue.
Rule 2: If something doesn’t fit, don’t force it. You’re probably holding it upside down.
Rule 3: If the instructions don’t make sense, check the next step. Sometimes the missing information is hiding there.
Rule 4: Never throw away the parts sheets until the build is finished.
Rule 5: If there are spare pieces, keep them.
Rule 6: If the wiring looks confusing, don’t guess. Work out where every cable begins and ends first.
Rule 7: Never assume that because you’ve glued something, you’ve glued it correctly.
Rule 8: Keep the manual.
Even if you finish the build perfectly, you will eventually need it again.
Usually when someone asks:
“Where did that little piece come from?”
And finally…

The truth is, instruction manuals are part of the book nook experience.
Sometimes they’re brilliant.
Sometimes they’re beautifully illustrated and incredibly clear.
And sometimes they appear to have been translated from Chinese into English, then back into Chinese, before finally being interpreted by someone who lives in an island off the African Coast, has intermittent dial up broadband, has never actually seen the kit.
But that’s all part of the fun.
Because eventually you learn to work around them. You learn to read the pictures.
You learn to dry-fit before gluing.
You learn that “repeat previous step” is not a complete instruction.
And you learn that when the manual says something like:
“Carefully install the remaining components.”
…it means you’re on your own.
So the next time you’re halfway through a book nook, surrounded by tiny pieces, holding a part that isn’t mentioned anywhere in the instructions and wondering whether it is supposed to be there…
Don’t panic. You’re not doing it wrong.
You’re becoming an experienced book nook builder.
And if all else fails?
Turn the manual upside down, It probably makes just as much sense that way, and failing that call the translator for help!
Leave a Reply