By Ian Scott Horst
It’s clear that Book Nooks are created and marketed by proven sales strategies, giving hobbyists what they want, and doing it frequently. Sometimes, let’s be honest, we have to pause and ask ourselves, “Is this a new magic cottage or one of the six I’ve already built?” or “Another Song Dynasty kit, how is it different from the seven others on my shelf?”
I had an experience with a kit that reminds me how and why we Book Nook addicts keep our love for the hobby fresh.
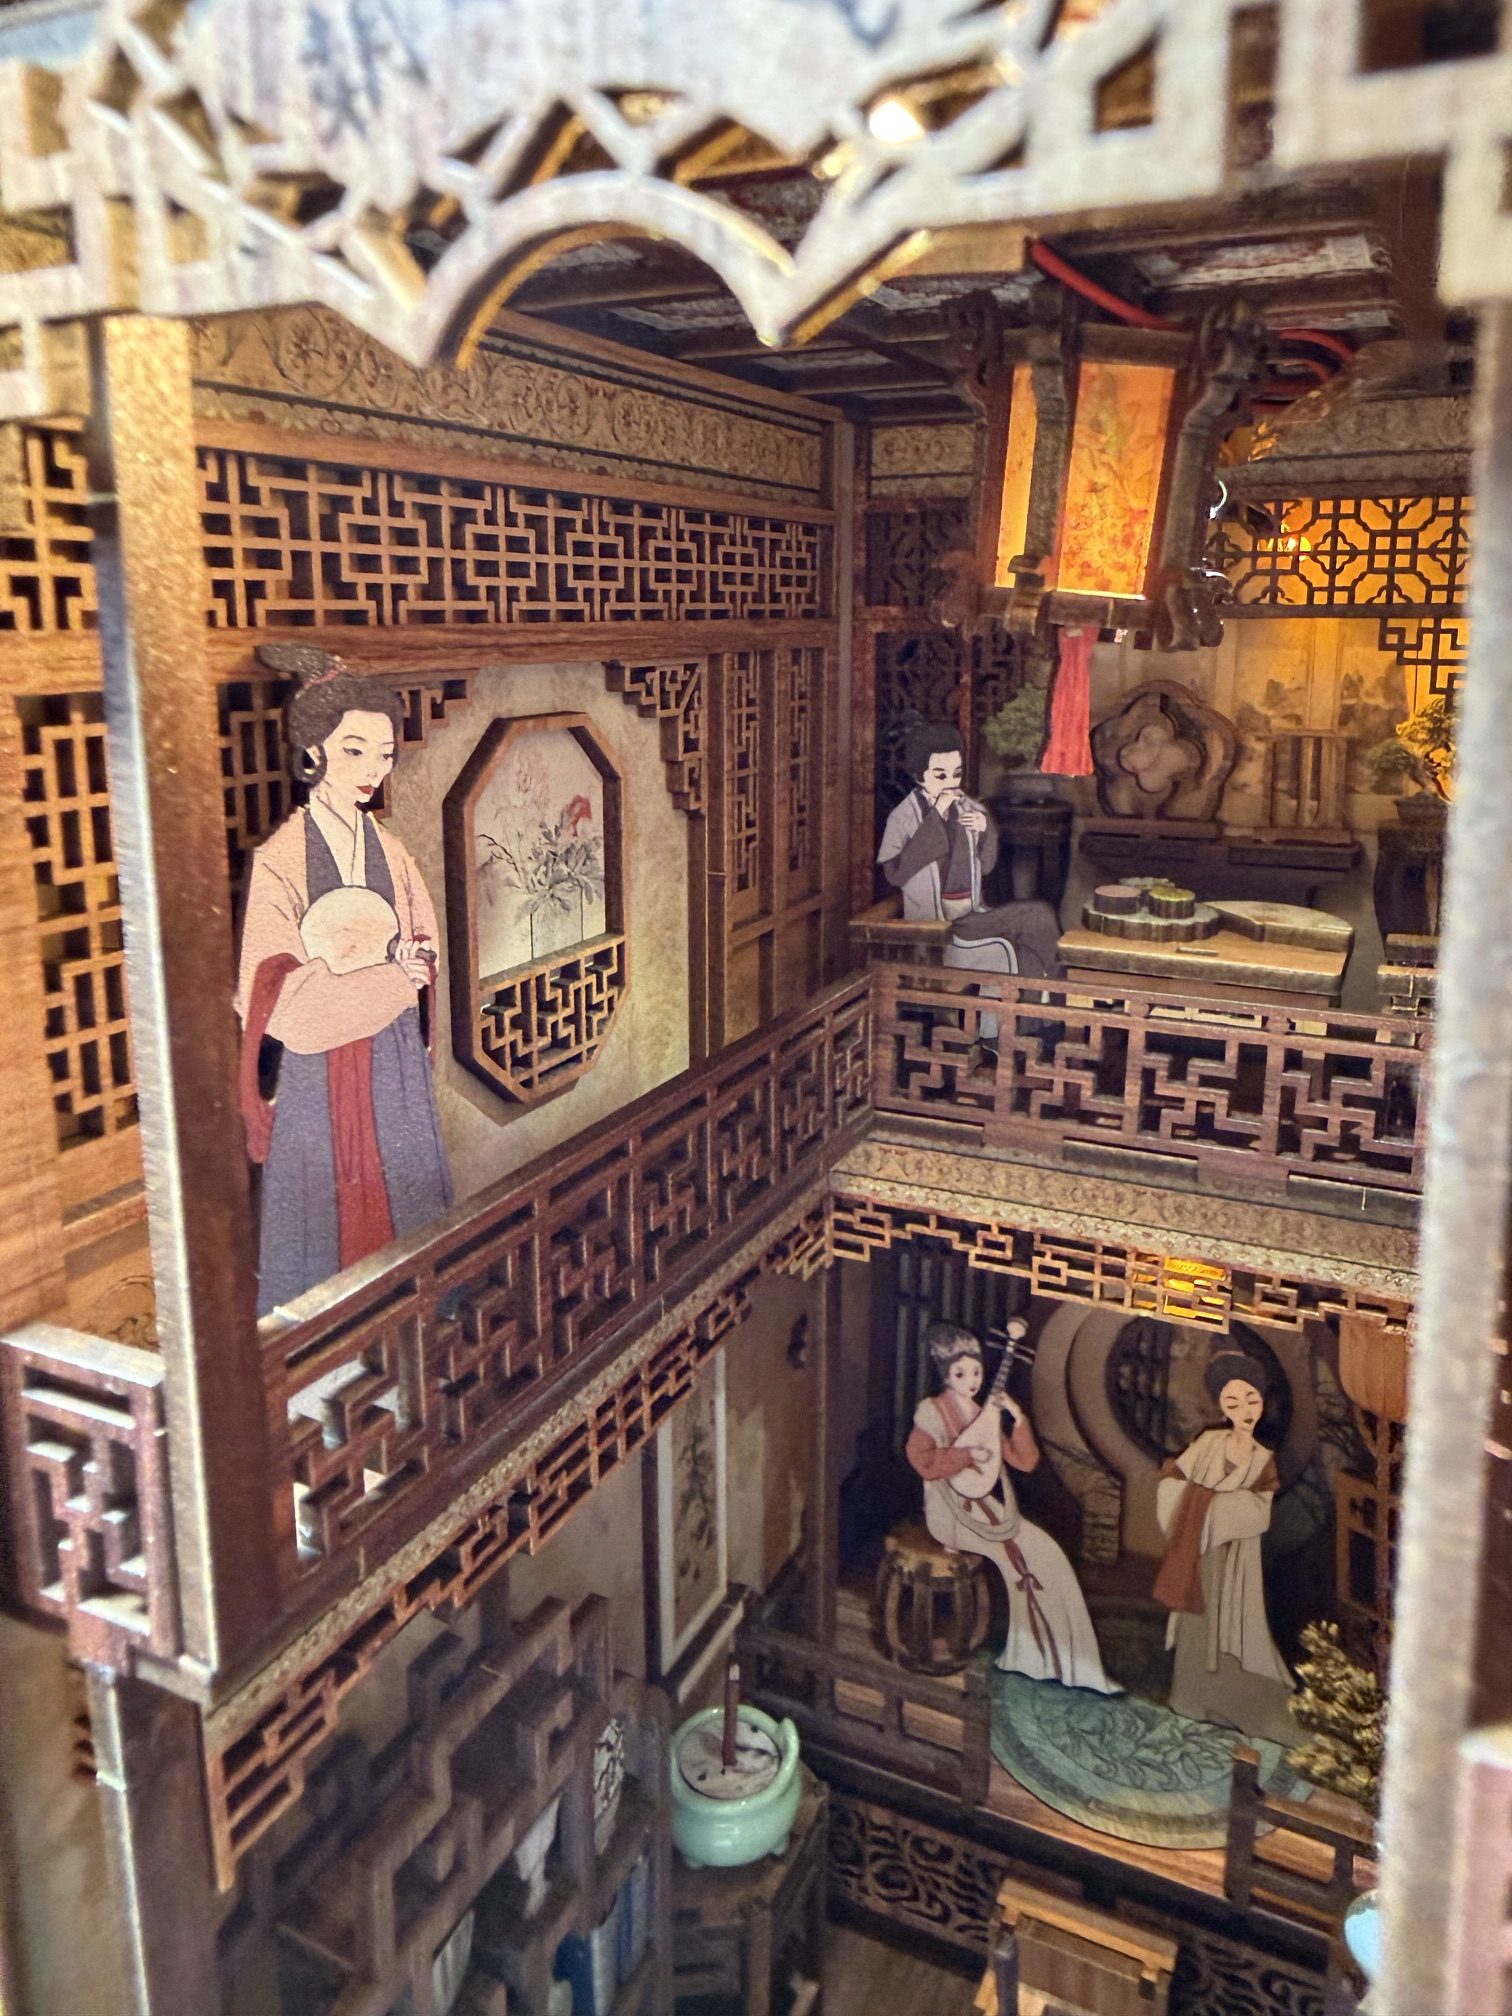
I ran across Cutebee’s Book Nook “Elegant Song Dynasty” and placed it very low in my queue. There are a LOT of Song Dynasty kits, and quite a few are interior settings like this one. As a builder/collector, I have learned never to say never, but I honestly looked at this kit and was a little bored. But I was looking for an easy build, and I pulled it off the shelf. “How can I make this more interesting?” I asked myself. I came up with an idea I’m proud to share here, but I also learned that Book Nook designers must ask themselves these same questions, and their creative intentions can become clear as we watch a kit come together.
My idea was to change the lighting in this kit to something more realistic: Song Dynasty interiors didn’t feature bright electric lights. What if the lighting was subdued and flickering to evoke candle or lantern light? I looked at the instructions and followed the path of the wiring. I thought it might be possible.

The kit has four LEDs, two embedded below and two overhead. I knew the box would need some bright lighting just to be seen, so I chose to leave the two overheads as is, and swap out the two embedded ones for flickering yellow lamps. In reading the instructions and looking at the careful wire placement through the course of the build, I realized this was not a simple case of taking out the lighting kit and splicing it.
Because a truly interesting thing about this kit is how the designers chose to layer its construction. Sometimes when I start a new kit, if I see the lighting introduced too soon I get a little anxious about tackling it before I’m ready. But I have also realized it’s kind of nice to get it out of the way early so you can proceed properly, allowing the lighting to be placed without error, and knowing that the final box sealup will have bypassed last-minute crises. This kit begins with building its battery box home; a three sided shell is built much earlier than usual, and then the lighting is carefully fed through holes in parts by stages. It’s almost like this kit is assembled in reverse: first the shell, then the battery case and wiring, then the upper level, then the lower level. It was a fascinating, exciting approach. I believe the designers made choices not only determined by the engineering of the kit, but by the desire to keep the building techniques fresh.
This did mean I had to find the right place to splice the wiring. I was worried not all the wiring paths would allow the thickening of electrical tape (my splicing product of choice). So I had to wait for the right step in the build. But I found the right places, swapped out the LEDs and voila. The overall effect is a dimmer interior than we’re used to for a Book Nook interior, but there’s something warm and realistic and also mysterious about the pulsing lanternlight in the back depths of the box; extra illumination is up to the two bright overheads including one concealed behind an intricate but trouble-free wooden lantern.
So the setting here is a two-level palace interior: there are five character figures including women musicians on a stage, and two levels of tables set for snacks. There are two 3D components, a vase with a plant and a really convincing incense burner. There’s a lot of furniture and intricate woodwork, and here this kit really excels. It’s kind of a glue-heavy kit in the way some of the furniture is designed, but the result is really impressively detailed. When working with all these beautiful lacey wood pieces (without breakage!) you forget further thoughts of boredom. The structural pieces come first, and then the creation of furniture in waves.

This kit totally reflects Cutebee’s excellent design and production standards. The MDF boards are thinner than some, but I had no breakage problems with its 239 pieces. I’d categorize this as an intermediate build because of its wiring, but the wiring is very successfully engineered and would probably teach a beginner something if they weren’t too challenged. The graphics and design here are lovely; the predominance of woodtones means edge-coloring isn’t really necessary, and I left it out. The two-AAA battery box is accessed from a flap in the back; there’s a touch pad but no motion sensor. My kit had an appended slip of paper in the instruction booklet discussing a dust cover, and there’s room for one, but mine didn’t come with one. A nice feature here was a really generous amount of backup pieces for some of the fiddlier components.

I’m really happy how this turned out. The kit was better than I presumed, and though lighting alteration always challenges me, I think it came out great.
If you’re like me you keep coming back to some styles of Book Nook because, well, you like them. So what can you do to freshen up your next build?
Photo Gallery


Leave a Reply