Build #149 – Vorathis Classical Library
Built & reviewed by D.J. Gibson
Quick Summary
| Category | Rating |
| Design | 6/10 |
| Build Experience | 5/10 |
| Instructions | 7/10 |
| Lighting | 7/10 |
| Build Quality | 5/10 |
| Customization Potential | 4/10 |
| Overall Rating | 5.5/10 |
Pros
- Unique open-book design concept
- Clever battery pack mounting system
- Color instructions that are easy to follow
- Helpful cable-routing guides etched into the floor panel
- Attractive library-themed interior
Cons
- Inconsistent part fit throughout the build
- Extremely fragile acrylic components
- Missing protective dust covers
- Evidence suggests a top cover may have been intended but not included
- Curved rear wall limits customization options
- Difficult to add aftermarket dust protection
- Not a kit I would feel comfortable recommending
Introduction

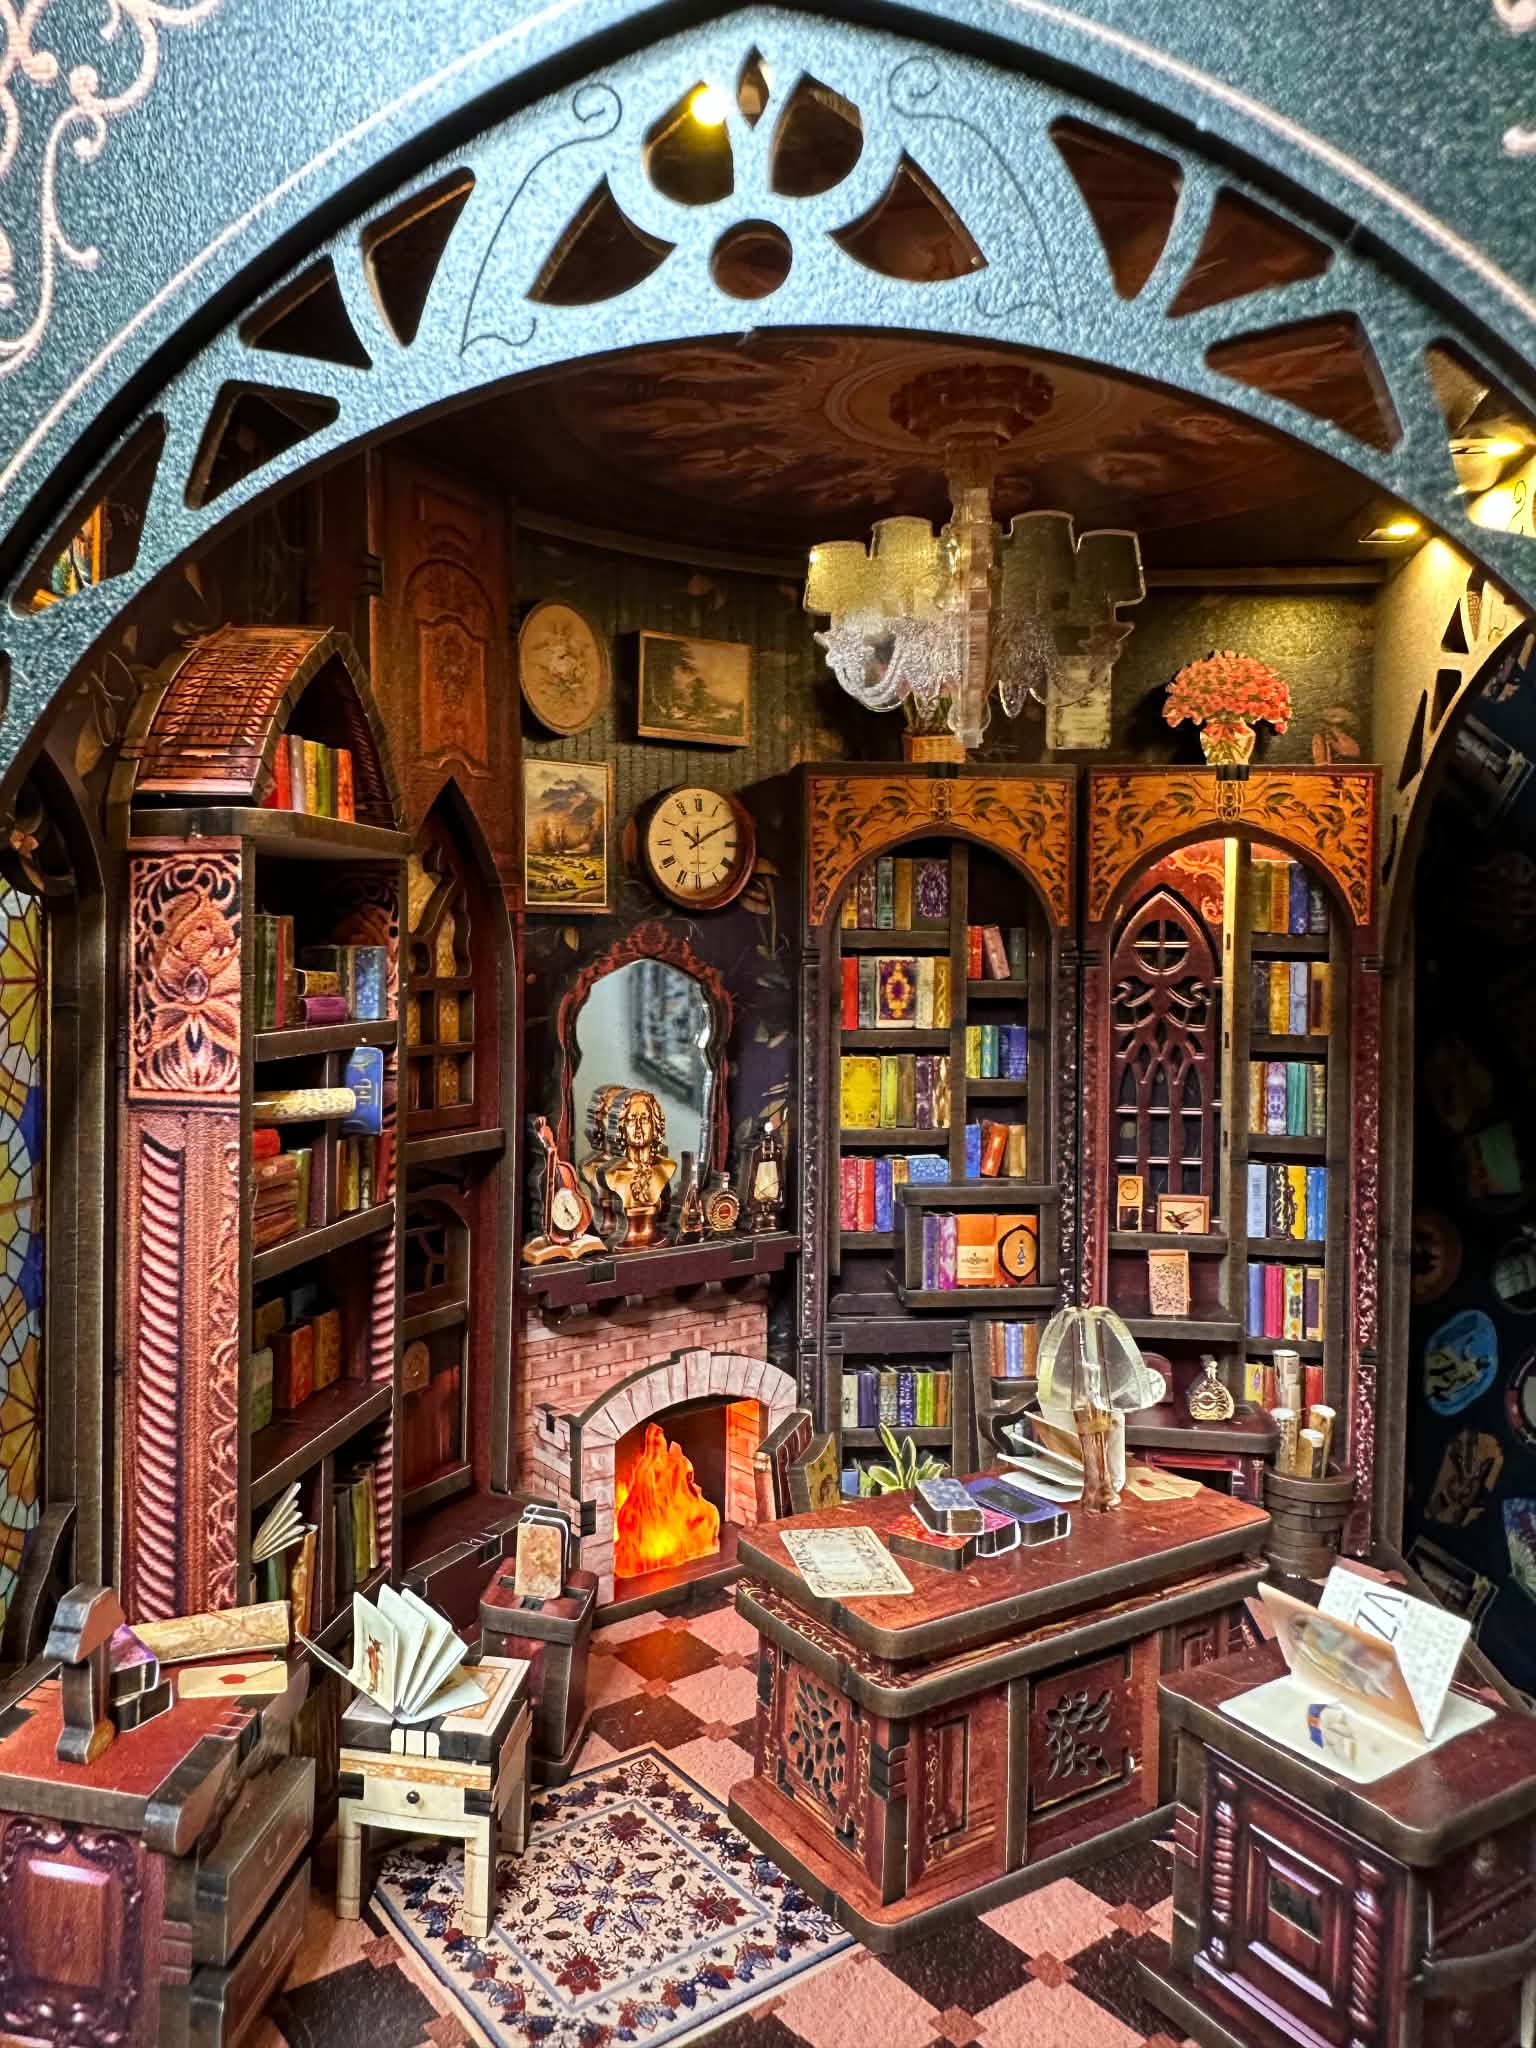
The Vorathis Classical Library kit is an unusual design for a book nook. It is designed to be a scene within an open book. Strangely, the view is from the spine side of the open book instead of faced as if you were reading the book.
Purchased through Amazon, this library-themed kit combines printed MDF, glossy stickers, acrylic components and integrated lighting. While the concept is certainly different from most book nooks currently available, the execution left me with mixed feelings throughout the build.
Materials and Instructions
The kit is made from printed MDF, glossy stickers, acrylic pieces and the light kit. The instructions are in color and are relatively simple to follow.
Near the end of the build, I had to go back and find where I had missed two pieces and install them. The pieces are easily removed from their boards overall. The fit of the pieces for this kit are all over the spectrum and flush fitting did not seem to be a requirement of the designers.
This inconsistency in fit becomes a recurring theme throughout the build and ultimately impacts the overall experience.
Lighting Installation and Base Construction

You start this kit by building the base and the first step is installing the light kit and battery pack.
This installation is different than usual as there is a frame placed on the back of the battery pack and that is screwed to the base. This keeps the base flush instead of screwing the battery pack to the base and needing to attach feet to the base so that it doesn’t rest on the battery pack.
From there you start running the light strips to the appropriate locations. A bonus here is that on the underside of the floor panel, they have etched directions into the wood showing where to place two of the cables through the floor before affixing the cables with adhesive strips.
Highlight
The battery pack mounting system is one of the smartest design choices in the entire kit and eliminates the need for raised feet underneath the model.
Fireplace and Bookcase Assembly

Once you have the floor in place, you build the fireplace which uses a single static orange LED light strip portion. I do feel flickering bulbs would be a better option here but the orange light isn’t too bad.
The next five steps are building various bookcases, a panel and a table to round out what will be the back wall.
The bookcases each use a combination of the small and big books for this kit of which there are 140 combined that you make.
I will say that these are safely the smallest books I have made for a kit to date.
For builders who dislike repetitive book construction, the sheer number and tiny size of these books may prove challenging.
Side Walls, Spine and Fragile Components

Now you install the side walls and spine running the two remaining light wires up either side of the spine portion.
You will attach two light strips to the ceiling piece and the other two light strips will be installed in the roof area.
The ceiling does have an acrylic chandelier in it which one piece did snap in half while I was removing it from the board. It was able to be glued into place but should have had a “Prone to breakage” warning or a spare part provided.
After the ceiling is in place, you now have to install the outer frames of the side walls and spine.
The side walls connect to an accordion/fan cut piece that is very delicate. I used tweezers in an attempt to support the piece and still had a portion snap but remained connected. There is a spare of this particular part.
Build Warning
The acrylic chandelier and accordion-style wall sections are particularly fragile and require extreme care during removal and installation.
Curved Wall and Page Construction

Once those are all installed you move onto the back curved wall which is a relatively easy installation.
There are two side panels at each end that will help position the curved wall properly once installed.
After that you install the “pages” on the top of the kit. These are thin PVC strips that you fold in half and place in between the slats to provide the appearance of opened pages.
You secure them with glue before placing a cover piece over the fan piece.
There are slots visible on each side of this portion and on the manual cover and in the instructions but there is no acrylic panel provided to place here which is what I feel they were intended for.
This leaves you with awkward flimsy PVC panels open on the top with nothing secure to hold the top of the kit by.
Final Details and Missing Dust Protection
At this point you have a few more pieces to install in the kit on the curved wall along with placing leftover books, scrolls and bonus envelopes and posters in the build however you would like.
There are no dust covers provided so this entire build remains open to dust, children and pets.
The power touch panel is also installed in the floor inside the kit which makes adding your own dust cover a challenge of its own.
Biggest Design Concern
The lack of dust covers combined with the apparent provision for additional acrylic panels makes the kit feel unfinished.
Final Verdict
Overall, this is a different book nook to say the least.
Being a Vorathis kit, I expected better design choices as my previous experience with their kits have provided.
The challenges of improper fit, fragile acrylic, the rear of the kit being curved, no cover on the top with visible signs one was intended and no dust covers make this a kit I wouldn’t feel comfortable recommending.
While the open-book concept is creative and some of the engineering decisions are genuinely clever, the number of compromises and omissions prevent the Classical Library from reaching the standards I have come to expect from Vorathis.


Leave a Reply