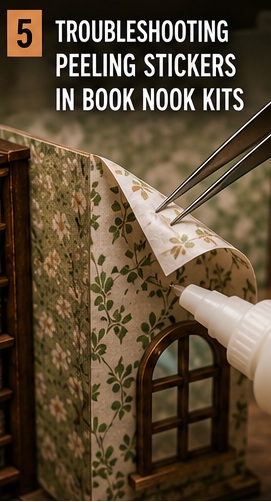
At first the stickers look perfect.
Then:
- Corners begin lifting
- Signs curl away from walls
- Floor panels bubble
- Tiny labels mysteriously detach themselves overnight
Peeling stickers are one of the most common annoyances in book nook kits — especially in kits that use printed adhesive paper for flooring, books, signs, and decorative panels.
Fortunately, there are several ways to fix or prevent the problem.
Why Book Nook Stickers Peel
The usual causes are:
- Weak adhesive
- Dusty MDF surfaces
- Humidity
- Tension from curved surfaces
- Oils from fingers
- Repositioning too many times
Some kits simply use better stickers than others.
How to Fix Peeling Stickers
1. Press Firmly During Application
Many stickers fail because they never fully bonded in the first place.
Best method:
- Start from one edge
- Smooth gradually across
- Push out air bubbles
- Apply even pressure
A small plastic card works well for smoothing.
2. Clean the Surface First
Laser-cut MDF often has:
- Burn residue
- Dust
- Fine particles
These reduce adhesion dramatically.
Before applying stickers:
- Wipe surfaces gently
- Remove dust fully
- Ensure surfaces are dry
Even invisible dust can weaken adhesion.
3. Use Glue for Permanent Hold
Experienced builders often ignore the sticker adhesive entirely.
Common choices:
- Glue stick
- PVA glue (very thin layer)
- Spray adhesive
- Double-sided tape
This is especially useful for:
- Floor panels
- Large wallpaper sections
- Curved surfaces
4. Fix Curling Corners Early
Once corners lift, the problem usually spreads.
Quick fix:
- Add a tiny amount of glue under the edge
- Press flat
- Hold with tweezers or tape until dry
Small repairs early prevent major peeling later.
5. Beware of Humidity
Humidity is a major enemy of adhesive materials.
It can cause:
- Curling edges
- Bubbling
- Wrinkling
- Sticker shrinkage
Kits stored in damp rooms often develop problems long after assembly.
6. Don’t Stretch Stickers
When positioning:
- Avoid pulling tightly
- Let stickers sit naturally
Stretching creates tension that later pulls edges upward.
7. Seal Frequently Handled Areas
For exposed surfaces:
Some builders use:
- Matte varnish
- Clear sealant
- Mod Podge
This helps protect:
- Floor graphics
- Shop signs
- Tiny book covers
- Decorative labels
Especially useful in heavily detailed kits.
Air Bubble Problems
8. Remove Bubbles Carefully
If bubbles appear:
Try:
- Pressing outward gently
- Using a pin to release trapped air
- Reapplying slowly
Large bubbles usually mean the sticker was applied too quickly.
When the Sticker Is Beyond Saving
Sometimes stickers:
- Tear
- Misprint
- Stretch badly
- Lose adhesion completely
At that point you can:
- Print replacements
- Create custom graphics
- Weather the area intentionally
- Replace with painted details
Many advanced builders eventually customise kits this way anyway.
Prevention Tips
To reduce peeling:
- Apply stickers late in the build
- Keep fingers clean
- Avoid damp environments
- Press firmly during installation
- Reinforce important stickers with glue
The Funny Part About Book Nook Stickers
A single tiny peeling corner somehow becomes impossible to ignore.
Nobody else will ever notice it.
But the builder will spot it instantly from three metres away for the rest of time.
Copyright Book Nook Workshop 2026 – All rights reserved. (David Richards)
Leave a Reply