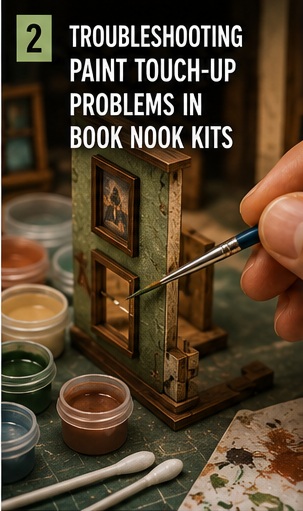
You carefully touch up one tiny area.
Then suddenly:
- The colour does not match
- The paint looks too shiny
- Brush marks appear everywhere
- One “small fix” somehow becomes an entire repainting project
Paint touch-ups in book nook kits can be surprisingly difficult because miniature surfaces exaggerate every tiny difference in colour, texture, and finish.
Fortunately, most problems can be improved — and many become nearly invisible once the book nook is fully assembled and lit.
Why Paint Touch-Ups Go Wrong
Common causes include:
- Paint drying darker or lighter
- Wrong paint finish
- Using too much paint
- Thick brush strokes
- Colour mismatch under different lighting
Miniatures are unforgiving because viewers see them at close range.
How to Fix Paint Touch-Up Problems
1. Use Thin Layers
The biggest mistake is applying thick paint to “cover quickly.”
Thick paint creates:
- Raised texture
- Visible edges
- Brush marks
- Uneven sheen
Better approach:
Apply several thin coats instead.
Miniature painting rewards patience far more than aggression.
2. Match the Finish — Not Just the Colour
Even if the colour is perfect:
- matte vs satin
- satin vs gloss
…can make the repair obvious instantly.
Many book nook kits use very matte finishes.
A slightly shiny touch-up often stands out more than the colour difference itself.
3. Test Colours First
Paint almost always looks different:
- wet vs dry
- under warm LEDs
- against neighbouring colours
Helpful trick:
Test on scrap MDF or hidden areas first.
Tiny differences become very noticeable on miniature surfaces.
4. Feather the Edges
Hard paint edges draw attention immediately.
Instead:
- Blend outward gently
- Use minimal paint on the brush
- Build colour gradually
Soft transitions hide repairs far better.
5. Dry Brushing Can Save Everything
Dry brushing is one of the best rescue techniques.
Useful for:
- Hiding scratches
- Blending repairs
- Creating weathered effects
- Softening visible touch-ups
Sometimes accidental damage actually improves realism.
6. Watch Out for MDF Absorption
Raw MDF absorbs paint unevenly.
This can create:
- Dark patches
- Fuzzy texture
- Different sheen levels
Helpful fix:
Use primer or seal the area lightly before painting.
7. Use Small Brushes
Large brushes create oversized corrections.
For miniature work:
- Fine detail brushes
- Small flat brushes
- Tiny dry-brush brushes
…give much better control.
8. Lighting Changes Everything
A touch-up that looks terrible under daylight may become invisible once the warm LED lighting is installed.
Before repainting repeatedly:
- Assemble temporarily
- Turn the lights on
- Check from normal viewing distance
Book nooks are rarely examined under laboratory conditions.
Common Touch-Up Situations
Typical repairs include:
- Burn marks from laser cutting
- Scratched paint
- Glue stains
- Exposed MDF edges
- White stress marks
- Tiny chips during assembly
Even premium kits often need occasional cosmetic fixes.
Emergency Builder Trick
If a repair still stands out:
Try intentionally weathering nearby areas.
Adding:
- subtle ageing
- dust effects
- darker shading
- dry brushing
…can make the repair look intentional rather than accidental.
Prevention Tips
To avoid major touch-up problems:
- Handle painted parts carefully
- Avoid excessive glue
- Test fit before forcing pieces
- Keep brushes clean
- Work in good lighting
And remember:
Most tiny flaws disappear once the entire scene comes together.
The Truth About Miniature Painting
Builders often spend 45 minutes fixing a paint flaw that nobody else on Earth would ever notice.
Then proudly place the finished book nook on a shelf where visitors immediately say:
“Wow, look at the tiny books!”
Leave a Reply