Introduction
A lot of the kits I have previously built have been from Temu but I needed one quickly, due to withdrawal symptoms, so I got this kit from Amazon. Obviously, the main initial difference from Temu, is that it arrived the next day. Opening the box, which is always exciting, made me go “Wow, that’s impressive” There were a lot more packs of individual parts including 3D objects, tools, wiring, flowers etc. I opened the instruction manual and it was strange to only see English instructions rather than Chinese.
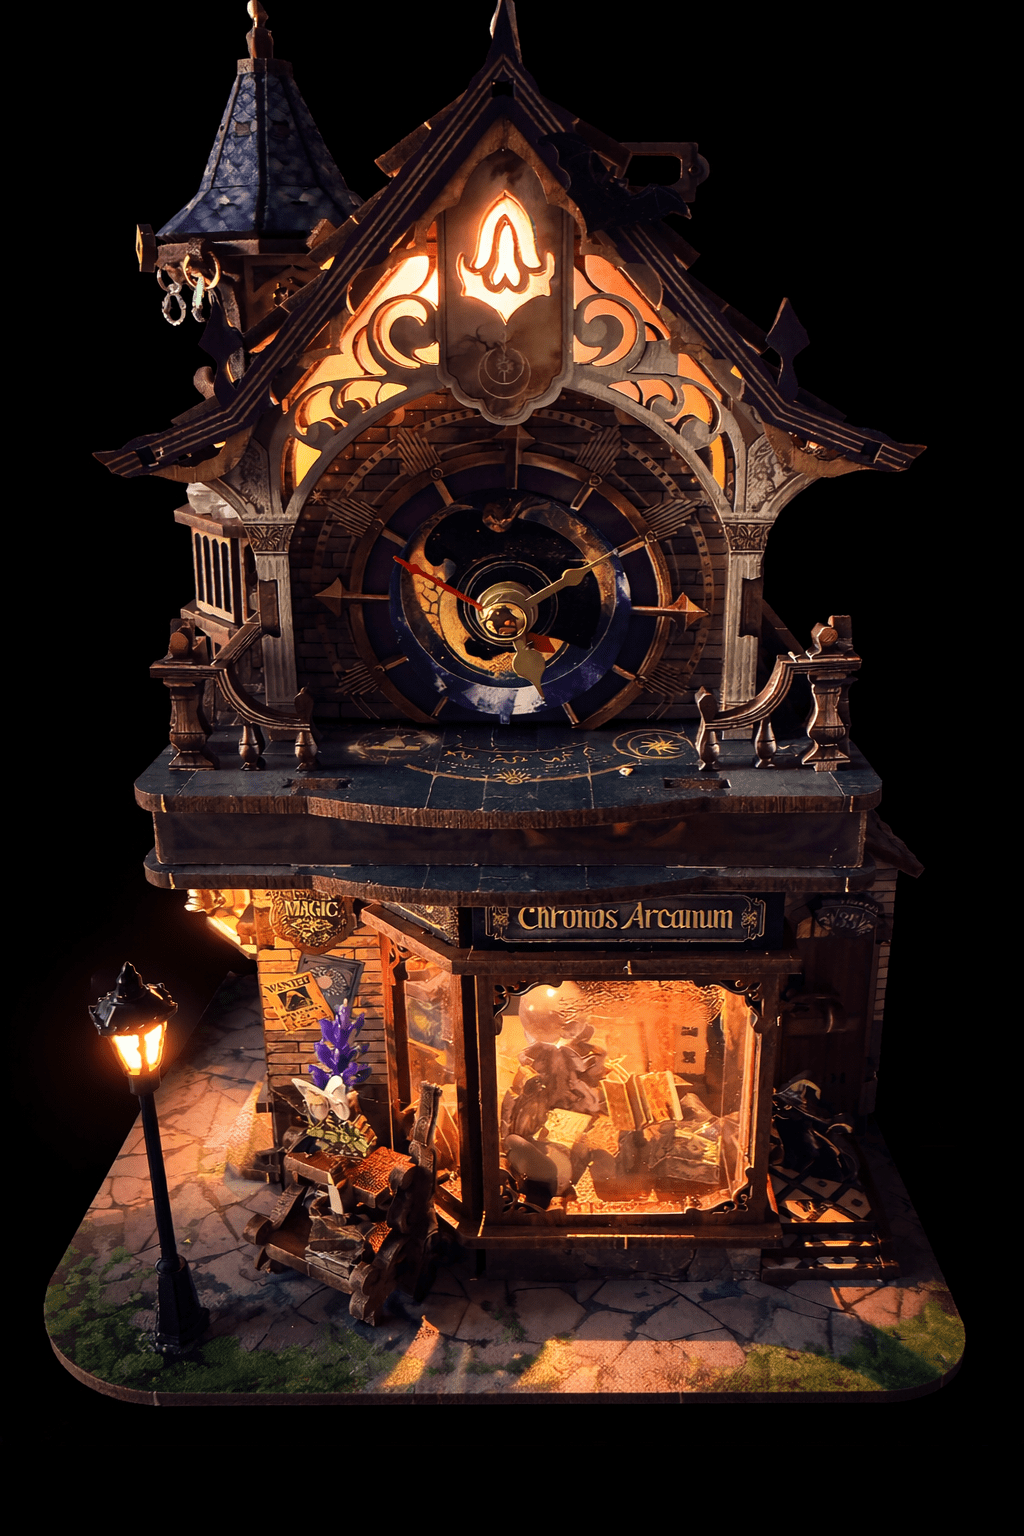
This is also a diorama rather than a book nook which means that you are working at a scale of approximately 1:36 which means that some of the parts are very small. This was also the first diorama that I have built which includes a sound card and a motor (lots of motors in the space shuttle, review here
Tips
As per my instructions in what you should do when starting a book nook, I tested the electronics, read tips here
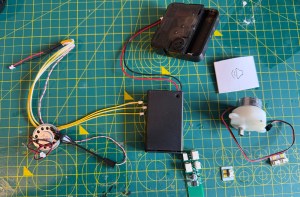
It all worked 😀
Small application of glue is required through the kit but it is mainly a snap & click kit. The brass rings in step 01 need a bit of force to prise them open. All the book covers are self-adhesive which makes this task very simple unlike some other kits.
In step 03 you need to remove the covering off the perspex. Top tip: use a blade of a scalpel to lift it off as fingernails don’t work. Check out basic tools here
When you need to fold the book pages this is so much easier in this kit as there are already folds in the sticker when you take it off.
As per all kits make sure you push the tabs as hard as you can into the final position as misalignment will cause issues later.
Issues
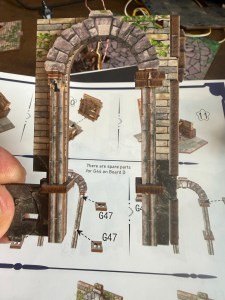
The step where I added G46 & G47 to G44 is where I first went wrong. You need to make sure that the slots face outwards as this connects to a wall. The instructions were a little vague here. But basically the arch connects onto the door frame with the G46 & G47 pieces.
The P15 tape which is included to secure battery compartments and other things is quite interesting. You don’t peel off a second backing but when you stick it down and then remove it, it leaves a layer of glue; last piece I finally realised this.
When you put the battery box into its case you need to ensure that it is completely enclosed so there are no overlapping edges – I did glue this as the tabs were not perfect.
The wiring instructions are pretty good throughout but look at them closely. Please note where glue needs to be applied, especially with the turning tower.
Before attaching the PCB to the roof do another test on your electronics to make sure everything still works. The instructions are slightly poor here so make sure the touch sensor is in the right place before securing.
The roofing in the final phases requires a lot of alignment to make sure it all fits on correctly.
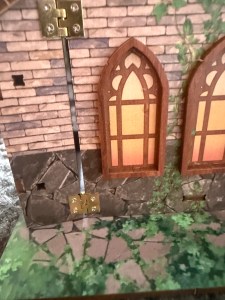
The hinges and screws for the battery compartment are tiny. Recommendations: glue the hinges in the correct position so you can see the tiny holes before trying to do the screws. The screwdriver that comes with the kit is magnetic so it does help.
Conclusion
This is a beautiful diorama with high quality components. I would not recommend it to a beginner as it introduces a lot of features which are not in a basic book nook. However, this kit is definitely far better than the one that I originally gave my Granddaughter so I am swapping it and will harvest the parts from the original kit. What makes it better for her is that it has sound, revolving parts and a real clock.
| Feature | Details |
| Kit Name | Time Magic Club |
| Brand | Timory |
| Difficuly Level | Intermediate |
| Build Time | ~ 15 hours |
| Lighting | Yes but not complex |
| Glue Required | Minimal (not structural) |
| Best Feature | Rotating Tower |
| Biggest Challenge | Roof alignment for clock |

Leave a comment