Having done many builds I will share my top 10 tips
- Read the the instruction manual from beginning to end, preferably twice, to make sure you understand exactly what you are building.
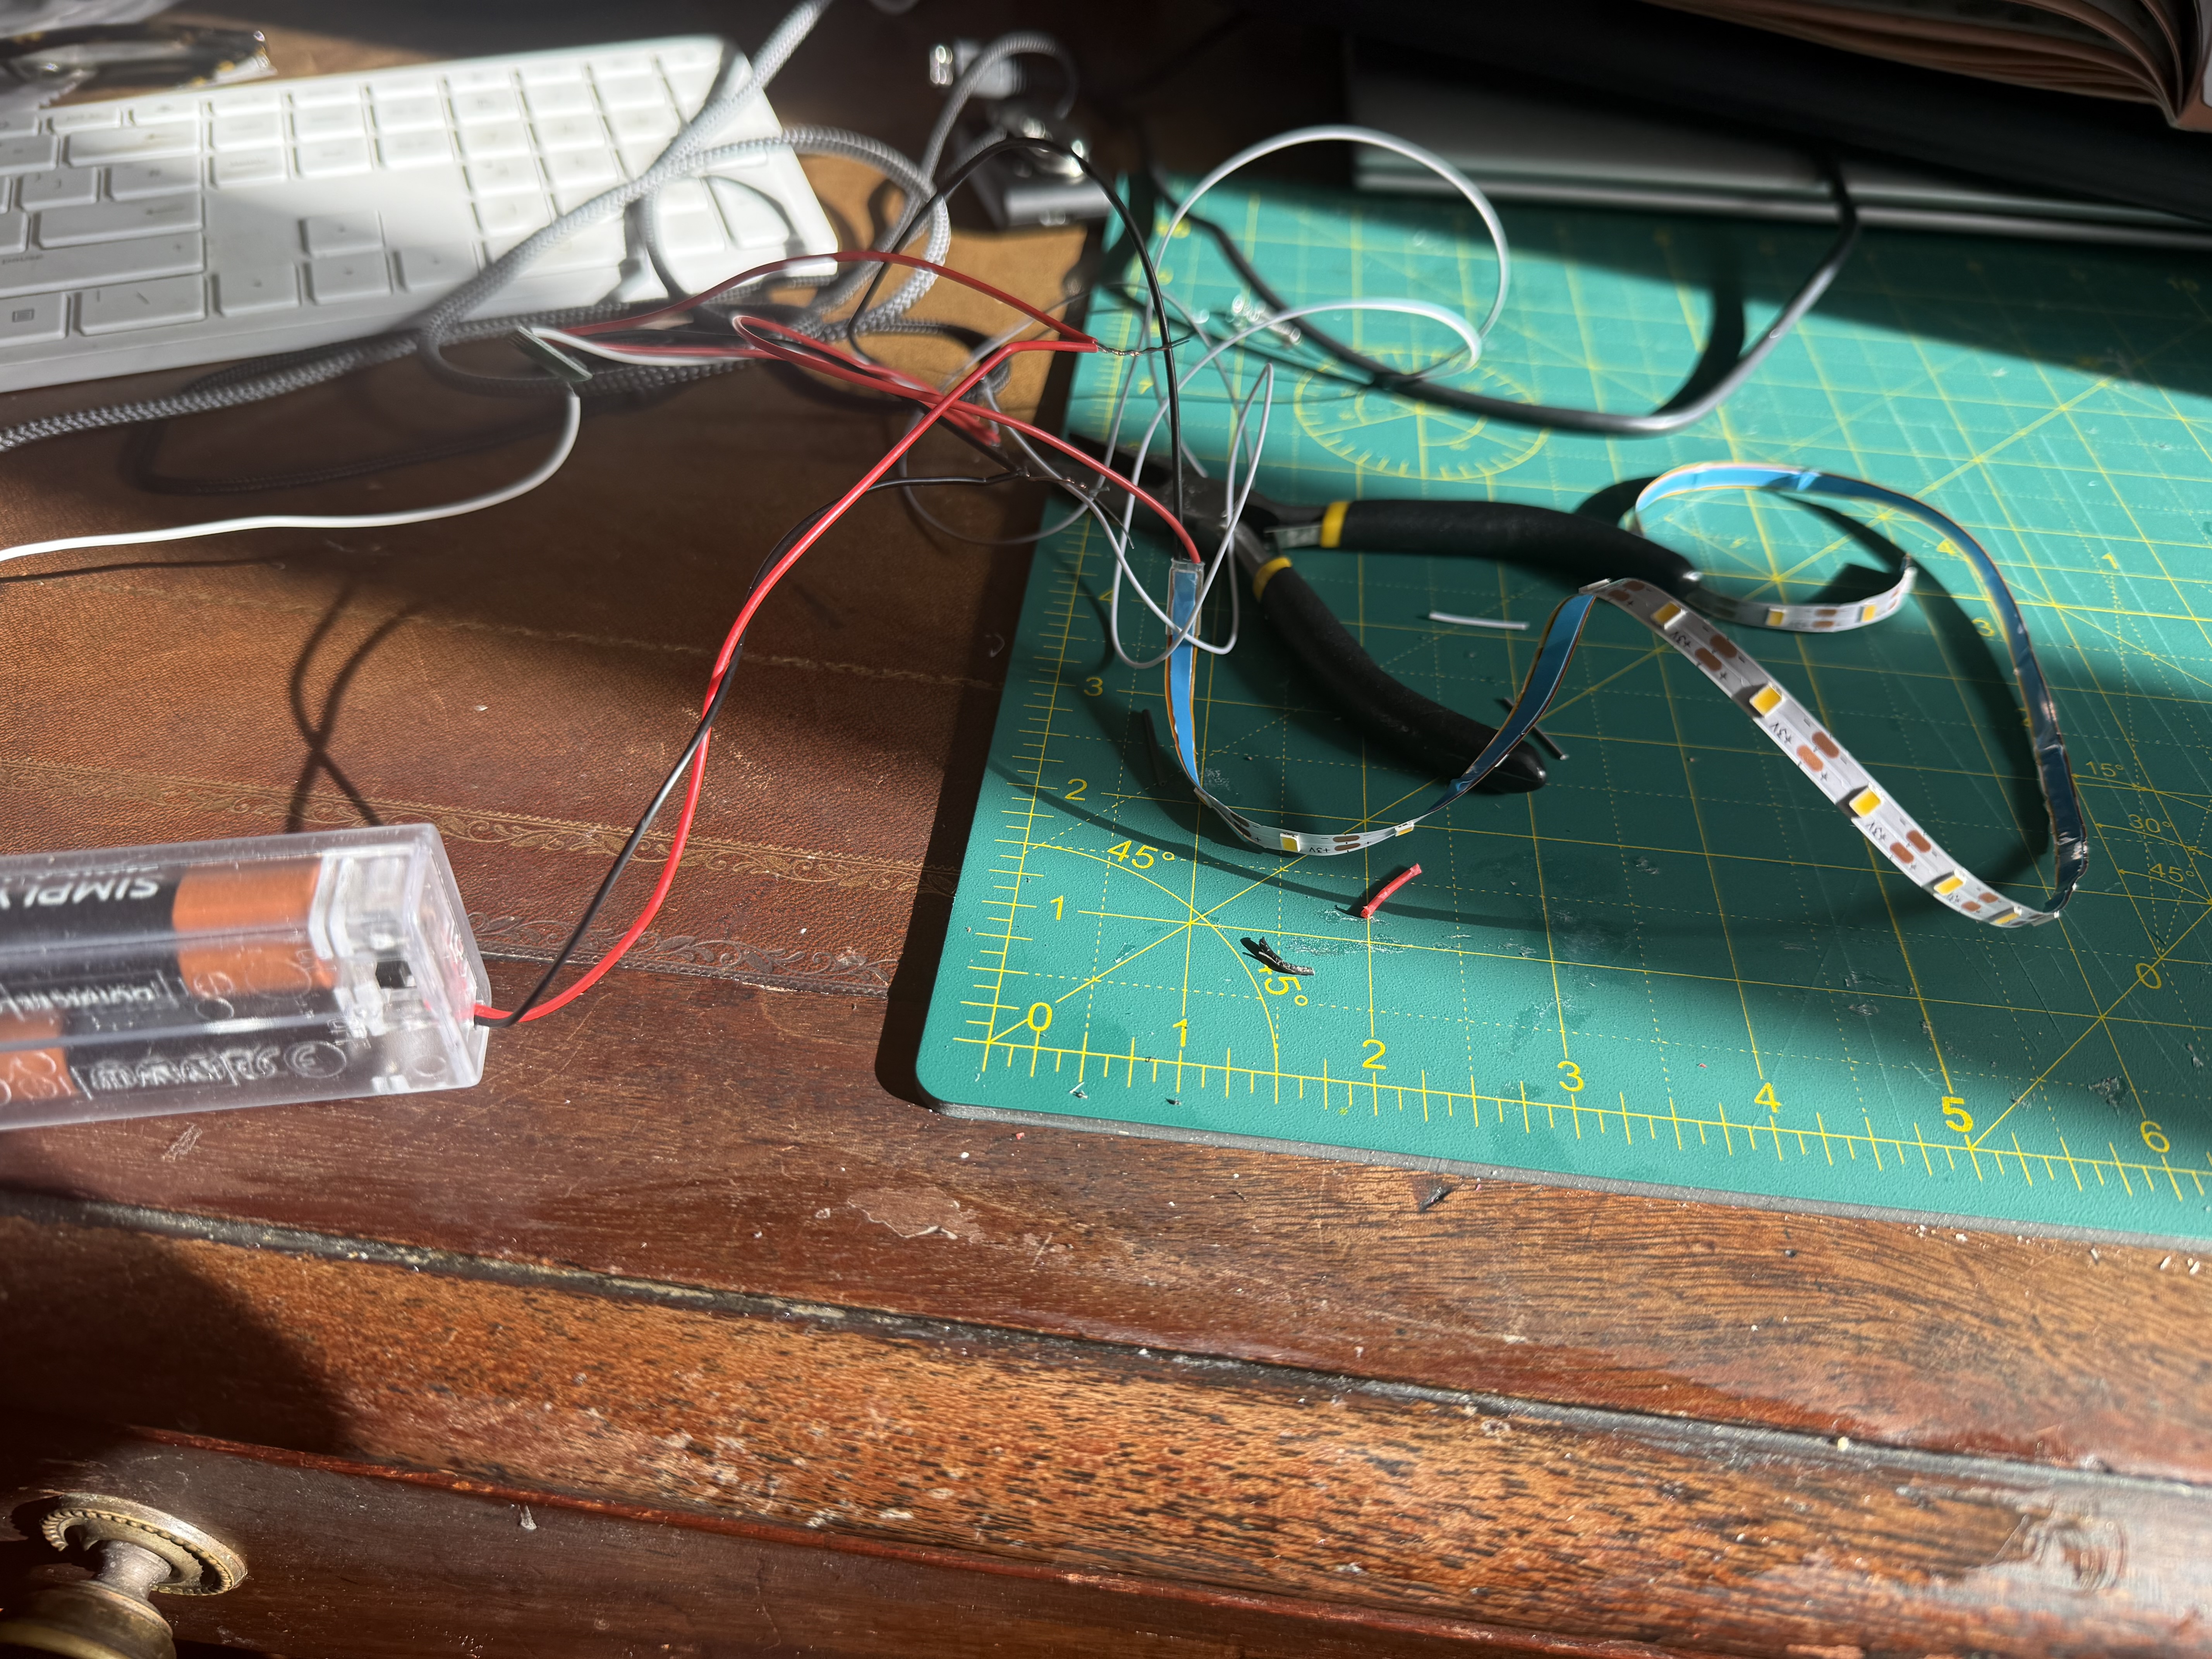
- Test the lighting before you do anything else to make sure all the lights work. Lighting is one of the biggest fears for a new starter so get to know it. As most book nook models are made in China with long transportation times, sometimes lighting fails….you do not want to find that out when you come to switch it on after you have finished building.
- When you select the items for a step, dry test them so you know their orientation. Some parts look identical but there may be a minor subtlety when it is turned by 180 degrees so make sure you are happy before you apply any glue.
- Only select items that are required for the current step, don’t try to do things in advance. This is very important if your kit contains a lot of books as the sizes can vary by 1mm and that makes a big difference in the world of book nooks.
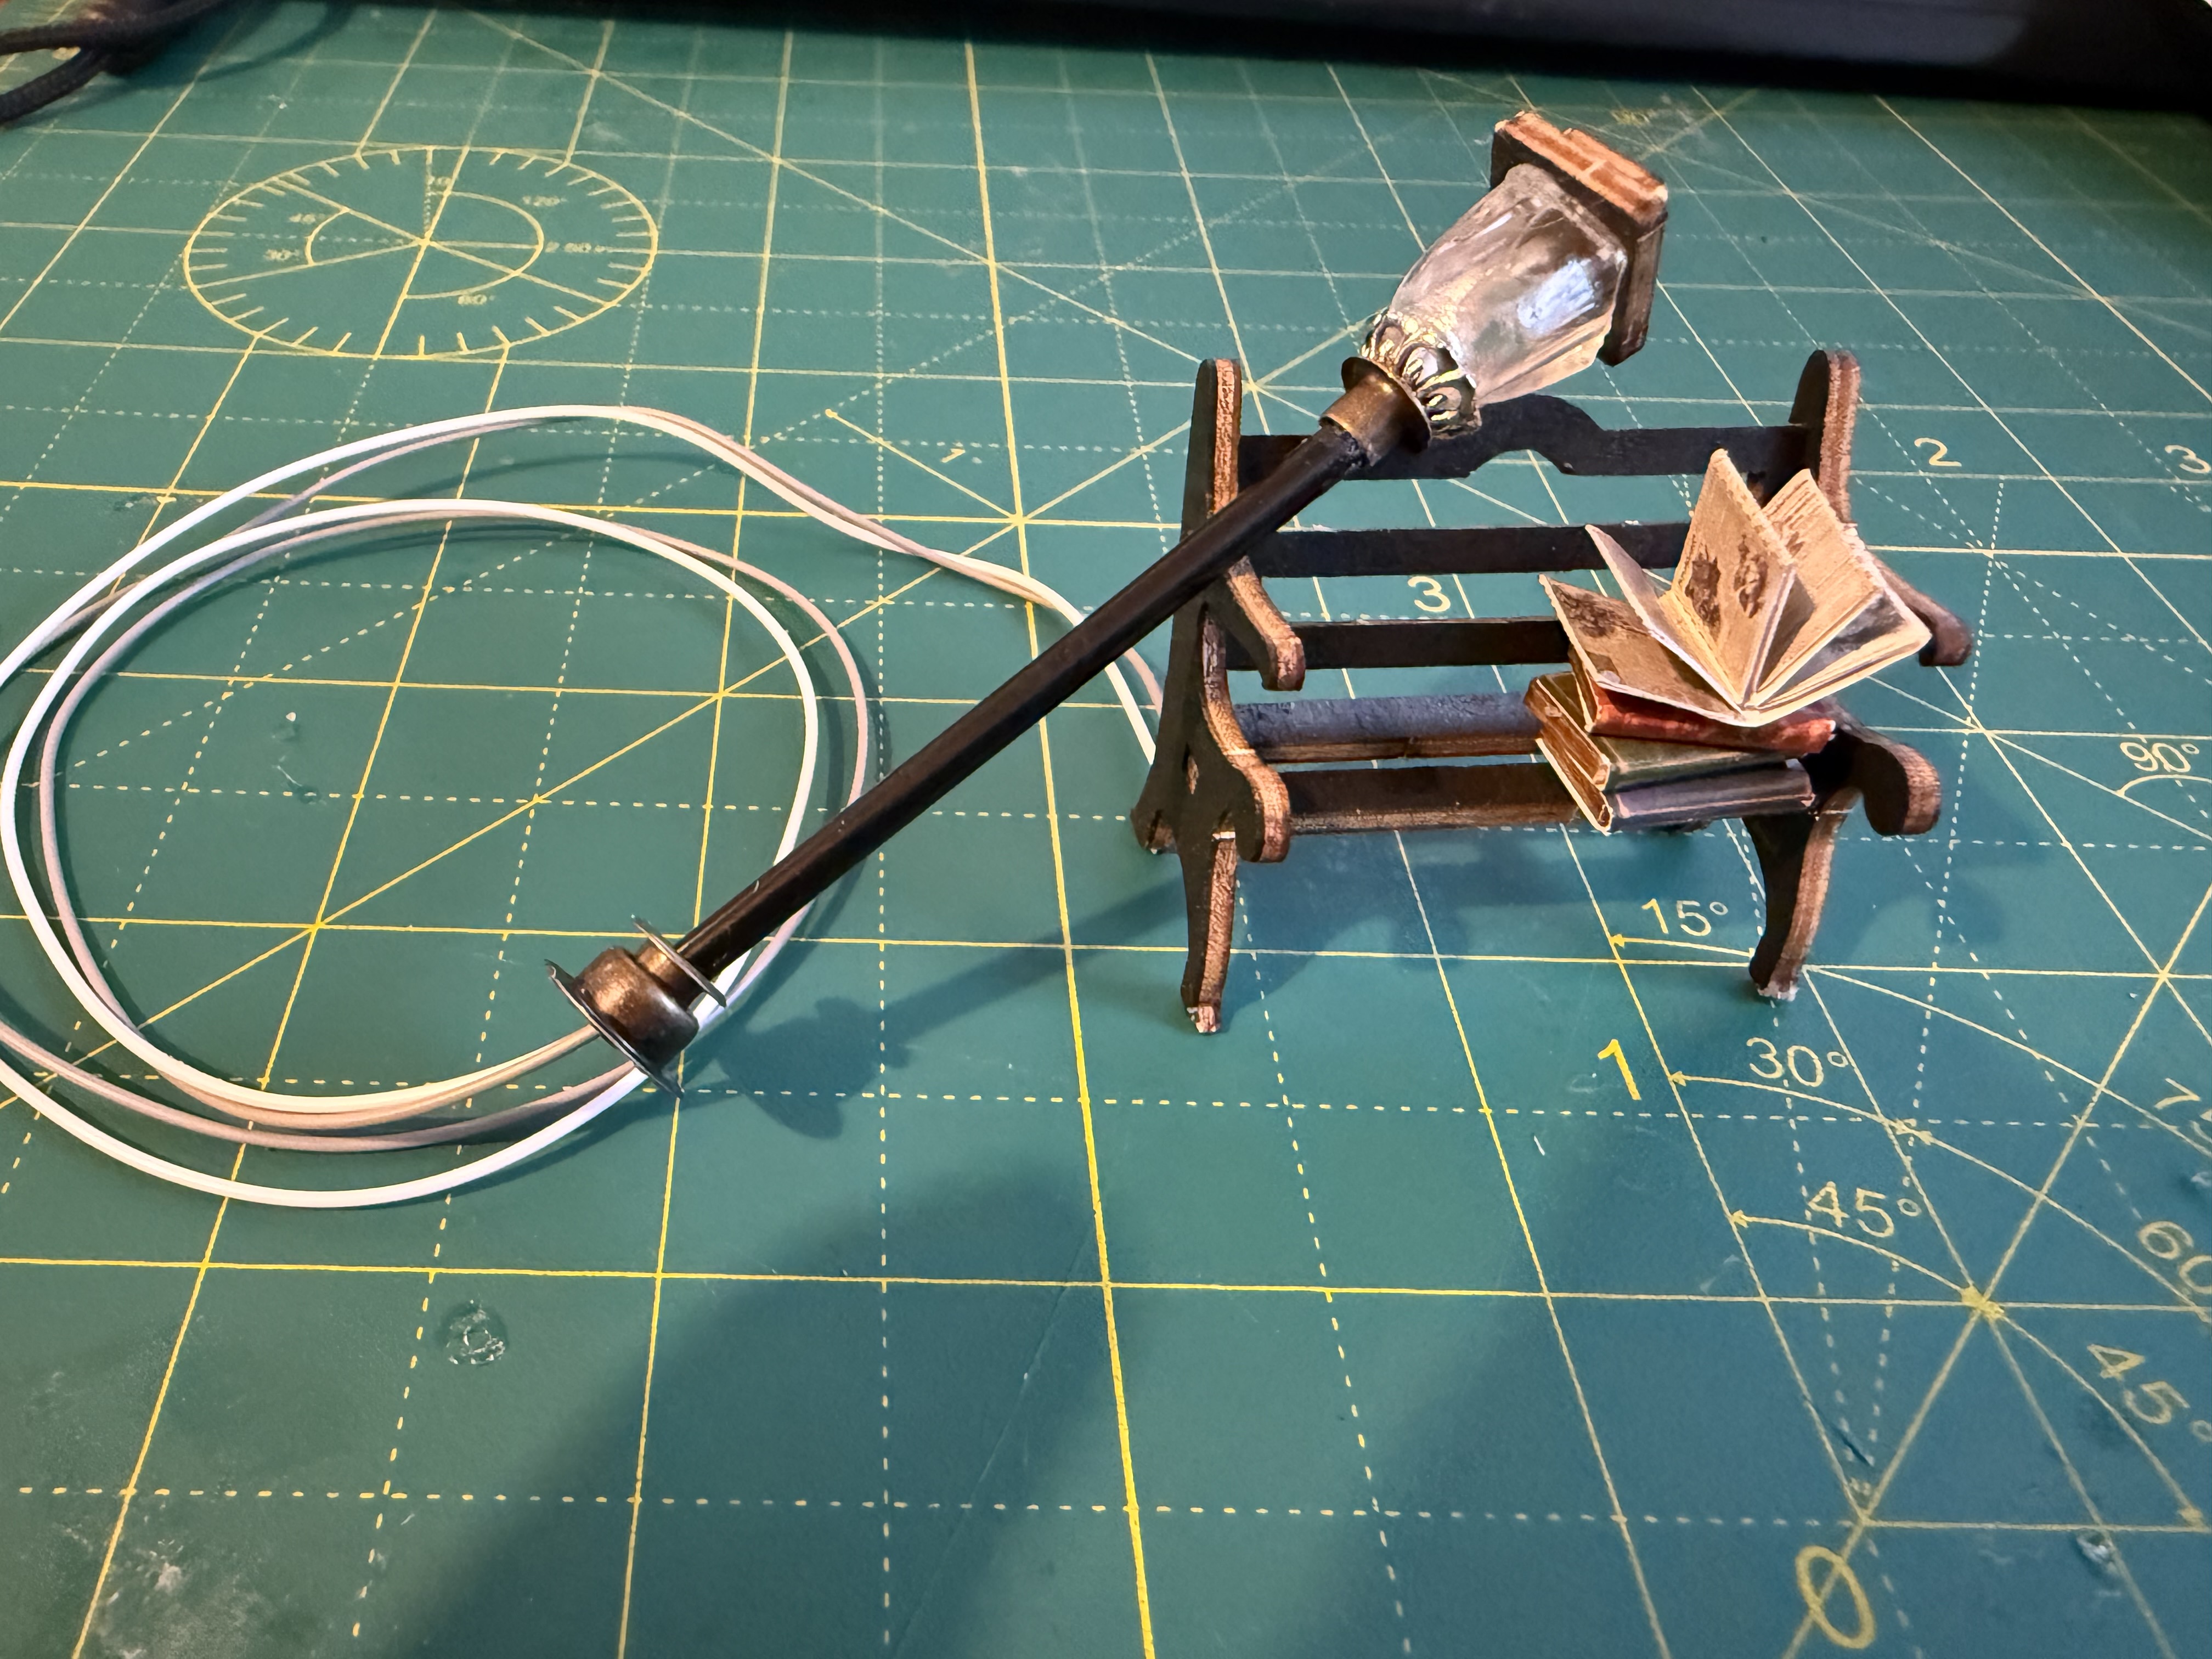
- If you’re feeling slightly tired and the next step is lighting….stop! Generally in the early stages of lighting you are positioning individual lamps which only join together at the very end. Check the light that you are doing and see where the lead ends to make sure you don’t enclose it
- Understand the model and know what tools you will need as these will differ greatly. Beginner kits do not require many tools, see here, but if you were doing a more complex kit, it may requiure a soldering iron or shrink tubing, see here.

- If you see anything in the infrastructure that is not fully aligned, sort it before moving any further. If the kit is not a “plug and play” then this means you are attaching walls to the base. If it is not at a right angle you will have problems when adding ceilings etc. Use a set square. See tools section again
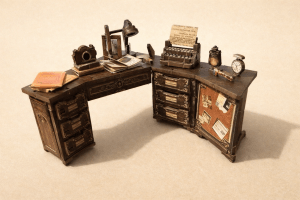
- Don’t rush! I have seen “nookers” doing basic kits in 4-6 hours. In my opinion it is a waste of money and you are not really enjoying the process. Each completion of a piece of furniture should provide a little dopamine hit – this is why book nools are so popular.
- Personalise. Related to the above point. You can add photos, select 3D pieces and brush up joints with aryclic pens to make it really nice. Here are some ideas on personalisation
- Enjoy. This is a wonderful hobby, Take your time, take photos of individual pieces as you will not see a lot of them when the kit is completed.


Leave a comment