One of the most common questions beginners ask is:
“How can I personalise my book nook kit?”
The good news is that there are several simple ways to make a kit feel unique without turning it into a full custom build. Some of the best methods are inexpensive, easy to do, and can transform a standard kit into a meaningful gift.
Below are some of the simplest ways I personalise my own builds.
Replace the Pictures with Personal Photos
One of the easiest and cheapest personalisation tricks is replacing the tiny pictures included in the kit with your own photographs.
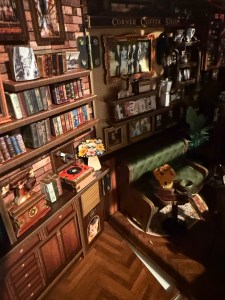
Many book nook kits include miniature framed artwork or posters on the walls. These are usually just printed paper inserts that can easily be swapped out.
How to do it
- Find suitable photos on your phone or computer.
- Insert them into Microsoft Word.
- Resize the images so they match the frame dimensions.
- Print multiple images on a single page to save paper.
- Cut them out and replace the original pictures.
Printing tip
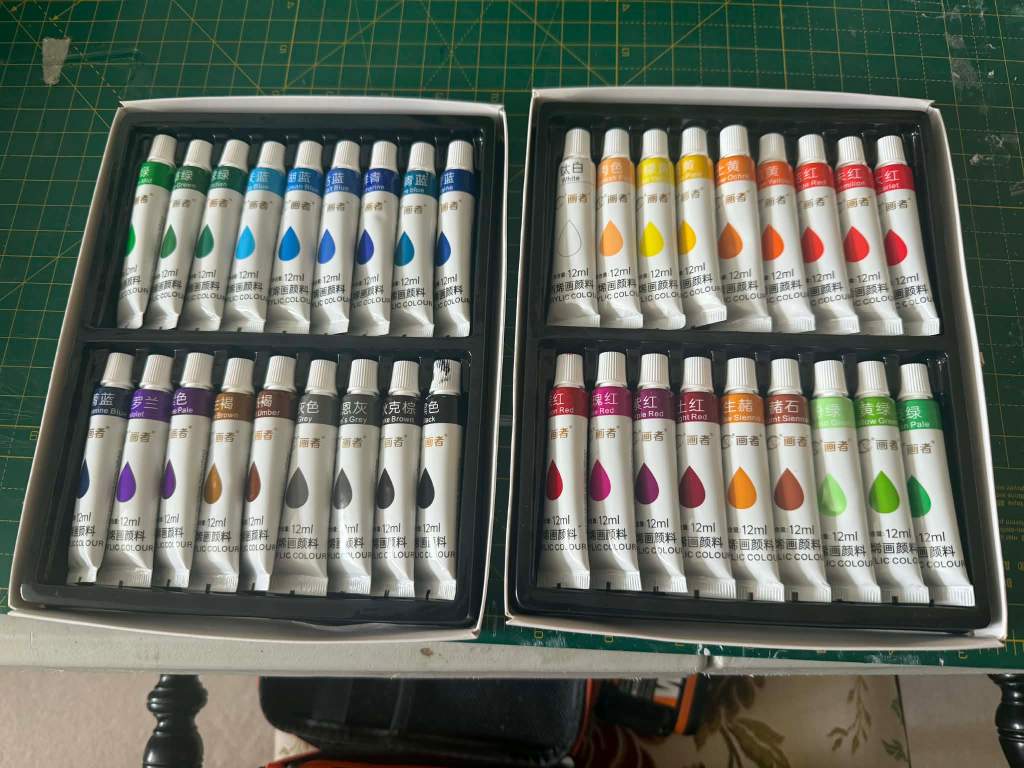
Use matte printer paper rather than gloss.
Gloss paper tends to reflect the LED lighting in the kit and can look unrealistic.
I’ve used this technique when building kits for family members by adding photos of places they love or people important to them. It instantly makes the model feel much more personal.
Adding 3D Miniature Items
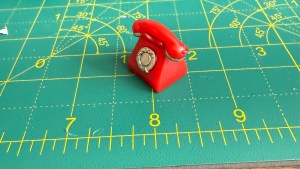
Another common idea is replacing some of the flat 2D decorations with real miniature objects.
Many kits include printed objects such as:
- Telephone
- Clocks
- Typewriters
- Coffee cups
Replacing one of these with a real miniature ornament can make the scene feel more realistic.
However, there is one very important rule.
Check the scale carefully
Most book nook kits use 1:24 scale.
The problem is that most miniature items sold online, especially dollhouse items, are 1:12 scale, which is twice the size and will look oversized inside a book nook.
When searching on sites like:
- Temu
- Amazon
- Etsy
always check the scale in the product description.
Be Careful with Costs
Miniature accessories can become surprisingly expensive.
For example:
- A typical kit might cost £20–£30
- A small miniature ornament might cost £5–£8
So just a couple of additions can significantly increase the cost of the build.
For most kits I recommend:
- Adding one carefully chosen 3D item
- Keeping the rest of the kit largely as designed
This keeps the build affordable while still adding a unique touch.
Small Touch-Ups That Make a Big Difference
Personalisation doesn’t always mean adding new items.
Some small improvements that make a big visual difference include:
- Using acrylic marker pens to hide visible joints
- Applying a light wood stain to edges
- Slightly adjusting colours on printed parts
These small finishing touches can dramatically improve the final look of a kit.
Where Real Personalisation Happens
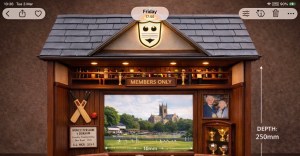
In reality, the biggest personalisation comes from custom builds, where you design the scene yourself rather than following a kit.
For example, one of my current projects is building a miniature pavilion inspired by Worcestershire County Cricket Club. That kind of project allows complete freedom with layout, furniture, and decorations.
But if you’re just starting out, the simple ideas above are the easiest way to make a kit feel truly yours.
Quick Personalisation Ideas
- Replace framed pictures with personal photos
- Add one carefully chosen 3D miniature item
- Use acrylic pens to hide joints
- Apply subtle colour touch-ups
- Keep scale consistent at 1:24

Leave a comment