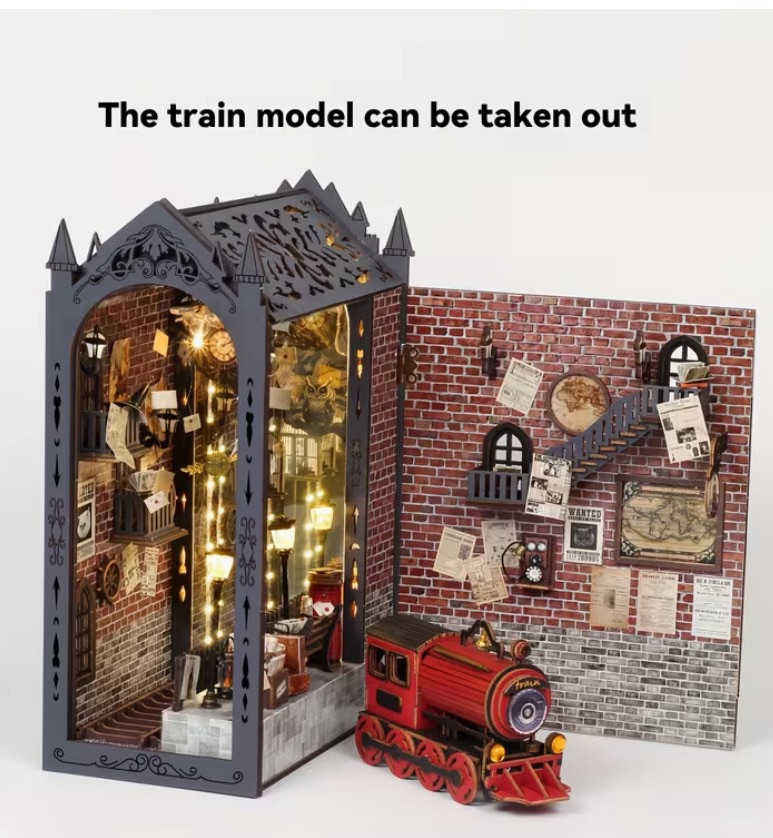
In one of my previous posts I referred making a book nook for my 4 year old Grandson. This is a dynamic update of the build.
I am going to record a step by step guide to building this kit. There have been quite a few negative reviews on this model on my facebook group so it will be interesting.
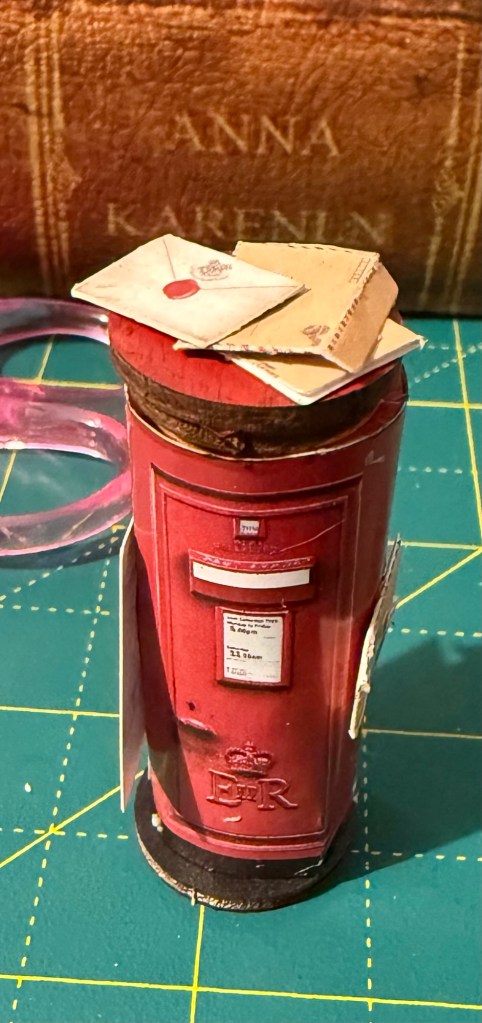
The first step is the postbox which requires gluing a cutout around 2 discs.
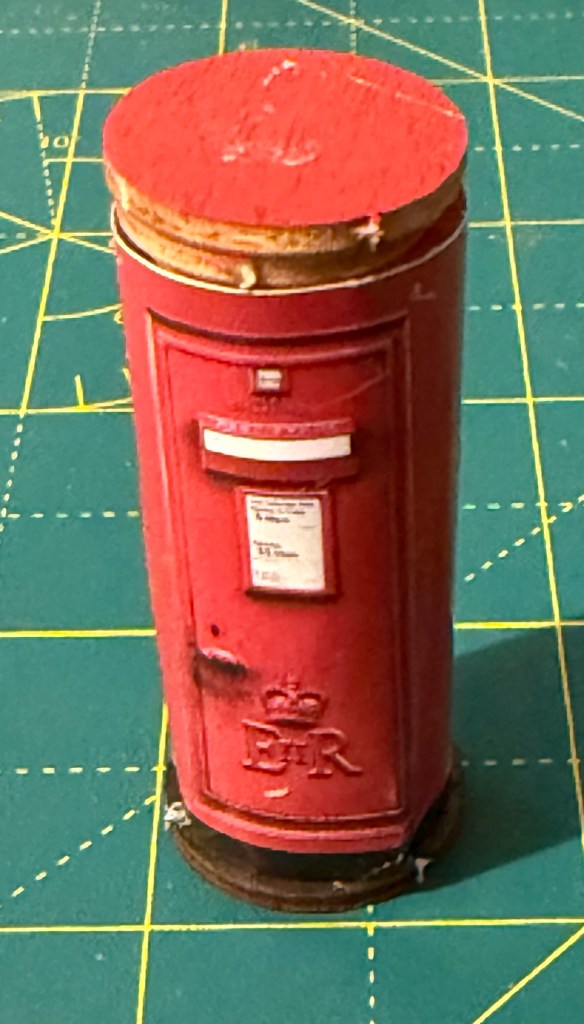
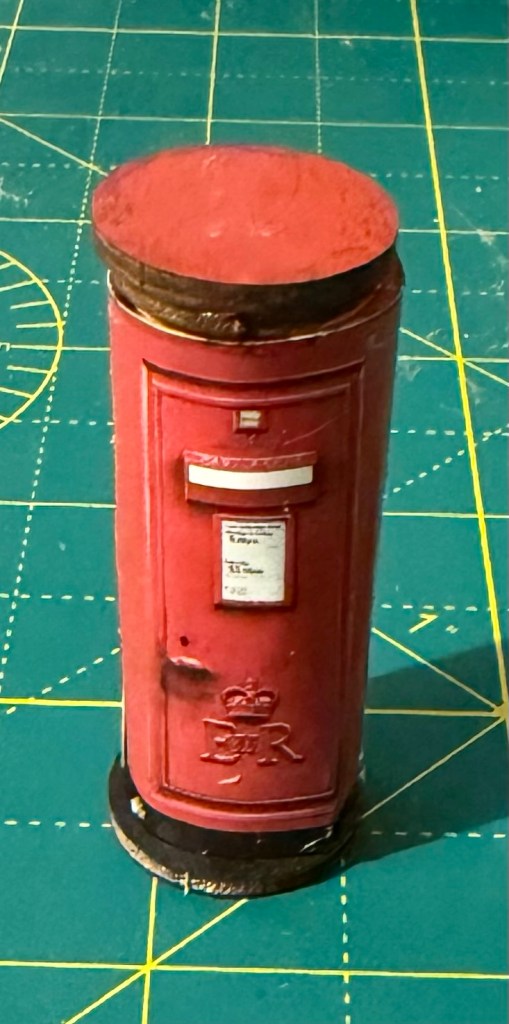
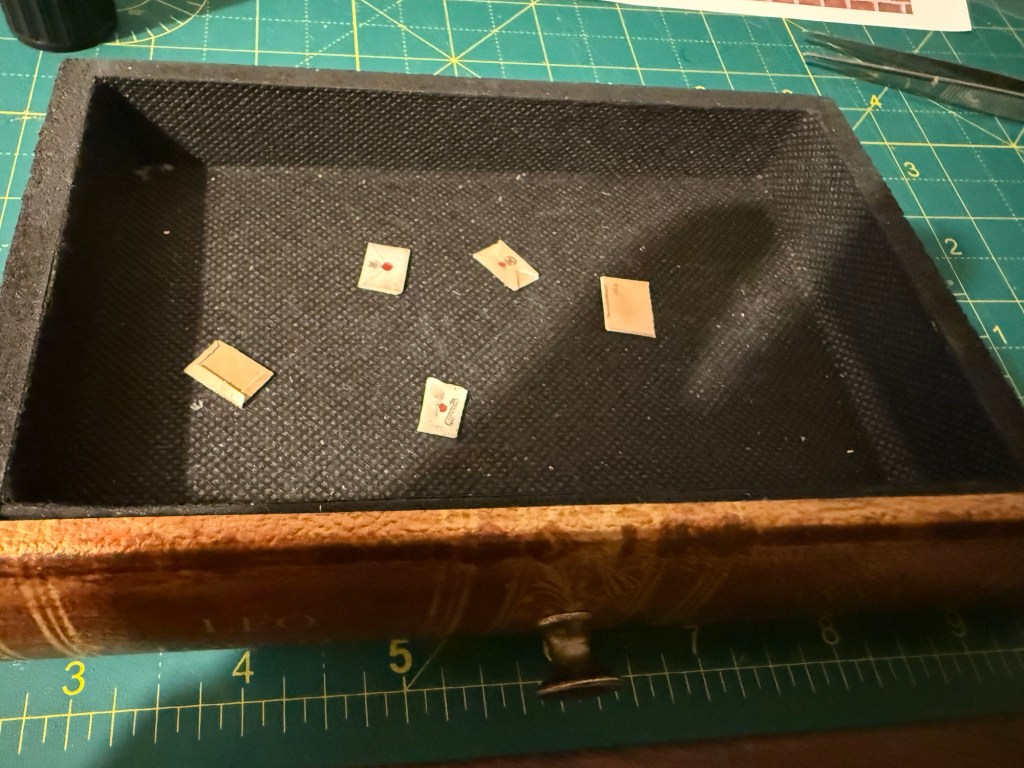
Keep any tiny builds in a safe place until needed or else you will lose them!
For my big kits I use a full size cutting mat on a workbench but for the smaller ones I like to sit at my desk with all the tools I need
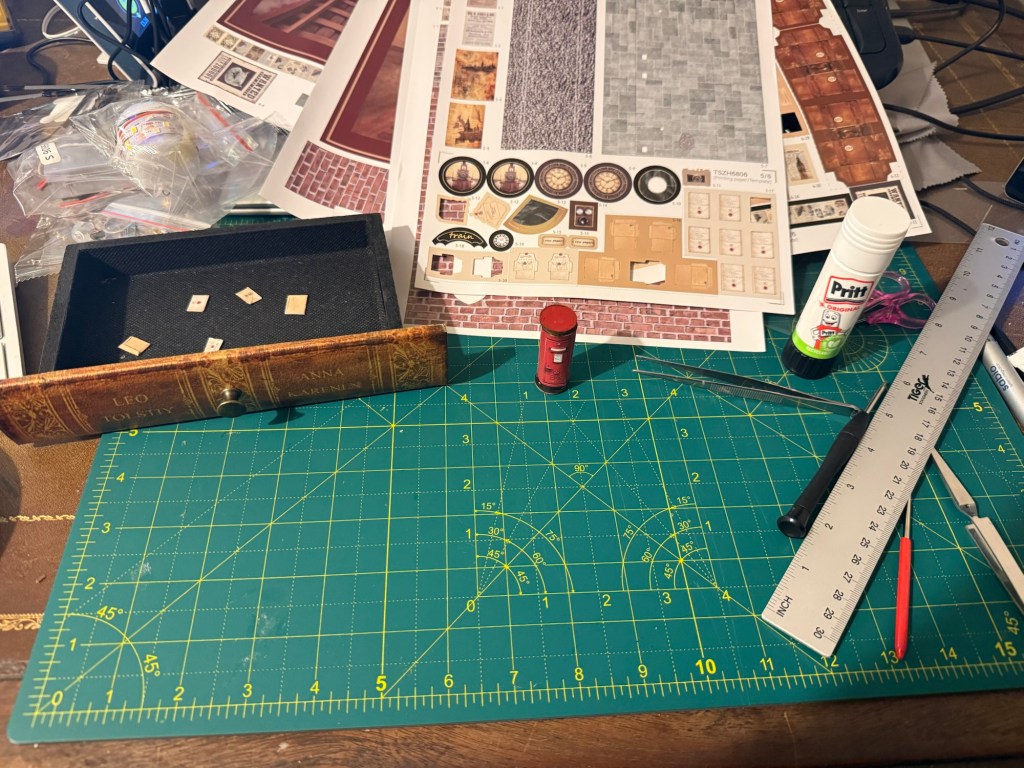
When you take pieces from paper templates these have tiny tags which should be cut off with craft scissors for a clean edge
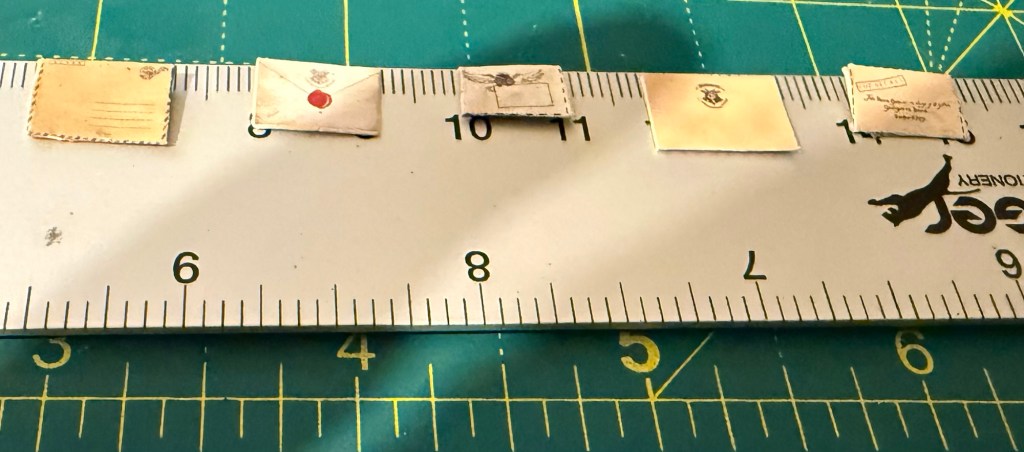
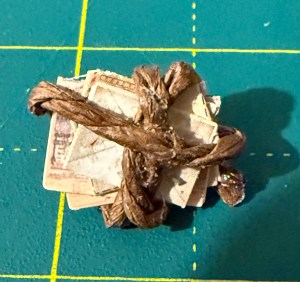
The next step was to create 5 envelopes and wrap them in twine. Do not try & tie a knot as they’re tiny. Use lots of B7000 glue
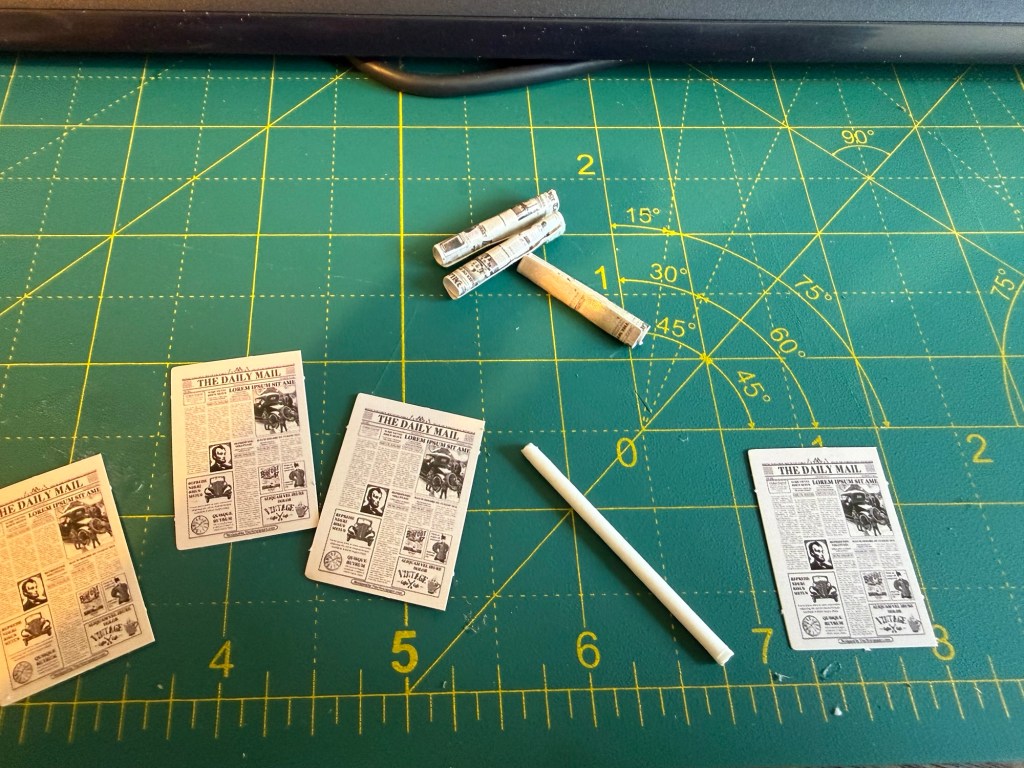
Nearly every book nook will have scrolls. The paper part is pushed out of the template and then you need to roll it into a scroll. My tip: cut off the tips from a cotton bud and use this to roll the paper around. Try and make it as tight as you can as these generally go into boxes which have limited space.

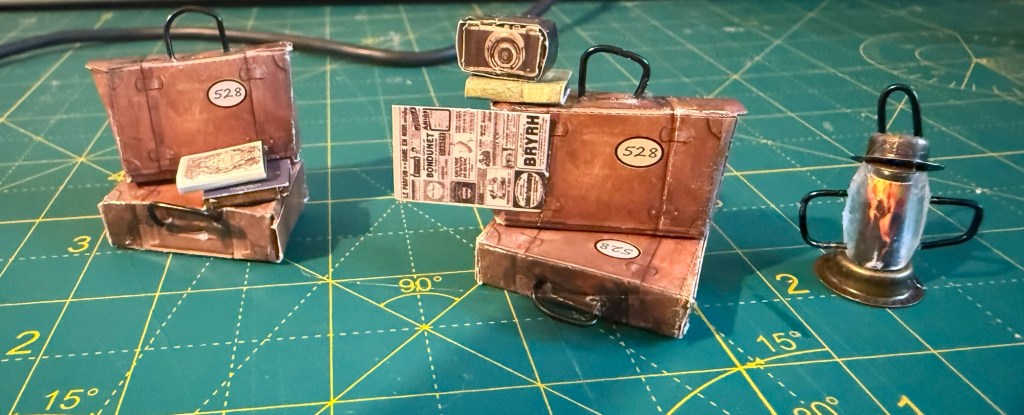
Suitcases or boxes
Nearly every kit also has a box or a case. This requires folding along the lines to create straight edges; this is where a small metal ruler helps to bend the paper over.
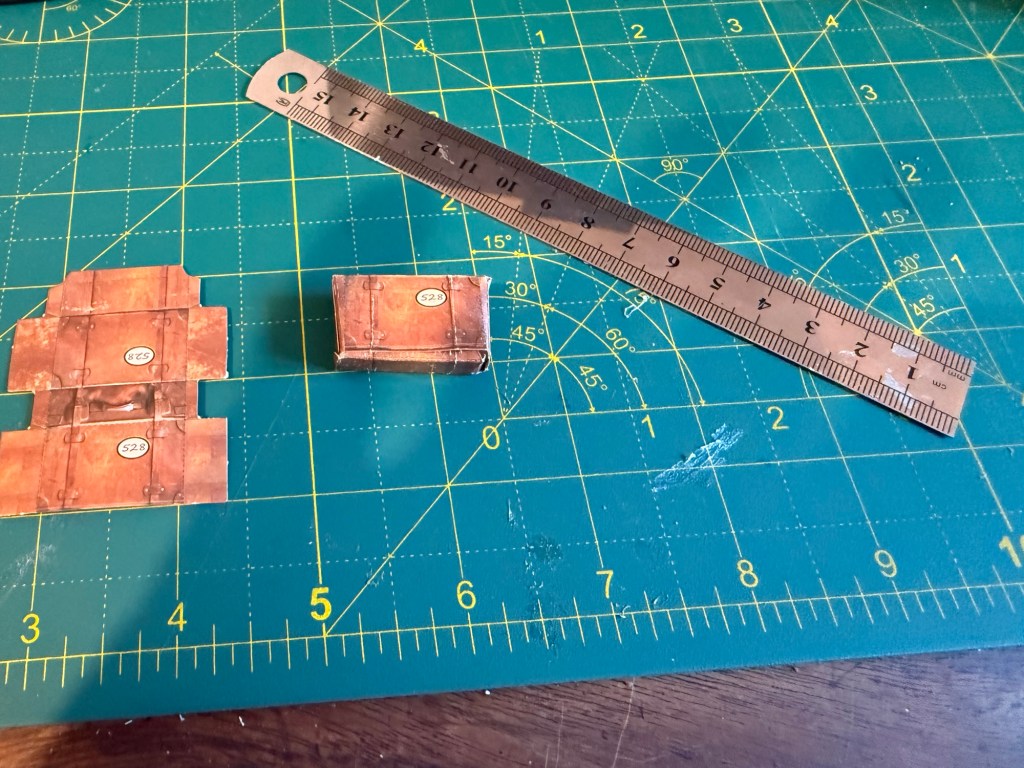
But they are quite attractive after you have added the extra bits to the completed case.
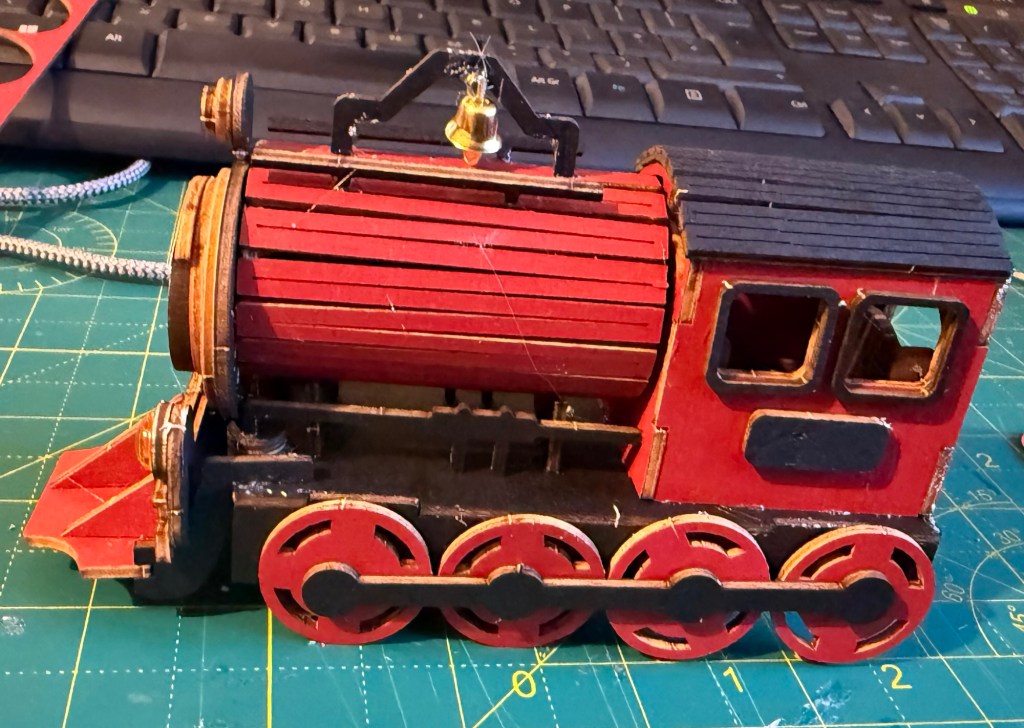
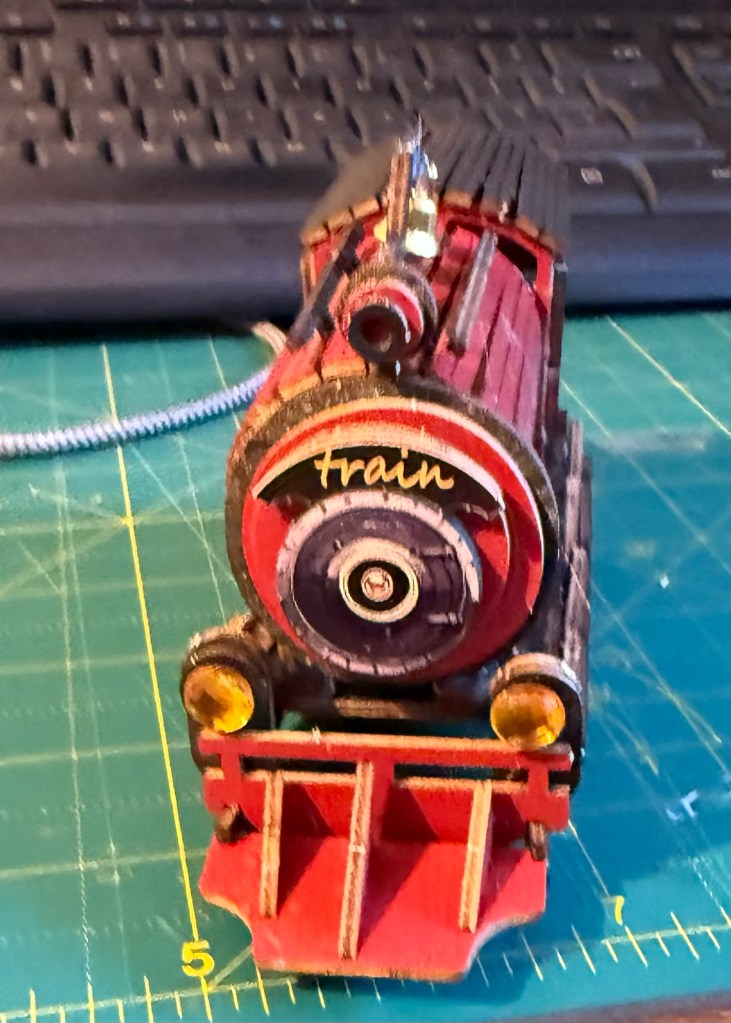
Obviously the train is the most important piece in this kit and therefore, not surprisingly there are lots of pieces. It is relatively straightforward but take care when you are wrapping the corrugated piece to form the engine as it is very fragile.
Personalisation
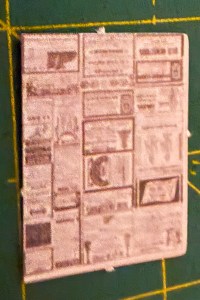
There are quite a lot of nice 3D objects that come with the kit so I wouldn’t buy any extra pieces. However there are 2 large walls which contain lots of posters and I replaced some of these with personal ones.
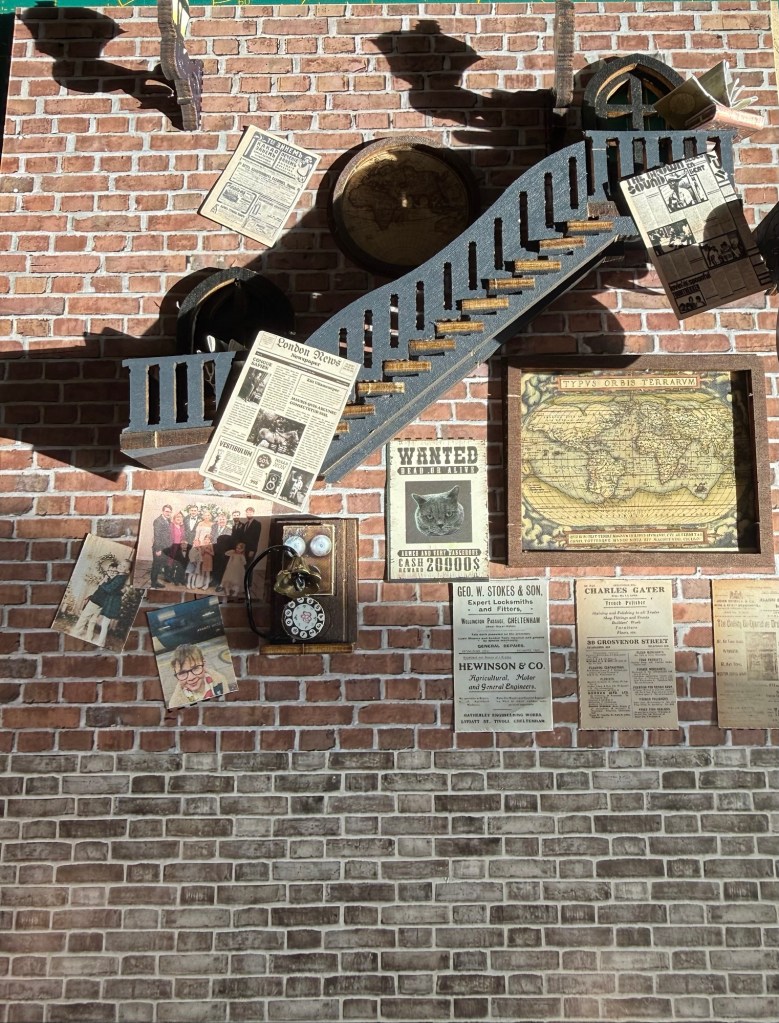
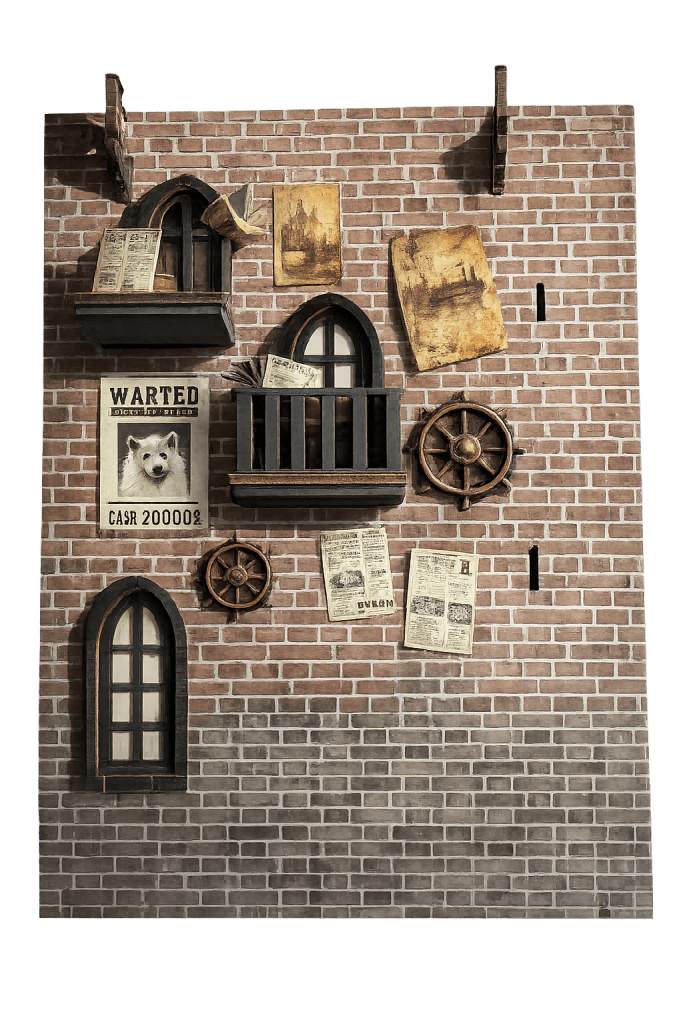
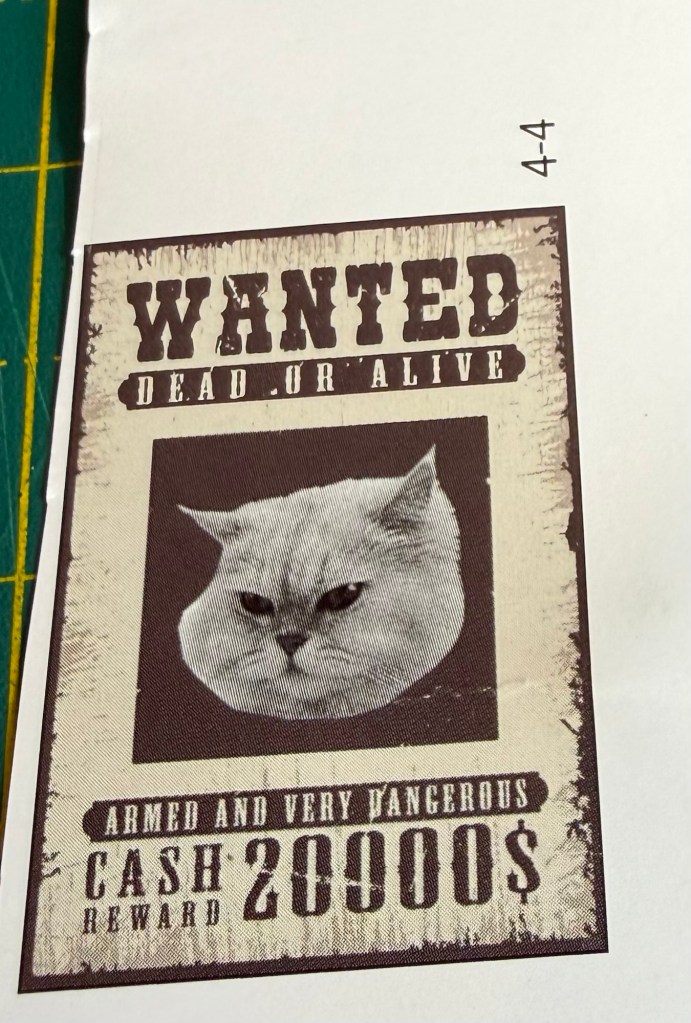
One interesting point to note is that you can use A.I. to great effect. One of the posters showed a Wanted picture of a cat so I used ChatGPT to replace the cat with my Grandson’s dog, reduced the size to match and then printed on Matt photo paper. These sort of things add time to making a model and increase your satisfaction

Infrastructure
This is definitely not a beginners kit as it is 95% gluing with only a few slots. This means that you need to use a set square to ensure a perfect 90° fit. Miss this and other parts will not align.
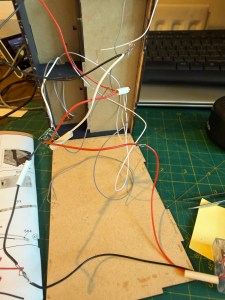
Lighting
The kit only has 3 LEDs single lights and an LED strip and I have done other kits with far more. However, these are bare wire ends and they are a pain to even bind tightly enough so you can pull the shrink tubing over them and then melt it. Don’t give up as the lights look wonderful when they’re on
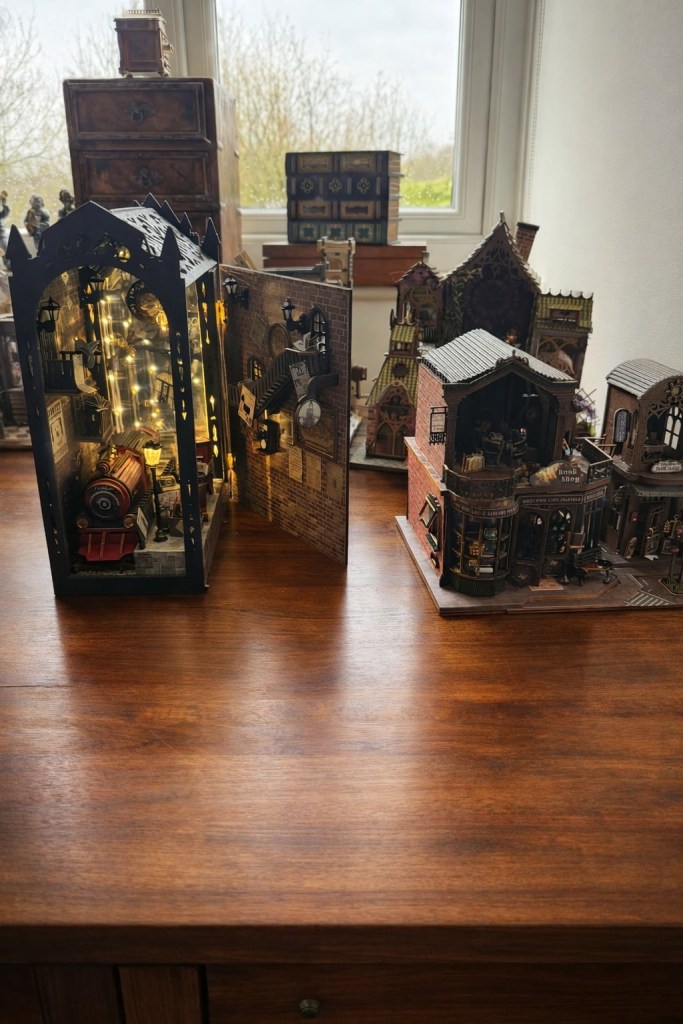
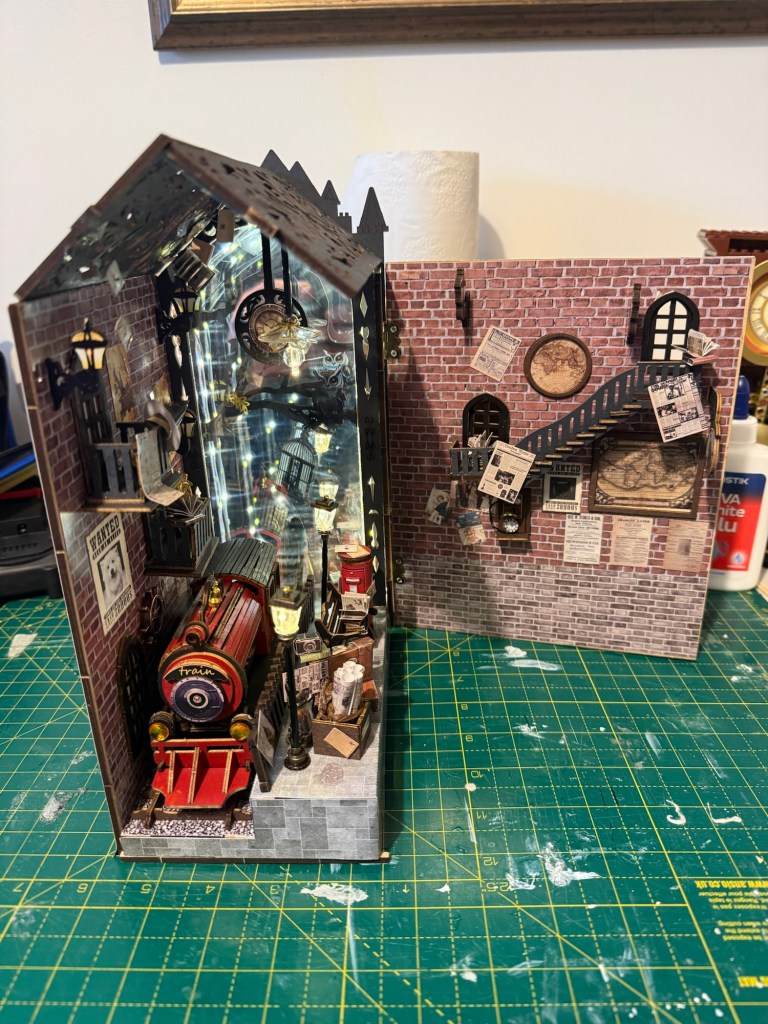
I finally finished the model this afternoon ready to give to my Grandson tomorrow when he comes to our house after school.
Review Table

Conclusion
This is definitely not a kit for beginners as it is 100% glue and requires a set square for angles. The use of mirrors is very effective but assembling lighting is very fiddly and getting all the wires into the battery compartment is a challenge. The quality of the wood is very good and I think it is the first kit that I haven’t broken a piece when taking off from the plate. Some nice 3D accessories as well and works well with personalisation
🛍️ Train Station Scene, Model Assembly of a Small House, Bookshelf Decorations, Architectural Scene Assembly Models, 3D Model Kits, Miniature Handmade Creative Houses, Christmas Gifts, Halloween Gifts, Birthday Gifts
🎉 Coupon price[£18.54]
👉 item link: here
⚠️ The discount may vary, please refer to the page display.

Leave a comment